
Why do gaps appear in the embroidery file?
The most common cause of gaps in the embroidery result is insufficiently stabilized fabric . With a lot of embroidery work, the fabric can easily warp during the stitching process. This causes outlines and solids to no longer match exactly.
A second, often overlooked cause lies in the embroidery file itself . Even if the preview appears correct, minimal deviations may become apparent in the software's technical preview. These lead to visible gaps during embroidery.
Solution 1: Stabilize the fabric properly
Insufficient stabilization is often the cause of gaps. Pay attention to the following points:
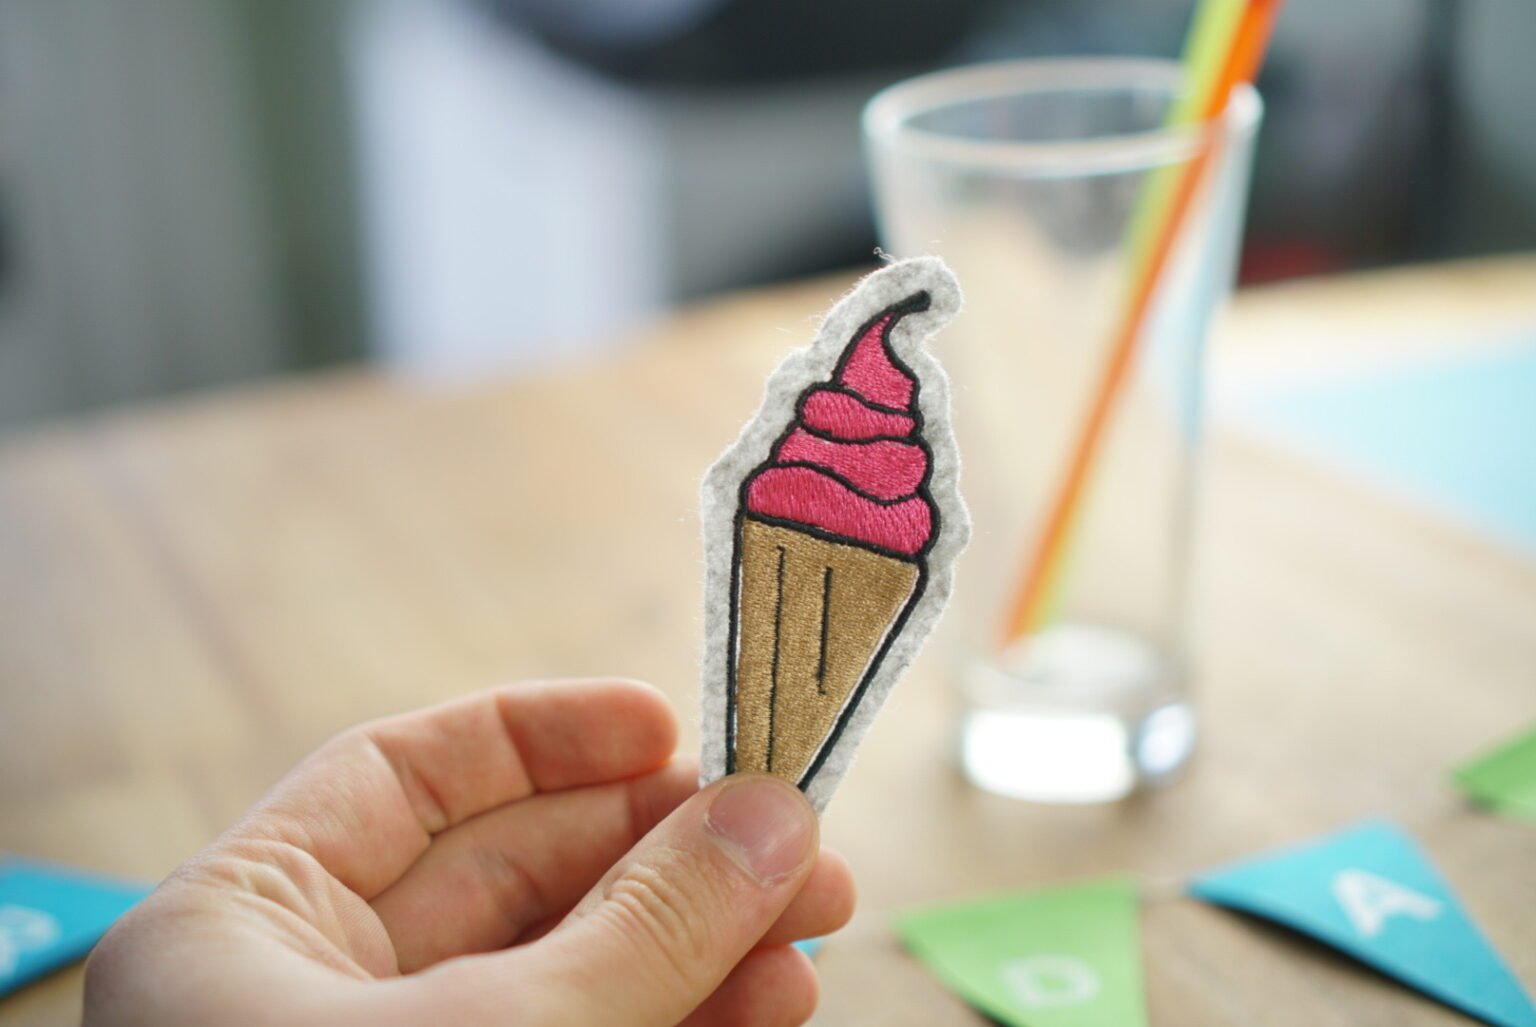
- Use sturdy fabric : For patches, for example, felt or a special patch base. If you use cotton, ideally >200 g/m².
- Use sturdy interfacing : For dense embroidery, we recommend “Cut Away Super Strong” from Madeira.
- Additionally, fix with spray adhesive : Especially with bags or jute bags, this helps to fix the fabric to the fleece without creases.
- Hoop the fabric tightly : The fabric must sit firmly in the frame. No play, no wrinkles.
These measures ensure a stable embroidery image – even with complex motifs.
Solution 2: Adjust embroidery file precisely
If the fabric stabilization is correct but gaps remain, the error is usually in the embroidery file. Here's how to identify and fix it:
Use Technical Preview
- Use the technical preview (not the 3D view) in your embroidery software.
- There you can see whether the outline and the solid area are exactly on top of each other.
- Move the handles until all lines are exactly aligned.


Install compensation
- Right-click on the area to open the properties .
- Set the underlay to at least “Medium” to stabilize the fabric.
- Enable Compensation : This ensures that the area stitches slightly over the edge. This prevents visible gaps, even with minimal distortion.
This little trick is particularly useful for thin fabrics, high stitch density or many small borders.

Summary
- Gaps arise either from fabric distortion or from inaccuracies in the embroidery file.
- Use high-quality stabilizer, secure your fabric, and hoop it neatly.
- Check your file in the technical preview and work with compensation in the software.


Split:
Why does my embroidery machine display different colors?
Embroidery file is not displayed