
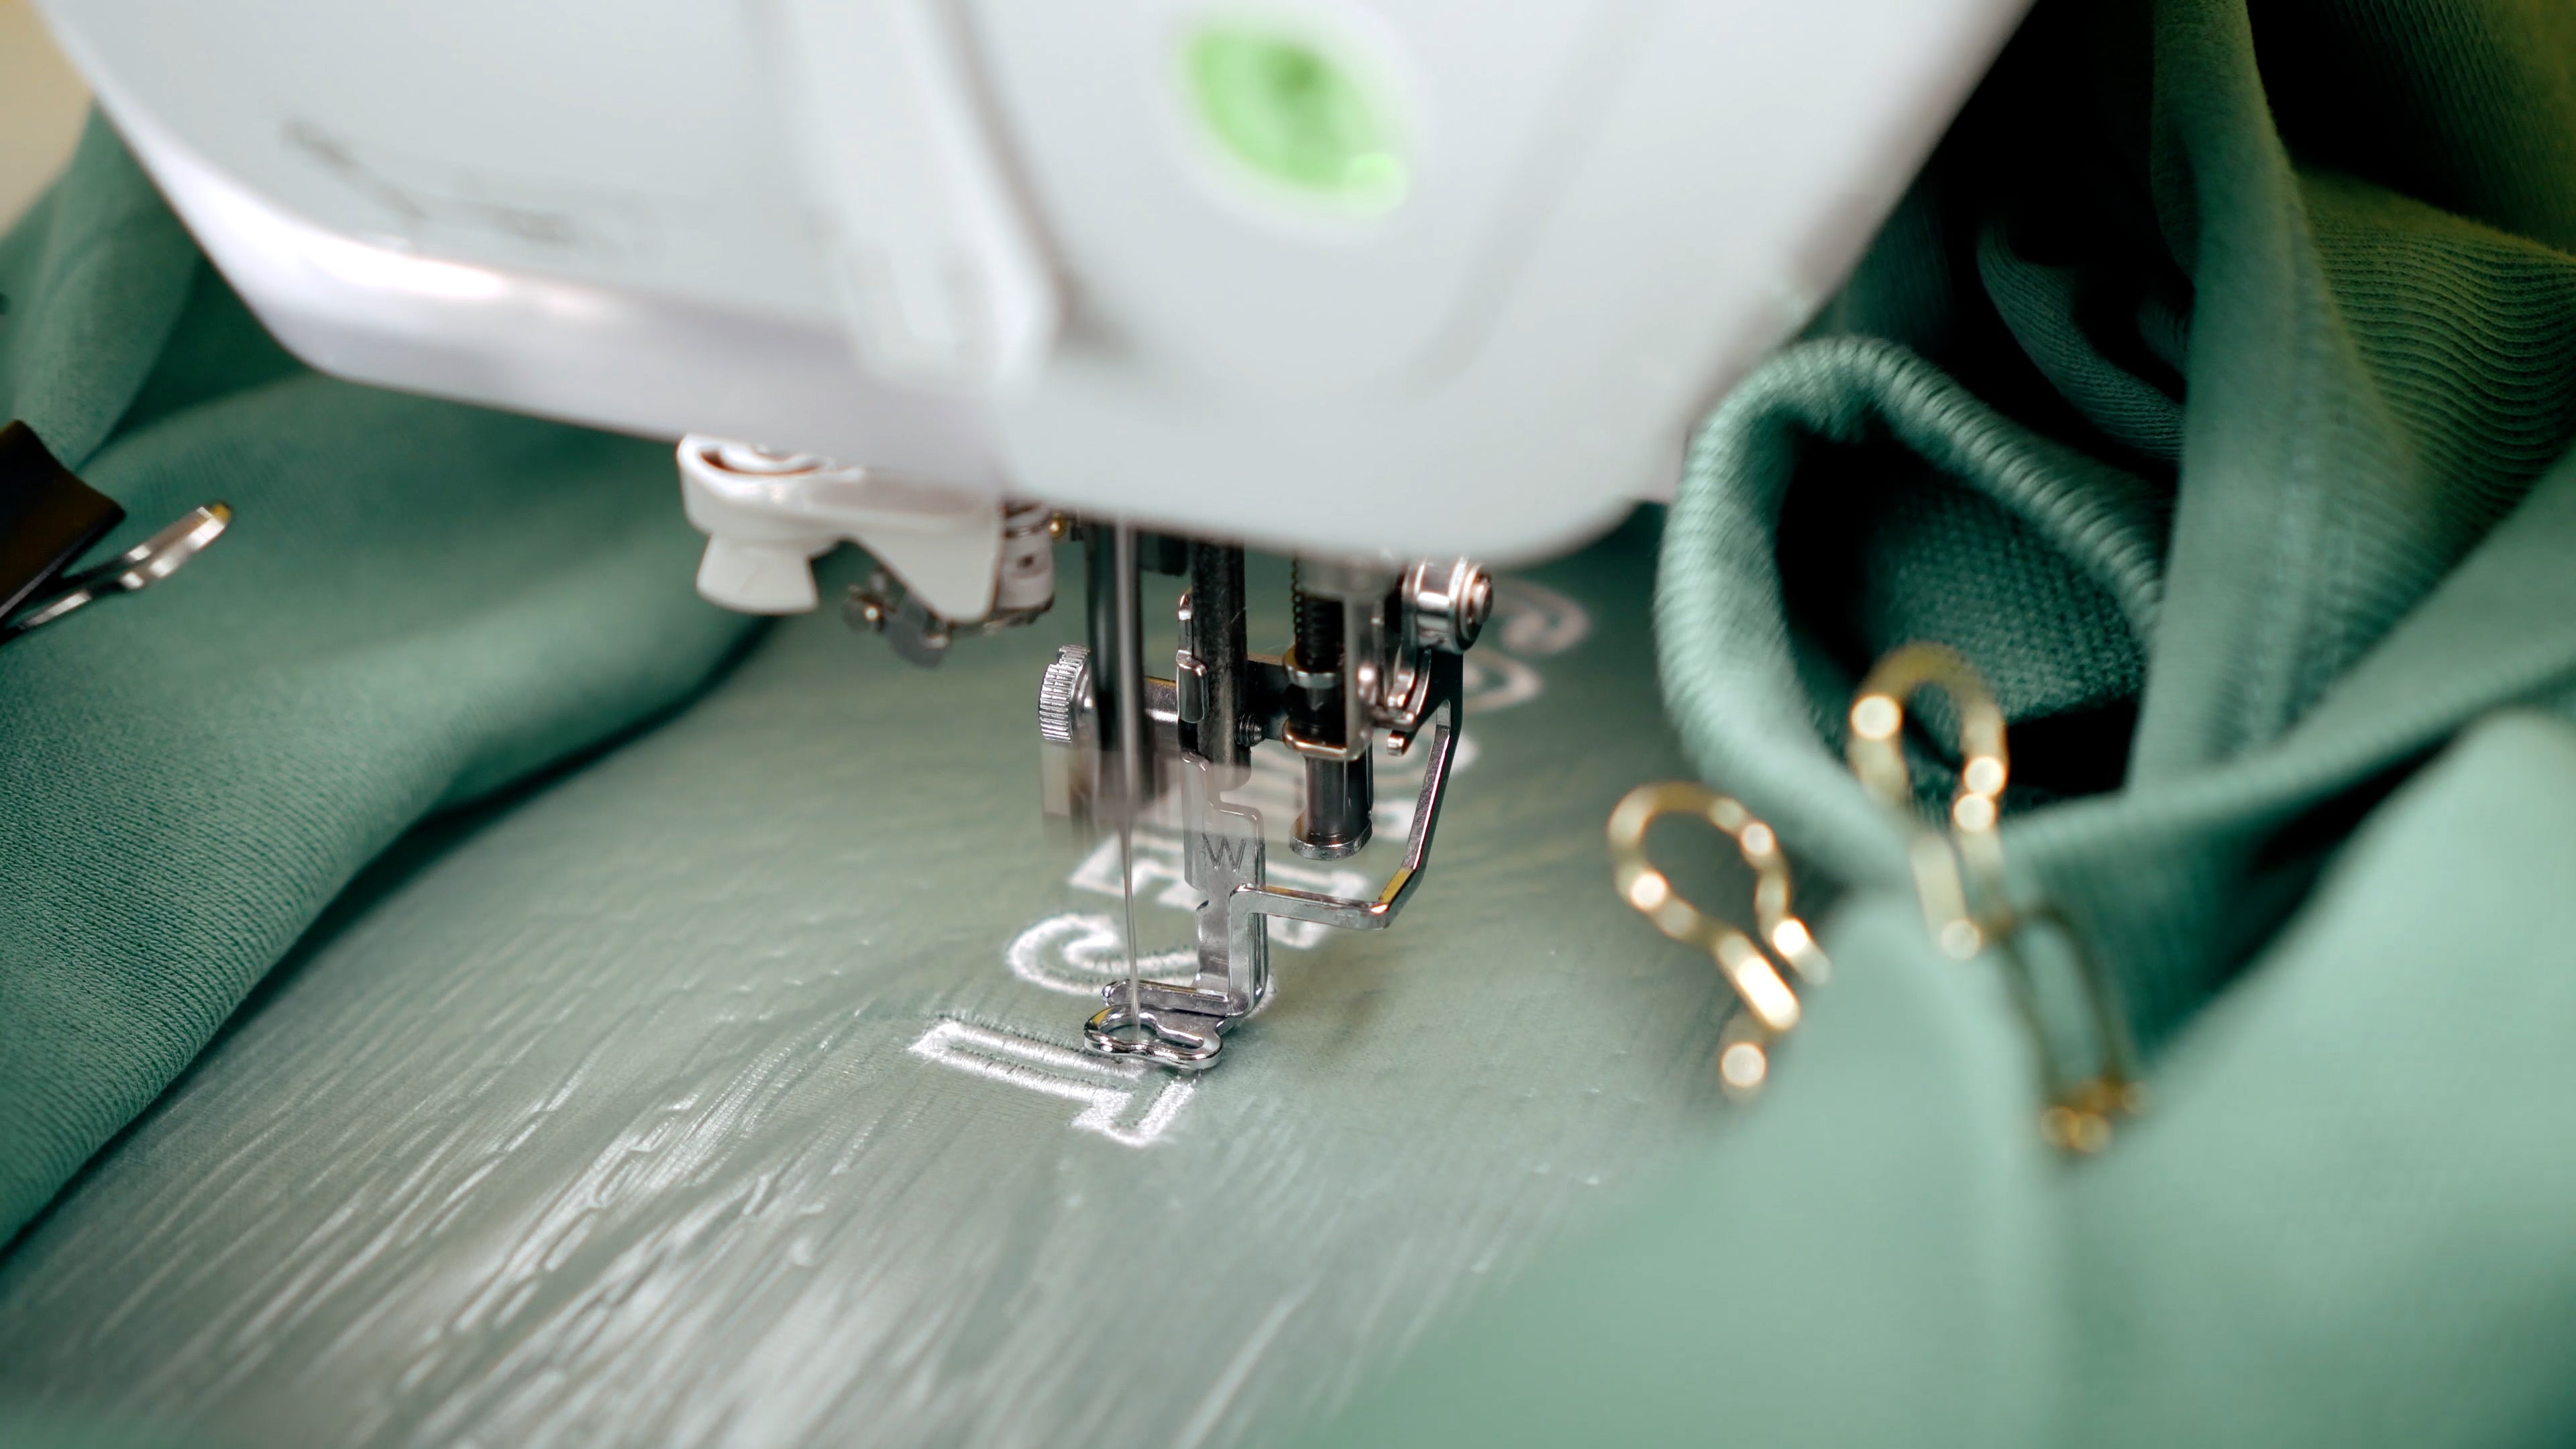
What are jump stitches?
Jump stitches occur when the embroidery machine stretches the thread between two separate areas of a motif without stitching in between. These thread connections occur, for example, when changing colors, unconnected elements, or changing letters.
The jump stitches are technically necessary, but often distracting to the eye. They should be removed either manually or—more efficiently—automatically.
Why should jump stitches be cut automatically?
Without automatic thread cutting, the thread must be manually removed with scissors later. This is time-consuming and carries the risk of damaging the embroidery. Automatic jump stitch cutting saves time and ensures a more professional result.
Advantages at a glance:
- Cleaner embroidery pictures without loose threads
- No manual rework necessary
- Less risk of damaging the embroidery
- Ideal for complex or small-scale motifs
When does automatic clipping make sense?
This function is particularly useful for:
- Lettering with many individual letters
- Applications with multiple color layers
- Dense motifs with frequent color or area changes
- Designs with many small, unconnected elements
The automatic cut is not useful for very fine motifs where cutting could create tension in the fabric or where frequent sewing could cause lumps to form on the underside of the fabric.
How to set the automatic cutting of your jump stitches
The operation varies slightly depending on the embroidery machine. You can usually find the settings in the main menu or in embroidery mode:

Brother (e.g. Innov-is, PR series):
- Go to the Stitch Screen menu
- Select “ Thread cutter ” or “ Jump stitch cutter ”
- Activate “ Auto Cut ”
- Optional: Set the length of the jump stitch (e.g. >2 mm)
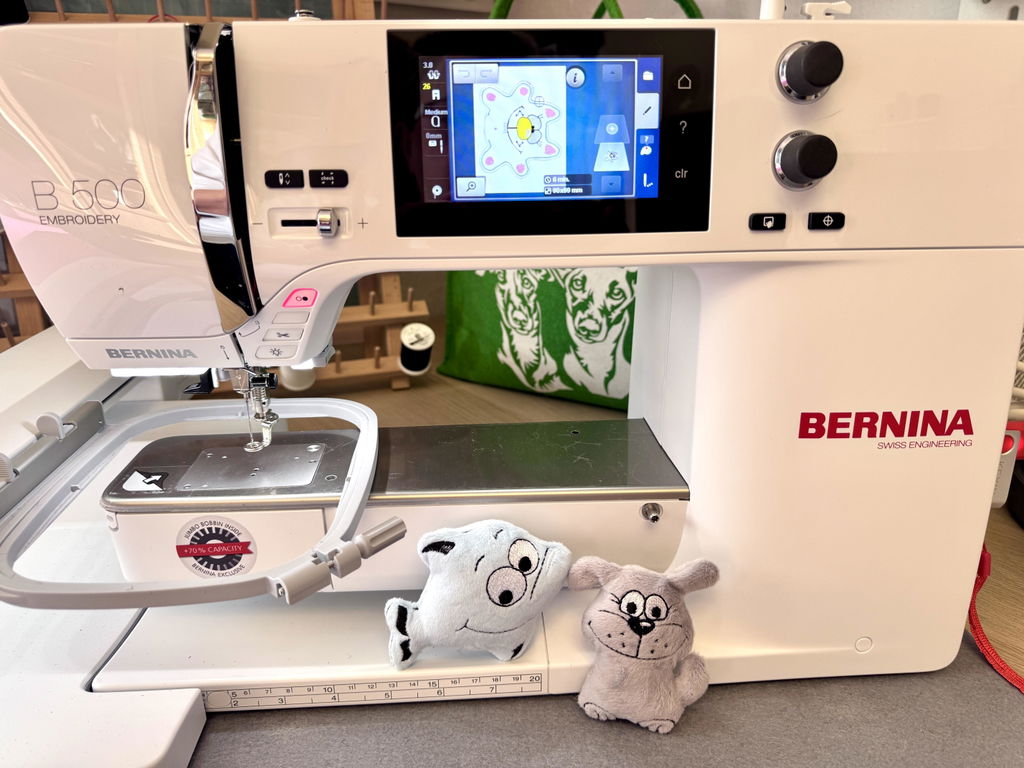
Bernina (DesignerPlus, B500/B700):
- Open the setup menu in embroidery mode
- Select “ Cut Jump Stitches ”
- Activate the option
- If necessary, set the minimum length for the cut
Pfaff / Husqvarna (mySewnet compatible machines):
- Open the settings menu
- Activate the Automatic Jump Stitch Trimming function
- If necessary, select a tolerance length
Veritas Florence (via APP on smartphone or tablet)
- Open the APP on your smartphone or tablet
- Go to the Embroidery Preferences
- Select Cut Jump Stitches
- Enable jump stitch cutting
- If necessary, select a tolerance length of at least 5mm
Note: Some machines only cut when a certain thread length is reached. Shorter jump stitches remain and must be removed manually.

Common mistakes when cutting jump stitches
- Function is activated, but minimum length is set too short
- No upper thread cutter available (entry-level devices)
- Embroidery file does not contain cutting commands
- Thread tension not set correctly → thread remnants visible
- Needle does not lift → cut is not performed
Summary
Jump stitches are thread connections that occur between embroidery segments. The "Auto Trim Jump Stitches" function ensures a clean embroidery pattern and saves time. Depending on the model, the setting is made via your machine's embroidery or setup menu.
If you'd like, I can also create a model-specific support PDF or a video link for specific machines.


Split:
Cleaning your embroidery machine: How to care for your device properly
Embroidery thread fluffs, frays or tears