
A technically perfect embroidered motif loses its impact if it's crooked or too high. Precise placement is especially crucial for clothing such as T-shirts, sweatshirts, or caps – it creates a professional, balanced effect and underscores the quality of the embroidery.
The good news: With simple tools and a systematic approach, you can achieve this reliably – even without a laser or positioning system.
How to position your embroidery motif correctly – step by step
1. Put on the garment and mark it
Put on the garment you want to embroider yourself or ask a second person for help. Mark the desired embroidery position with a washable marker , such as one from Prym.
Tip: The left chest for logos sits approximately 7-9 cm below the shoulder seam and 10-12 cm from the center front .
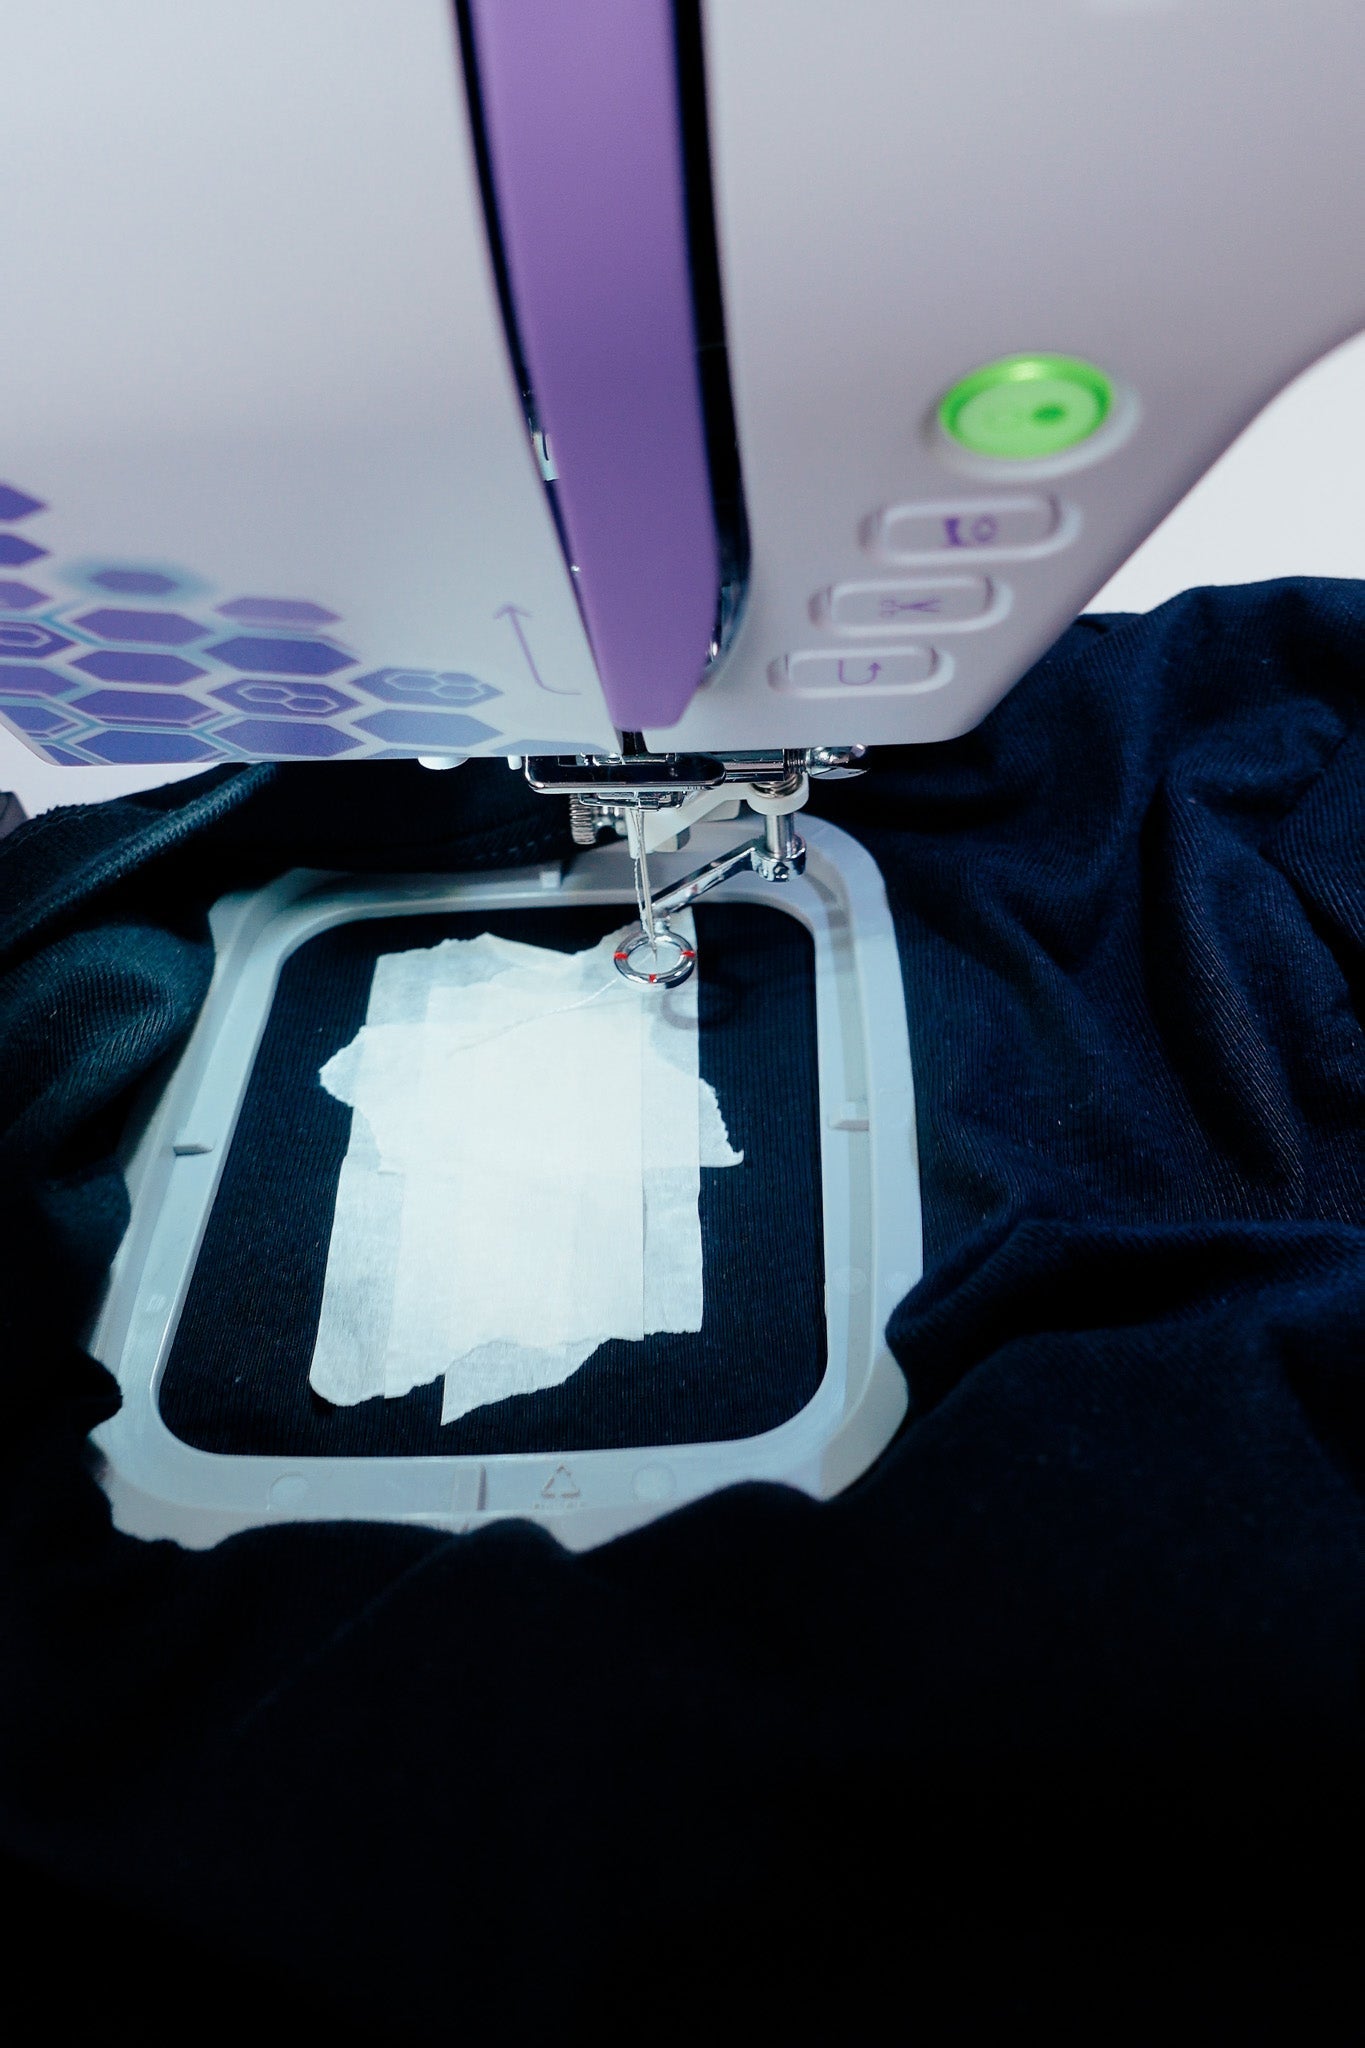
2. Clamp or glue the textile smoothly
Stretchy or textured fabrics (e.g., jersey, fleece, corduroy) should be stabilized with a suitable stabilizer . Depending on the technique:
- With Filmoplast: do not clamp, but glue
- With frame: clamp smoothly and without tension
The marker should be centered in the embroidery frame or aligned to the desired position.
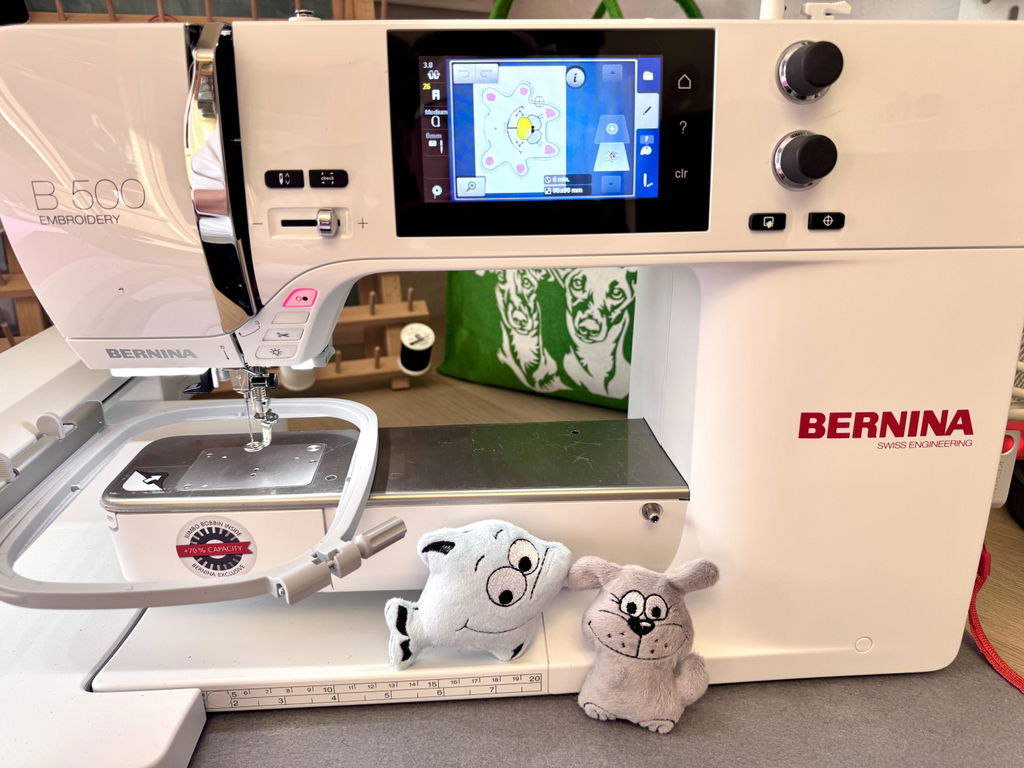
3. Use the embroidery machine's tracing function
Before you start, you should "trace" the embroidery position – the so-called tracing function . This moves the machine's embroidery frame along the outer contour of the motif.
How to recognize before the first stitch:
- Is the mark made correctly?
- Does the motif fit completely into the frame?
- Is everything straight?
If necessary, adjust the position or orientation – many machines allow small adjustments directly on the display .
4. Mirror, rotate or scale the motif
Use your machine's onboard features to adjust your design. Many models allow you to mirror , rotate , or resize it right before stitching – without software.
Tip: For recurring placements, you can create a paper pattern with an embroidery frame outline and use it as a positioning aid.
YouTube video: Livestream for perfect positioning
Recommended tools & materials
| Tool | function |
| Textile marking pen (e.g. Prym) | Pre-draw the desired embroidery position |
| Filmoplast | Fixing the fabric without clamping |
| Embroidery fleece (tear or cut-away) | Stabilizing stretchy or structured fabrics |
| Tracing function | Moving over the motif for final inspection |
| Positioning rulers / plotting templates | For series production or recurring motifs |
Conclusion
A good embroidery machine delivers precision—but only you determine where the motif sits. With a marker pen, tracing function, and a little planning, you can achieve precise placement on any fabric. This way, your embroidered motif will look not only neat but also professional.


Split:
Embroidery software comparison 2025: Creativate Elite vs. Bernina V9