
When spring is noticeably here, the sun shines through the window, and family or friends gather at the table for Easter, small handmade details are a must. Especially during this time, self-sewn egg hangers made of Felty embroidery felt bring a light, friendly atmosphere into your home with little effort.
For this project, you don't need extensive preparation and only these materials:
- Felty embroidery felt: e.g. the 12-piece set in spring colors
- Embroidery needles
- Rustic Filaine yarn for hand embroidery
- Optional: Aqua Trick Marker for drawing your own designs
- Stuffing/filler cotton
- A pair of scissors
Sewing Easter decorations without a pattern – here's how:
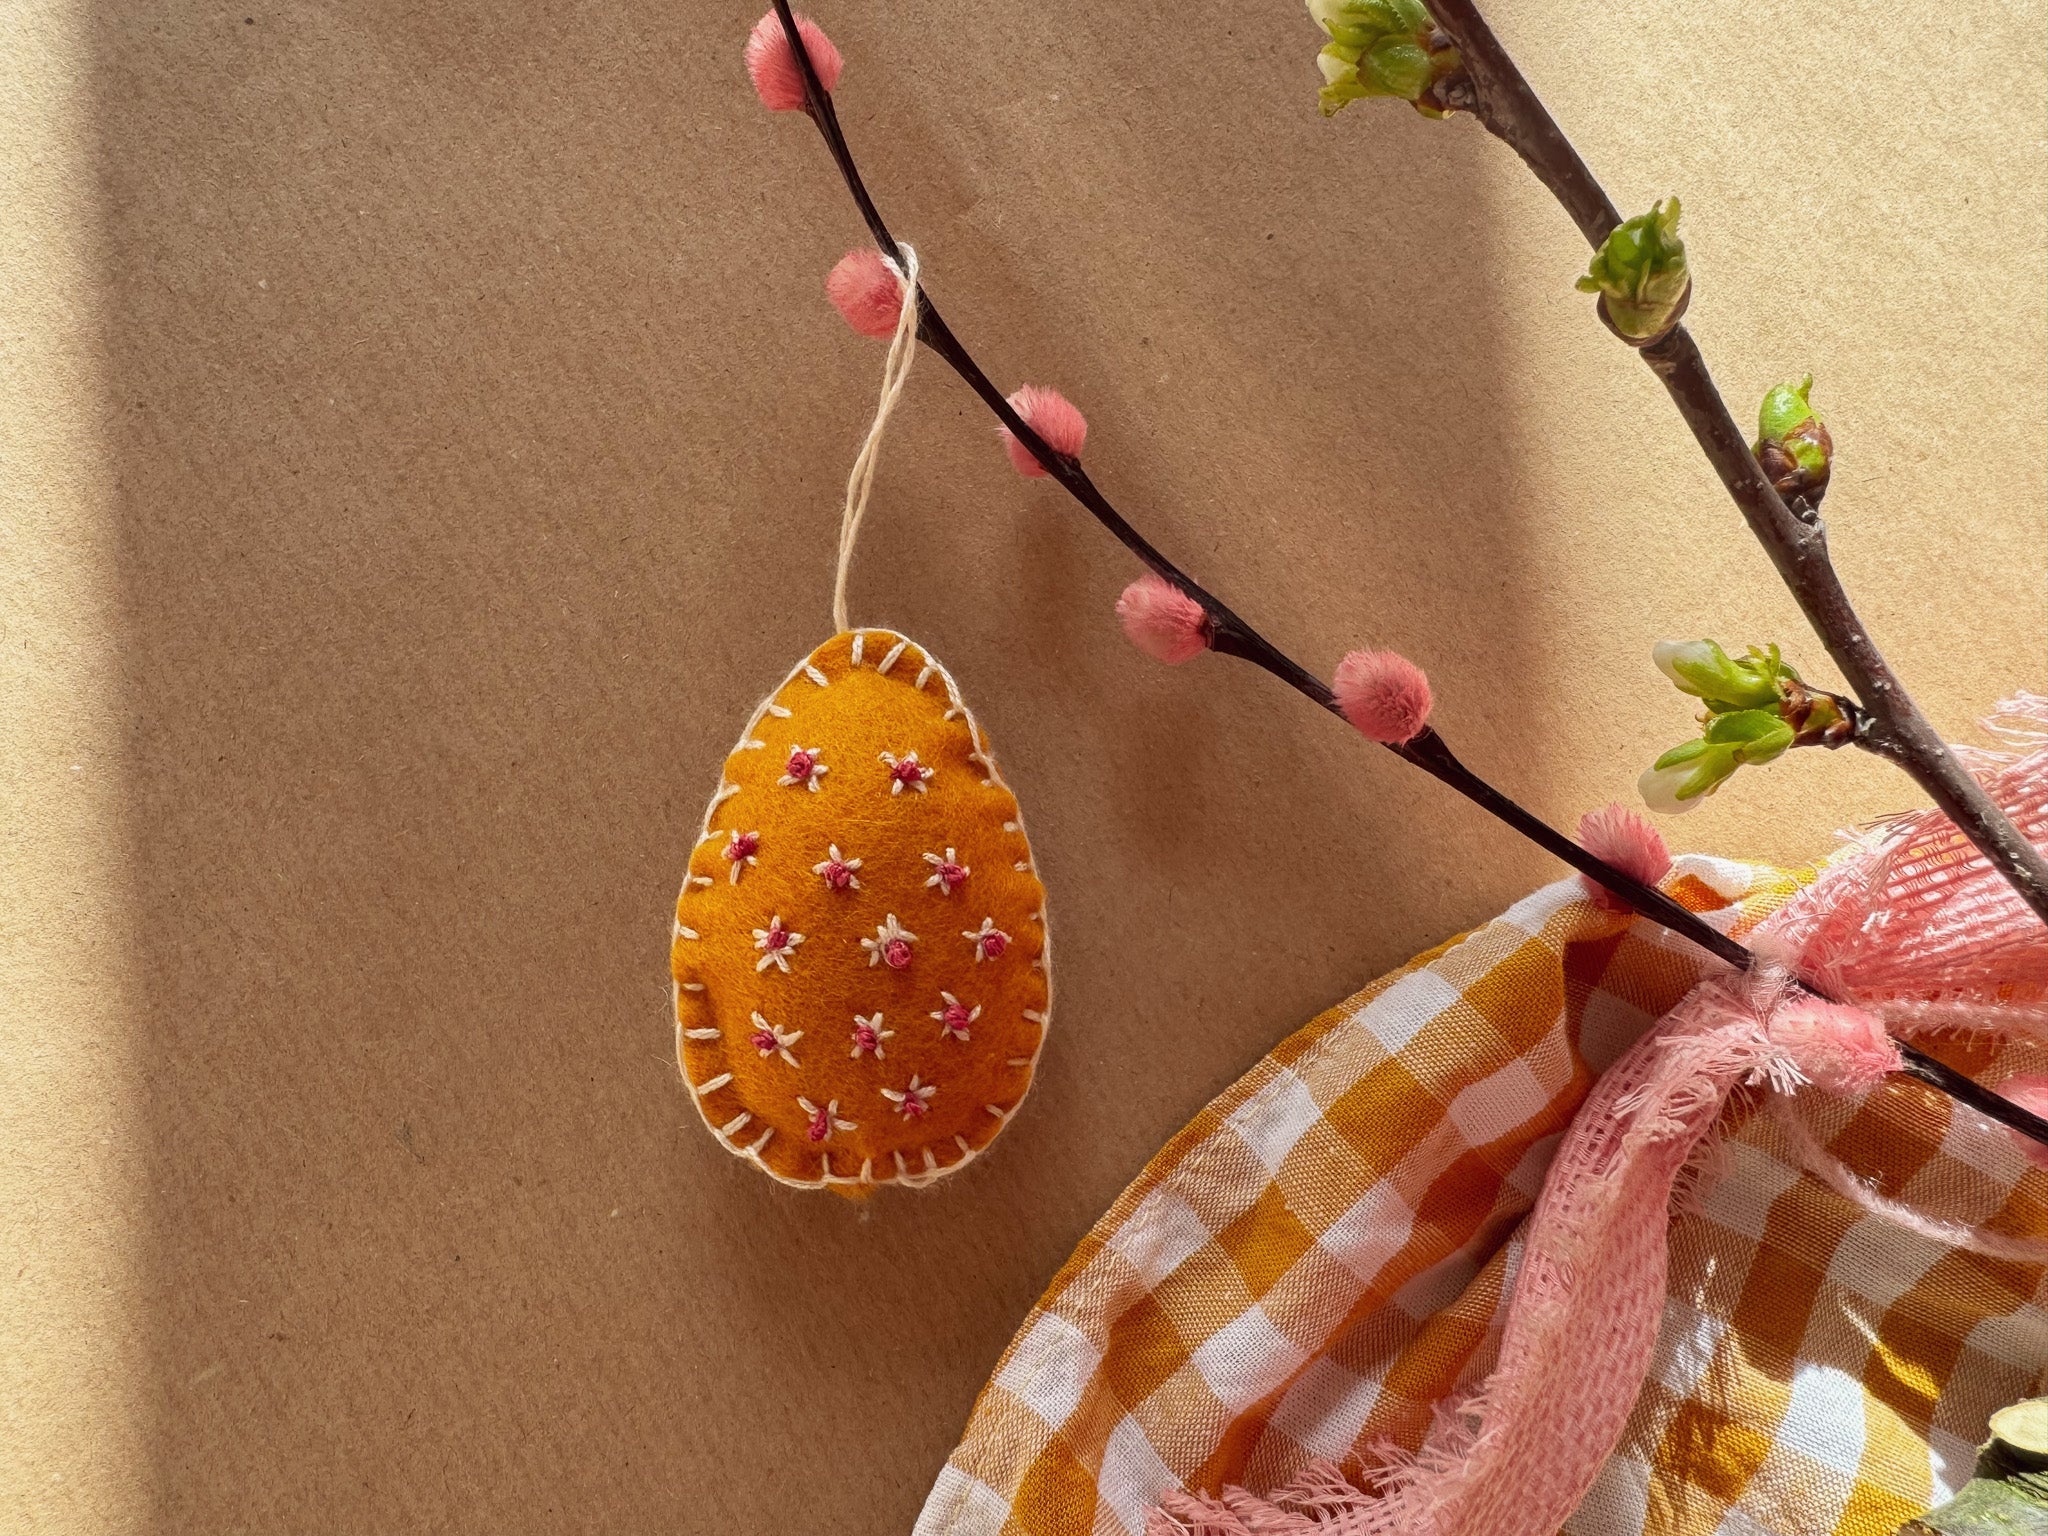
First, cut two identical egg shapes from Felty embroidery felt. Felty is particularly nice for such hangers because the felt doesn't fray and is easy to work with. A set like the Felty 12-piece set is especially practical because you can choose from many fresh colors and design several different hangers.

Sewing Easter hangers step-by-step
In the next step, the small eggs get their character. They are embroidered with Filaine yarn and a hand embroidery needle. The slightly thicker yarn creates a soft, rustic design. You can simply improvise – or draw your desired motif beforehand with an Aqua Trick Marker. This way, you can calmly prepare your ideas and remove the markings later with a little water.
Once the front sides are designed, place both felt pieces wrong sides together and sew them – either by hand or quickly with a sewing machine. The important thing is to leave a small opening. Through this opening, you fill in some stuffing so that the hangers become nicely soft and slightly three-dimensional. Afterwards, the opening is closed, and if you wish, you can also sew in a ribbon for hanging. This is how two simple felt shapes become a finished Easter hanger.


Sweet DIY Easter decorations!
This way, small spring accents are created in a short time, which appear light, friendly, and handmade. On a branch, on the Easter table, or as a lovely detail on a gift, they bring exactly the kind of unpretentious and beautiful Easter atmosphere you're looking for.


Split:
Threads of Happiness by Marit Warncke: The Book for Everyone Who Loves to Sew
Sewing a Ruffled Tablecloth: The Perfect Summer Sewing Project