
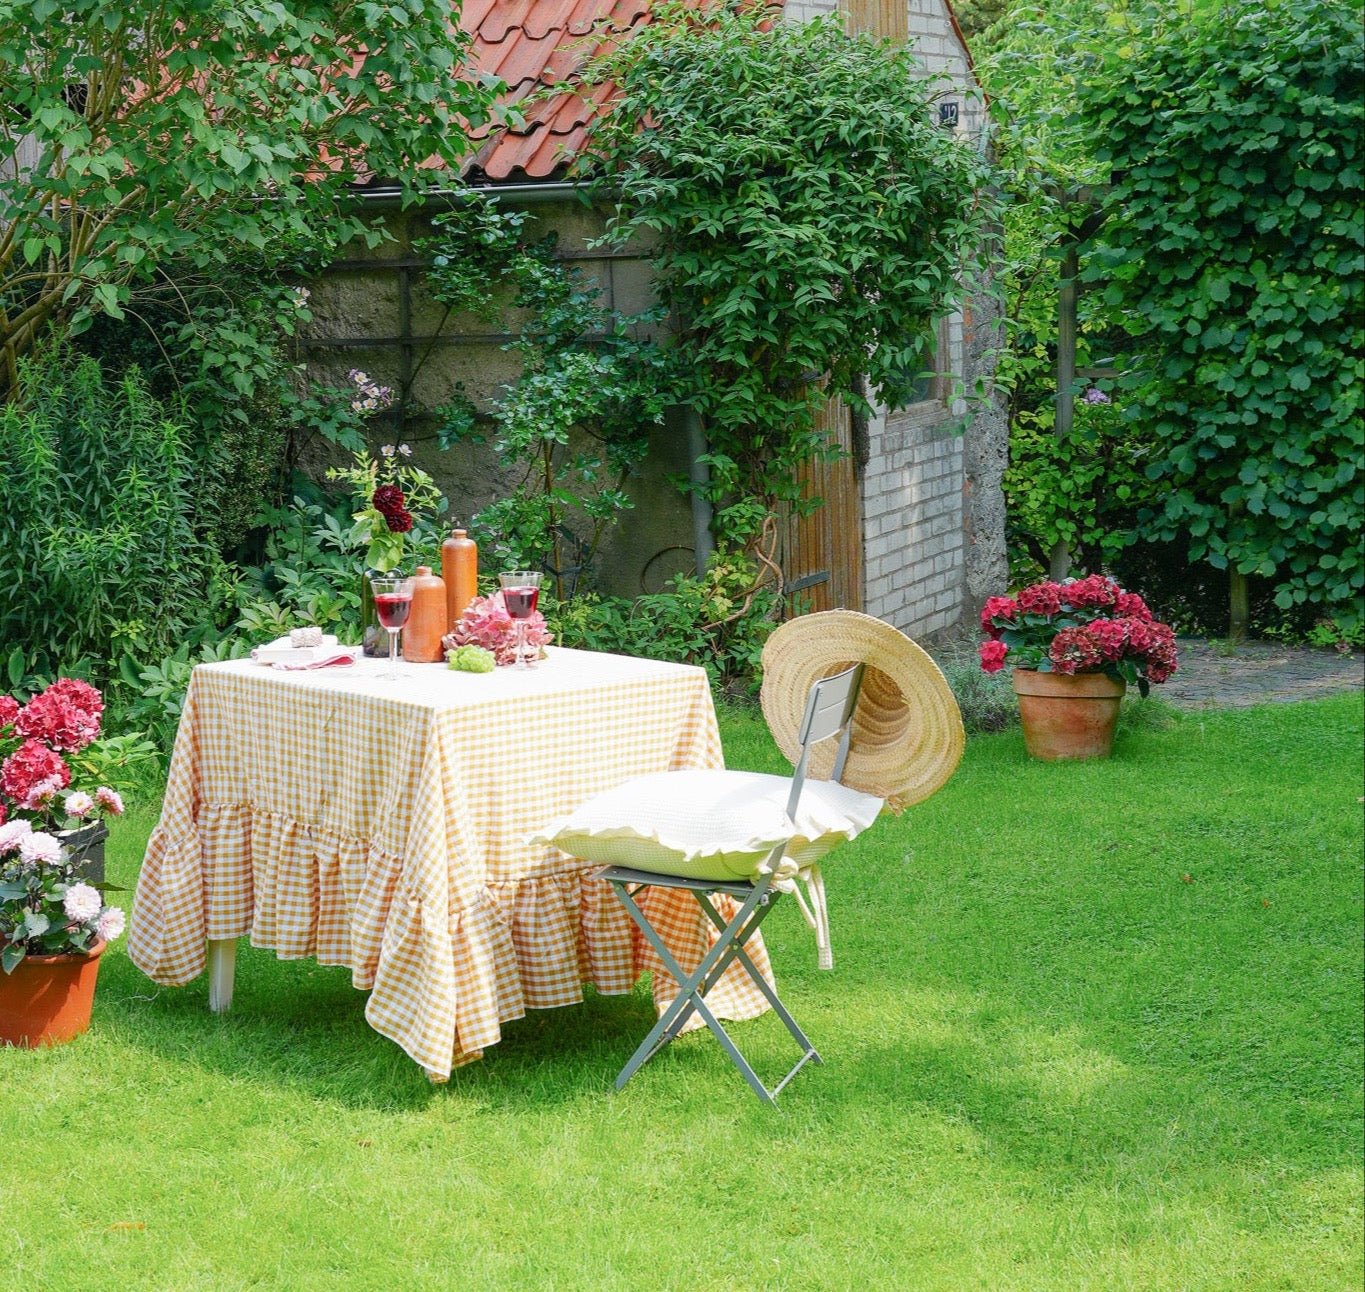
In spring and summer, my sewing projects change too. While in winter they are often larger, heavier or more elaborate items, in the warmer months I feel much more like airy ideas that are quicker to implement and fit right outdoors, on the garden table or in the bright kitchen. A ruffled tablecloth is just the right project for this, because it is easy to sew and immediately brings with it that light, homely atmosphere that suits spring so well for me.
For this project, you don't need extensive preparation and only these materials:
- Your desired fabric: I used light cotton with a checkered pattern
- Matching sewing thread
- Your sewing machine
- Optional: a ruffling foot
- Optional: a hemming foot
- A fabric scissors


1. Prepare the base for your tablecloth
First, cut the fabric for the tablecloth to the appropriate size. Depending on the table, the basic shape can be square or round. It is important to base it on the dimensions of your tabletop and to consider how far the tablecloth should hang when cutting. This creates the base to which the ruffles will then be sewn.
Then, prepare the ruffle strips. Their length should be approximately twice the circumference of the outer edges of the tablecloth, so that the ruffles drape nicely and have enough movement. You can choose the width according to your taste. In this example, it is 40 cm.

2. Gather the ruffle edge and sew it neatly
In the next step, the ruffle strip is gathered. This works particularly well with a ruffling foot.
Alternatively, you can choose the classic method by setting your machine's stitch length to the longest setting and sewing along the entire length. Then, gently pull the thread ends by hand until the fabric gathers evenly. This gradually creates the typical ruffle shape.
Once the fabric is gathered, distribute the gathering evenly along the entire length. Then, sew the ruffle strip to the tablecloth. It is worth working carefully here to avoid sewing in any creases.

3. The final step: Hemming
Finally, the tablecloth is hemmed. This is particularly practical with a hemming foot, as it ensures a neat and tidy finish and saves a lot of time. Alternatively, you can, of course, hem the edge the classic way by folding it twice and topstitching.
And there you have it: a pretty, subtle country-style tablecloth that perfectly complements long days in the garden and instantly gives the dining table a soft, inviting look. It doesn't look overloaded, but rather offers just the right blend of lightness, romance, and everyday practicality.


Split:
Sew your own Easter decorations: Spring-like felt hangers in just 20 minutes!
Embroidery Machine Accessories: 6 Must-Haves for Clean Embroidery Results