
Making your own patches is one of the most rewarding ways to create something incredibly versatile from an embroidery design. Whether as a classic sew-on patch or an iron-on patch with an applied backing: with the right technique, you can create a clean, stable patch from almost any motif.


In this guide, we'll show you step-by-step how to embroider patches with an embroidery machine, what materials you need, and why we particularly like working with practical patch base cut-outs or alternatively Tear Away Plus right now. The big advantage: you get a clean back and create a better foundation if you want to further process your patch into an iron-on patch with BSN later.
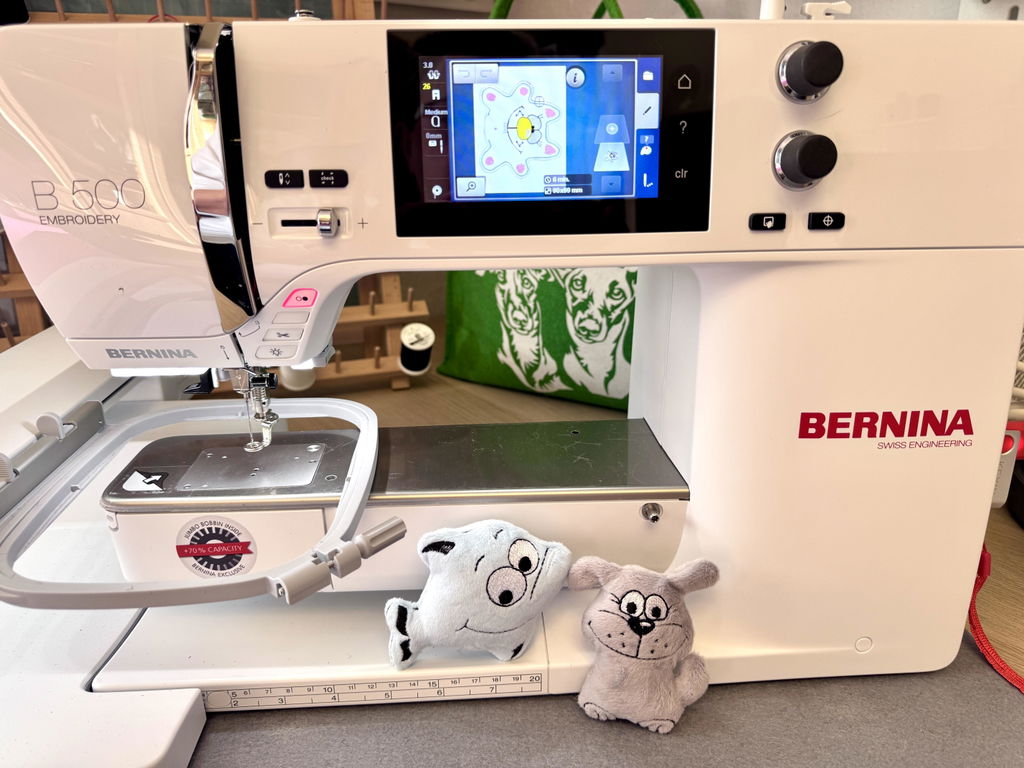
The video demonstrates embroidery with the Brother Innov-is 880E. However, many of the tips shown work just as well for other embroidery machines, for example for the Bernina B500, B540, B570, B700 Pro, as well as for bernette B70 and B79.
Why Patches are so Practical with an Embroidery Machine
A self-embroidered patch is quick to make, looks high-quality, and can be used in many ways. You can sew it onto clothing, attach it to bags, or process it into an iron-on patch with a suitable backing. It's particularly practical that you're not reliant on ready-made designs. If you already have an embroidery file, you can easily create your own patch from it in many cases.
This is a great solution especially for small series, personalized projects, or creative unique pieces. You can also choose the colors, size, and finish exactly as they fit your project.

What you need for embroidering patches
For clean and stable results, the interplay of embroidery file, base material, stabilizer, and needle is crucial. The following materials have proven effective:
- Patch base in cut sizes or from the roll
- Tear-away stabilizer, ideally hooped double
- alternatively Tear Away Plus in two layers
- a good embroidery machine needle, for example Schmetz in size 75
- Embroidery thread in matching colors
- a sharp scissors for clean trimming
- optional BSN if you want to turn the patch into an iron-on patch
Working with a magnetic hoop is particularly pleasant. Especially with Brother, Bernina, or Bernette, it ensures even hooping and good material tension.
Step 1: Create the appropriate outline in the embroidery software
For your patch to have a nice outer edge later, you need a suitable border around your design. This outline can be created directly in many embroidery programs.
In Bernina V9 Creator, this works with the Outlines and Offsets function. There you mark your design, activate the offset outline and select, for example, an offset of 3 mm. For a classic patch, a single offset is usually sufficient. A satin stitch line is very suitable as the stitch type.
Similar functions can also be found in professional Wilcom-based programs. If you are working with CREATIVATE Elite, you can also create an outline, but it's a bit more manual there.
Step 2: Prepare the embroidery hoop with tear-away stabilizer
In the next step, you hoop two layers of tear-away stabilizer in your embroidery hoop. This provides more stability and is a good basis for clean patches. If you prefer to work with material from a roll, you can alternatively use two layers of Tear Away Plus.
With this method, we deliberately do not use Ultra Solvy as the actual patch backing. While that can also work, it has the disadvantage of leaving material on the back of the patch, which can make subsequent ironing on with BSN more impractical.
If you work with a magnetic hoop, this step is particularly pleasant. The material lies neatly and evenly in the hoop right away, without you having to correct it for a long time.

Step 3: Embroider the position of the design
Now start your embroidery file and first have the position of the design embroidered. This first step shows you exactly where your patch base needs to be placed.
Especially with detailed designs, it's worth working cleanly here. Because the more accurate the placement in the first step, the nicer the finished result will be later.
Step 4: Lay down and fix the patch base
Now place your patch base on the pre-embroidered position. Practical pre-cuts are particularly convenient here because you don't have to cut each piece from the roll first. They save time and can be processed cleanly.
Then the patch base is stitched down. This ensures it stays securely in place during the rest of the embroidery process.
Step 5: Fully embroider the design
In the next step, the machine finishes embroidering the actual design. This is where the importance of a good needle, clean stabilization, and smooth thread flow becomes apparent.
A precise embroidery machine like the Brother Innov-is 880E particularly shines here. Fine details are cleanly achieved, and designs can even be transferred wirelessly via the Artspira app. But you can also implement this technique very cleanly with other good embroidery machines from Brother, Bernina, or bernette.
If you work with larger thread cones or want to intentionally lengthen the thread path, an external cone and bobbin holder can also help to achieve a smooth embroidery pattern.
Step 6: Neatly trim the patch base
As soon as the design is finished embroidering, remove the hoop from the machine. Now, carefully trim the excess patch base with sharp scissors.
Work carefully here, as this step significantly affects the appearance of your finished patch. The cleaner you cut at this point, the higher quality the outer edge will appear later.
Step 7: Embroider the finishing edge
Now reinsert the hoop into the machine and embroider the prepared outline. This final border gives the patch its typical clean finish and covers small irregularities at the edge.
It's worth choosing thread that matches the patch color or contrasts deliberately, depending on the look you want to achieve.

Step 8: Remove the tear-away stabilizer
After the final embroidery step, you remove the tear-away stabilizer from the hoop and peel it off layer by layer from the back. This is precisely why this method is so pleasant: the patch can be cleanly detached from the backing material, and you get a much smoother back than with some classic solutions using thick film.
Your patch is now essentially finished and can already be sewn on.
How to turn your sew-on patch into an iron-on patch
If you want to iron on your patch instead of sewing it on, you can additionally apply BSN to the back. Thanks to the clean reverse side of this method, this is much easier to do.
This way you can easily turn an embroidered patch into a finished iron-on patch, which you can later attach to your desired project with heat.
Which machines is this technique suitable for?
The demonstrated method works with all embroidery machines. In the video, we use the Brother Innov-is 880E, but we also discuss suitable accessories and options for the following models:
- Brother Innov-is 880E
- Bernina B500
- Bernina B540
- Bernina B570
- Bernina B700 Pro
- Bernette B70
- Bernette B79
If you work with a different embroidery machine, you can often apply the technique similarly. What matters less is the brand and model, and more a clean stabilization, suitable materials, and a sensibly prepared embroidery file.
Our tip for nicer patches
If you want to embroider patches more frequently, it's worth paying attention to small details. A good embroidery needle, clean tear-away stabilizer, a suitable patch base, and a magnetic hoop often make more of a difference in everyday use than you might initially think.
Above all, however: The better the material is stabilized, the cleaner the edges, fills, and outlines will be. This is precisely why we currently recommend this method with tear-away stabilizer or Tear Away Plus so much.
Conclusion: Making your own patches is easier than many think
Creating patches with an embroidery machine is not a complicated special project, but very feasible with the right technique. If the embroidery file, stabilization, and process are well-matched, you can create clean sew-on and iron-on patches in just a few steps.
If you are looking for the right materials or have questions about embroidery machines, magnetic hoops, embroidery software, or patch bases, you can find many of the products shown directly in our shop. And of course, we also support you beyond your purchase with honest advice and practical tips from everyday use.


Split:
Embroidery Machine Accessories: 6 Must-Haves for Clean Embroidery Results
Summer Sewing Days at Make ma!