
On Wednesday, March 11, 2026, at 8:00 PM , we'll be embroidering a dog-shaped keychain together live. You can follow the livestream right here in the magazine or on YouTube and see step by step how the project is completed.
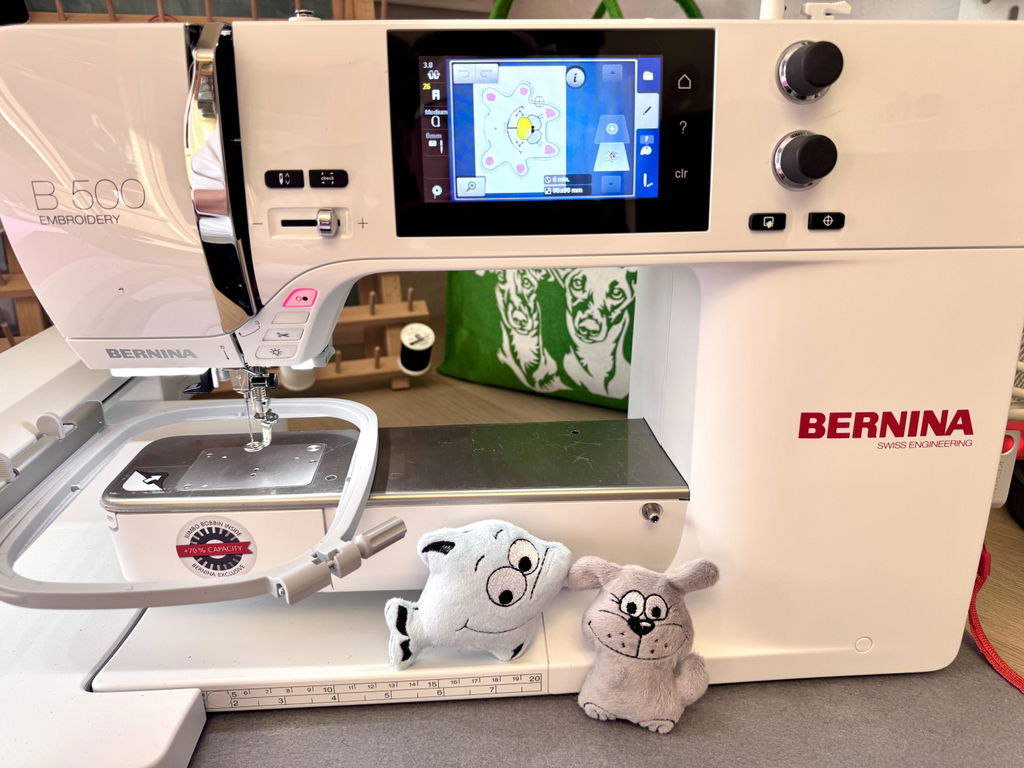
For this example, we're using the Brother M340ED , a compact embroidery machine with a maximum embroidery area of 10 x 10 cm . This size is particularly practical for everyday use: many small projects, labels, or accessories can be easily created with it. At the same time, the livestream demonstrates that you don't need a large industrial embroidery machine for such projects – a small home embroidery machine is perfectly sufficient.


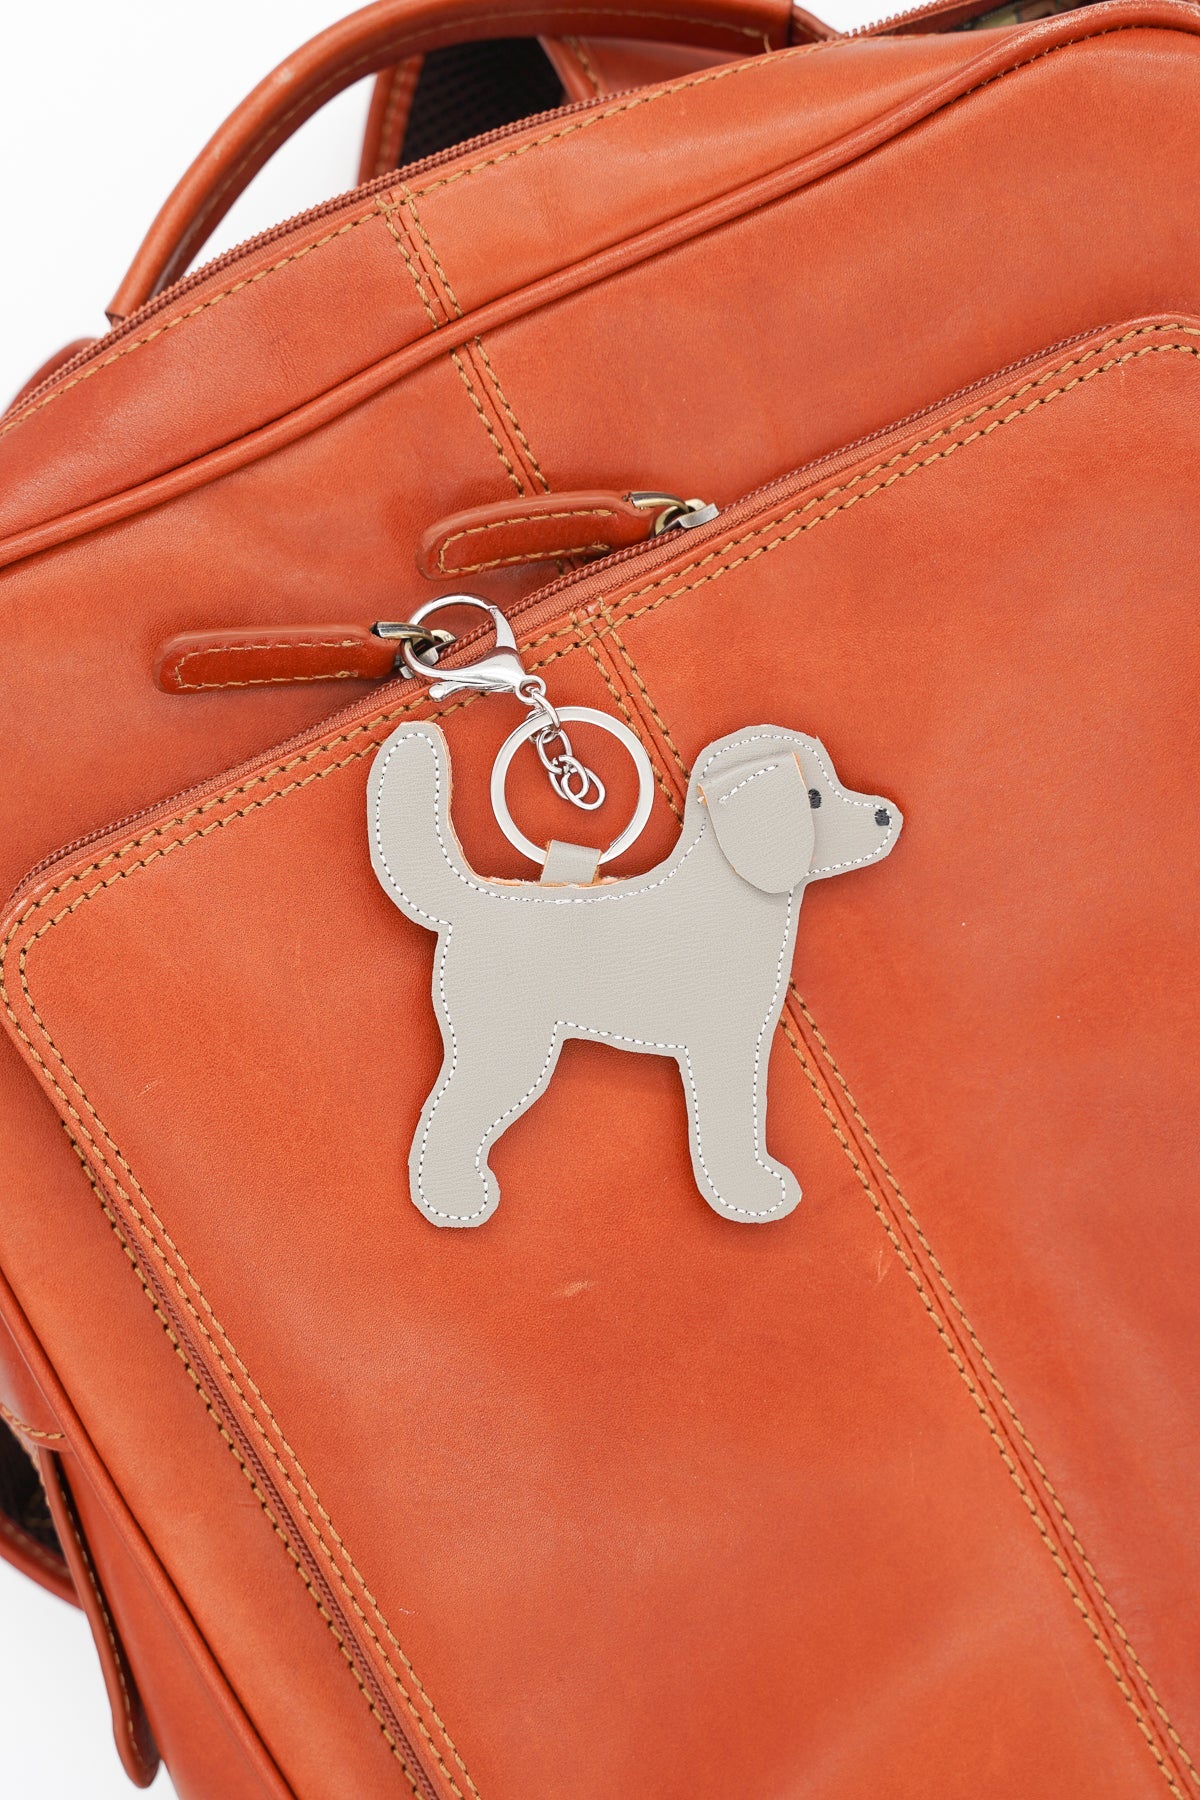
We use faux leather and classic embroidery thread as materials. Faux leather is ideal for keychains because it's durable, can be stitched neatly, and has a beautiful finish. In the livestream, we'll show you, among other things:
- how the motif is set up within the frame
- what you should pay attention to when embroidering faux leather
- which order makes sense when embroidering
- how a finished key ring is created from just a few stitches
The project is deliberately kept compact and is ideally suited for small series, gift ideas or as a product for your own labels.
A special aspect of this project: all profits from the embroidery design are donated to the animal welfare organization VETO. This means that every embroidered version of this little dog directly supports animal welfare.
If you'd like to join in the live stitching or simply watch, tune in on Wednesday evening. Perhaps you'll not only create a new keychain – but also a small gesture to encourage greater support for animal welfare.


Split:
You really need this when you start sewing.
How customisation can give you a wardrobe full of unique pieces