
Why a USB stick is ideal for transferring embroidery files
A USB flash drive is the easiest and most secure way to transfer embroidery files to virtually any embroidery machine, regardless of the manufacturer. It's important that the drive is correctly formatted and the embroidery files are in the correct format .
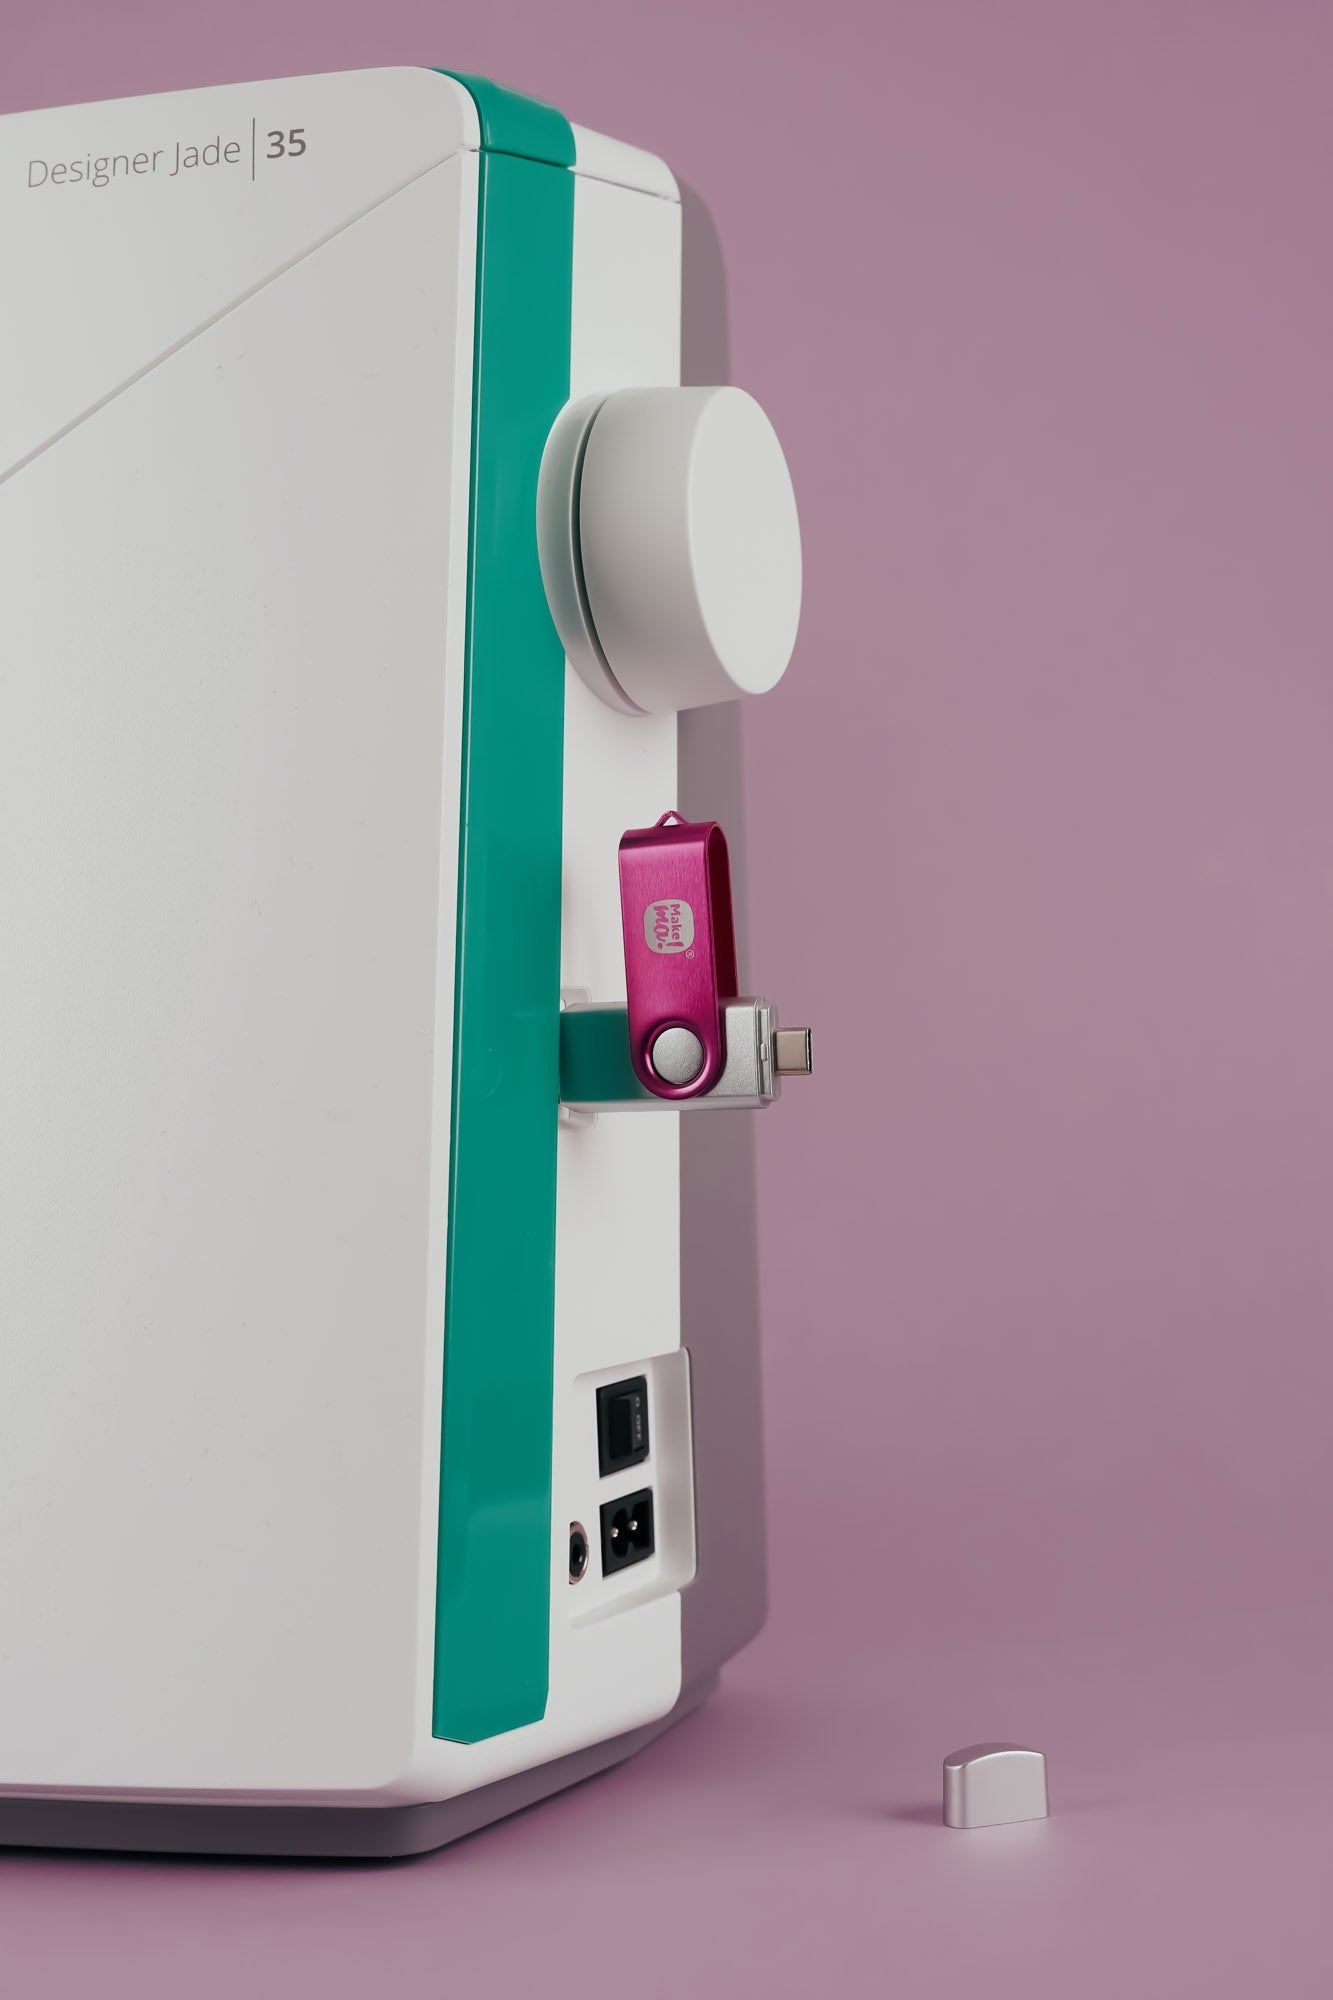
Requirements for USB transfer
Before transferring the file, check the following points:
- Embroidery file in the correct format (e.g. .PES, .JEF, .VP3, .DST – depending on the machine)
- USB stick with FAT32 formatting
- No subfolders , file must be in the main directory of the stick
- USB stick no larger than 16–32 GB (sticks that are too large may cause read errors)
- No special features such as LED, password protection or Wi-Fi functions
How to transfer embroidery files via USB – step by step
1. Prepare the USB stick
Insert an empty, FAT32-formatted USB drive into your computer. Make sure no other files or folders are stored on the drive.
2. Download embroidery file
Download the embroidery file in the format appropriate for your machine from a trusted source (e.g. .PES for Brother, .EXP for Bernina, .VP3 for Pfaff).
3. Copy the file to the stick
Copy only the embroidery file itself, not the enclosed PDF color charts or ZIP folders , directly into the root directory of the USB stick.
4. Insert the stick into the machine
Insert the USB stick into the designated port on your embroidery machine. Wait until the files are loaded.
5. Select file and start
Select the desired motif on your machine's display. Make sure the file preview is visible and the size fits the embroidery hoop you're using.
Typical sources of error during USB transfer
-
Wrong file format selected
→ Check if you have loaded the correct format for your model -
File still in ZIP folder
→ Only unpacked embroidery files are recognized -
USB stick incorrectly formatted
→ Only FAT32 is supported by most machines -
Embroidery file is located in a subfolder
→ The machine can only read files in the root directory -
Stick not compatible
→ Some machines don't recognize certain USB sticks. Try a different stick with 8–16 GB storage capacity.
Summary
- Use the appropriate embroidery file format
- Make sure the USB is formatted correctly
- Do not save the file in subfolders
- Use the simplest USB sticks possible without additional functions
With these steps, the transfer will be quick and reliable – regardless of your embroidery machine.


Split:
Bobbin thread comes up