
Welcome to this creative DIY project where we'll sew a stylish hobo bag together! The hobo bag, with its relaxed shape and spacious interior, is not only a practical everyday companion but also a fashion statement that no wardrobe should be without. With our step-by-step guide and a precise hobo bag pattern, we'll show you how to sew this bag yourself in just five easy steps. Whether you're a beginner or a pro, this guide will help you expand your skills and create your own unique hobo bag.
What is a hobo bag?
The term "hobo bag" is derived from the word "hobo," which originally referred to vagrants or migrant workers in the United States. These men and women often traveled with few belongings, which they wrapped in cloth bags or old shawls, which they then carried over their shoulders on the end of a stick.
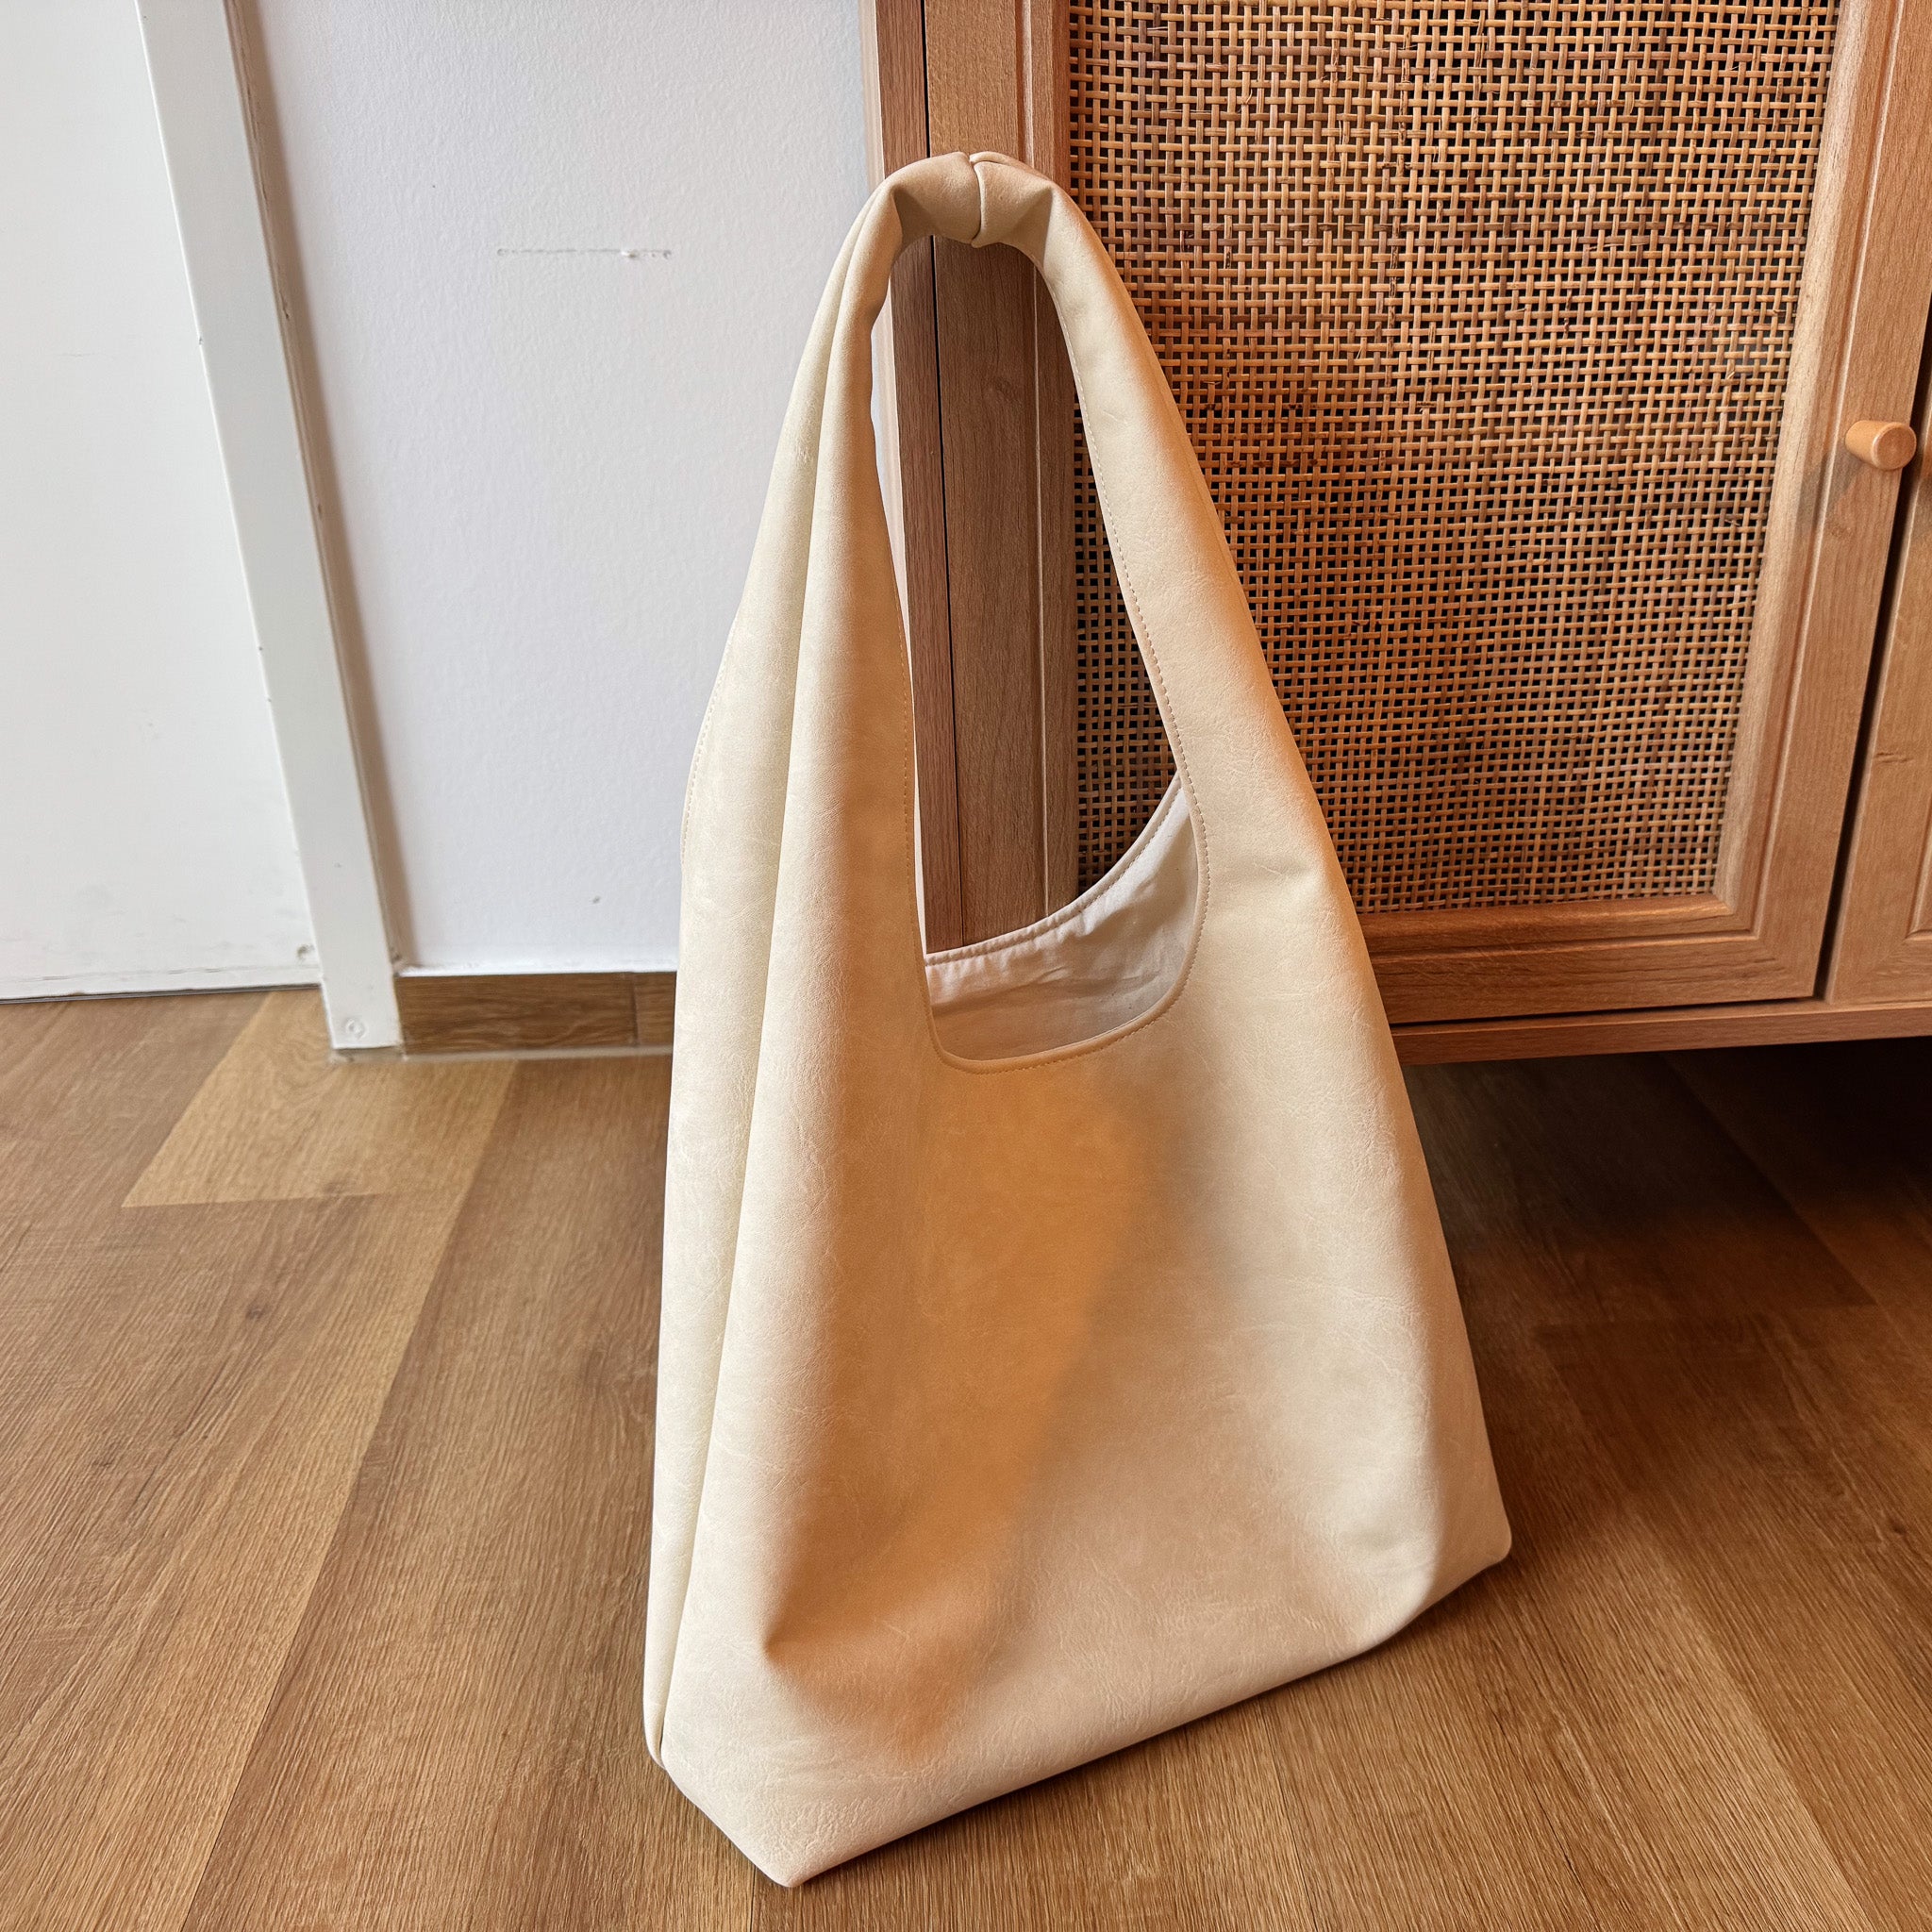
The modern hobo bag is inspired by this style of bag—it's typically large and has a slightly crescent-shaped, floppy shape reminiscent of a tied-up bag. These bags are particularly popular for their casual, stylish look and functionality.

DIY instructions: Sew your own hobo bag
The hobo bag, inspired by the simple bags mentioned above, is now a classic in the fashion world. Available in a variety of shapes and sizes, it has become increasingly popular, especially on Pinterest: a stylish accessory that's both practical and chic. With these simple instructions and our matching hobo bag pattern, you can create your own hobo bag. Let's get started!

Material list for sewing a hobo bag
You will need these materials to make this chic shoulder bag yourself:
- Solid fabric for the outer pocket, e.g. exactly 2 rolls of this artificial leather
- Thin cotton fabric for the inner lining
- Sewing machine and appropriate thread
- Scissors, pins or clips, tailor's chalk or a fabric marker, ruler
- Hobo Bag sewing pattern, printed
- If you are working with artificial leather or leather, we recommend a suitable Teflon / glide foot

Step 1: Cutting and marking
Start by printing out your hobo bag pattern and gluing it together – or create the pattern according to your own specifications.
Then place the pattern piece on the faux leather fabric and trace the outlines and 1cm seam allowance all around with tailor's chalk or a fabric marker. Carefully cut out the pattern piece. Repeat this process with the cotton fabric for the lining. Make sure both pieces are exactly the same to avoid fitting issues later.
Step 2: Sew the bottom edge and sides together
Take the faux leather fabric pieces, place them right sides together and raw edges together, and sew the two outer sides and the bottom edge together using your sewing machine. Make sure, as mentioned, that the right sides (the nice sides of the fabric) are facing together. Repeat this step for the cotton lining, but leave a turning opening unstitched at the bottom edge.

Step 3: Create box shape
To give your hobo bag a more stable base, use the corners at the bottom of the pattern. Fold each corner into small rectangles perpendicular to the seam and sew them in place. This step helps create a box shape, giving the bag more volume and stability.
Do this step for both corners of the faux leather fabric and the lining fabric.
Step 4: Sew the lining to the outer pocket
Place the lining inside the outer pocket, right sides facing each other, so it's on the inside. Sew the lining to the outer pocket along the long, top curve.
Step 5: Turn and close the turning opening
Now comes the magic part: Turn the bag right side out through the opening in the lining. Smooth all seams and contours so the bag takes on its full shape. Finally, close the opening in the lining with a seam and sew the straps together.
Voilà, your self-sewn hobo bag is finished!

Sewing pattern + detailed instructions
An even more detailed step-by-step guide with photos is included free of charge with the pattern. Also included: a zero-waste idea for how to sew an additional makeup bag using your fabric scraps.
Products for this project
You can find the products featured in this post in our shop. Select the product below or use the search to find more products.


Split:
Embroidery software comparison 2025: Creativate Elite vs. Bernina V9
10 accessories for the embroidery machine that I wish I had known about earlier