
Patches are everywhere: on jackets, backpacks, bags, club clothing, or children's clothes. Whether for clubs, hunters, dogs, events, or simply as a creative statement – embroidering your own patches is easier than many people think.
With the right patch base, an embroidery machine and a few clean work steps, you can create high-quality, durable badges that look store-bought – only more personal.
In this article, we'll show you step by step how to make your own badges – including material recommendations, professional tips, and a free embroidery template to download .
- 1. Why embroider patches yourself?
- 2. What is BadgeTex?
- 3. Which embroidery machine do I need for patches?
- 4. Materials list: What you need for embroidering patches
- 5. Step-by-step: How to embroider your own patch / applique
- 6. Make your own iron-on patch (optional)
- 7. 🎁 Free download: Patch template for your embroidery machine
- 8. 📹 Extra: Create your own patch form (Creativate Elite)
- 9. Inspiration: What are self-embroidered patches suitable for?
- 10. Suitable products for patchwork (at the end of the article)
Why embroider patches yourself?
- individual designs instead of mass-produced goods
- Perfect for clubs, groups, children & dogs
- Preparation: easier than direct embroidery on delicate fabrics
- Also ideal for small embroidery machines
- reusable & flexibly placeable
With the new BadgeTex badge fabric, patch embroidery becomes particularly easy – and really clean.

What is BadgeTex?
BadgeTex is a specially developed badge fabric for embroidery machines .
It is dimensionally stable, does not fray and can be neatly overlocked – perfect for patches, appliqués and badges .
Ideal for:
- Club badge
- Firefighters / Hunters / Dogs
- Children's clothing & backpacks
- Bags, Caps & Accessories
New: BadgeTex is now available in many colors – to match your project.
Which embroidery machine do I need for patches?
Good news: Almost every embroidery machine is suitable for patchwork embroidery.
- Small embroidery machines with 10×10 cm frames
→ ideal for individual patches (e.g. M340ED ) - Larger embroidery hoops
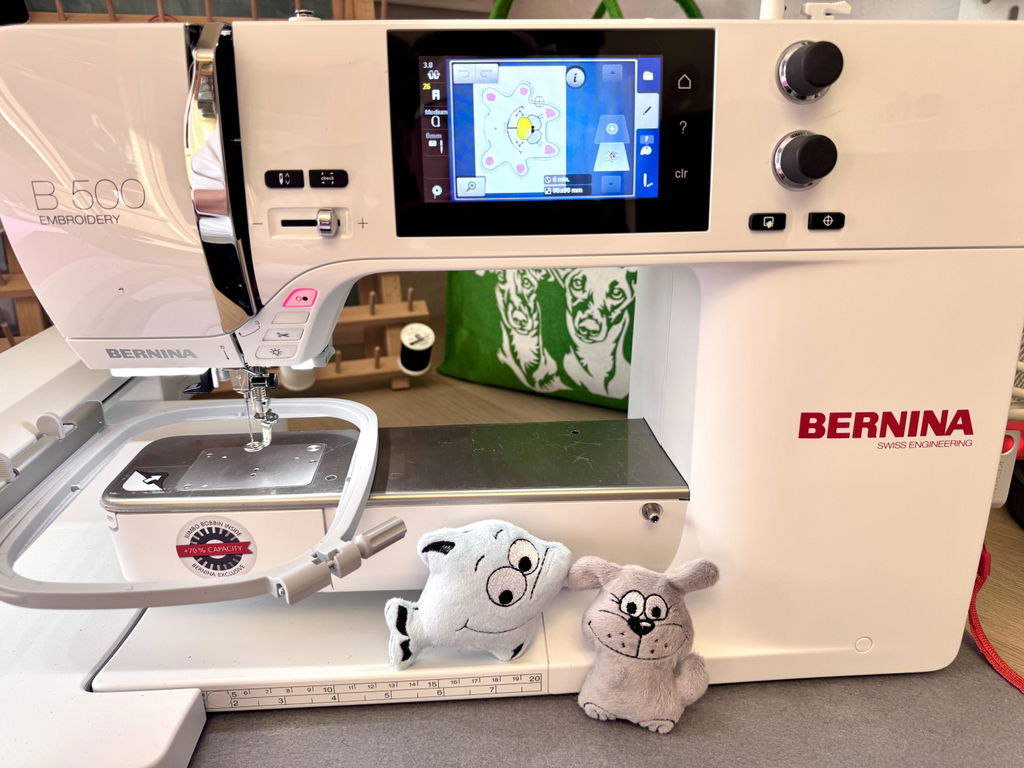
→ embroider multiple patches simultaneously (e.g. Brother 880E , Celeste CX1E , Bernette B70 , Bernina B500 )
👉 The difference lies not in the quality, but in the quantity per embroidery pass .


Materials list: What you need for embroidering patches
- Embroidery machine
- BadgeTex Patch Base / Badge Fabric
- Sulky Ultra Solvy (water-soluble film)
- Embroidery thread
- Application scissors
- Optional: Sulky BSN (for iron-on patches)
- iron
Step-by-step: How to embroider your own patch / applique
1. Prepare the embroidery frame
Stretch Sulky Ultra Solvy smoothly and tautly in the embroidery frame.
👉 The foil serves as a carrier material for the patch.

2. Have the embroidery done in position
Start the embroidery file.
The machine first embroiders a position line that indicates where the patch base will be placed .

3. Apply and secure BadgeTex
Place the BadgeTex badge fabric precisely onto the marked area.
The machine then neatly embroiders it in the next step.
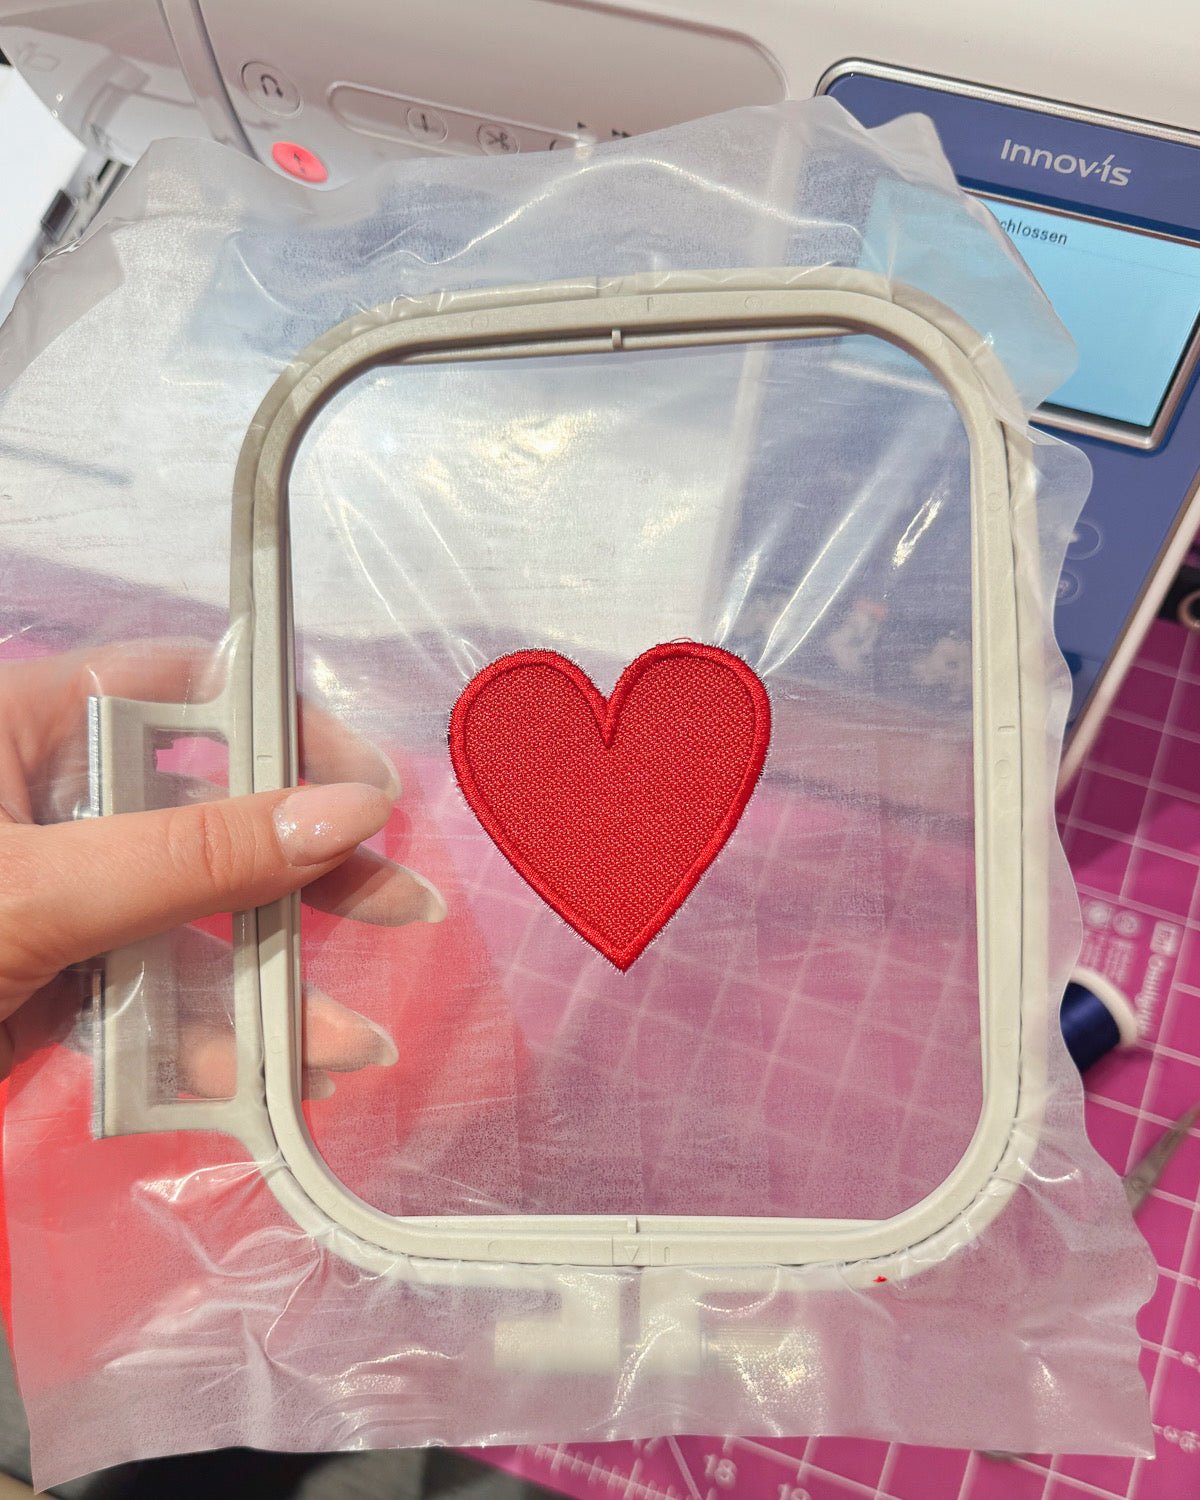
4. Embroider the motif
Now your design will be fully embroidered – directly onto the badge fabric.
5. Cut out
Use a good pair of appliqué scissors to neatly cut off the excess fabric.
👉 Leave approximately 1 mm extra
The cleaner the work is done here, the better the patch will look later.
6. Overlock the edge
The embroidery machine is now stitching the finishing edge (satin edge / overlock edge) .
This step makes the patch:
- durable
- stable
- professional

7. Remove the patch from the foil.
After embroidering, you can simply "push" the finished patch out of the foil .
Residues from Ultra Solvy can be washed out.
Make your own iron-on patch (optional)
Do you want to make the patch iron-on ?
- Cut out Sulky BSN in the same shape
→ approx. 1 mm smaller than the patch - Place BSN on the back of the patch.
- Fix with an iron It's better to take more time than to work from the back with too much heat.
- Better more time than too much heat
- working from the back
👉 BSN melts optimally and permanently bonds patch and fabric.
🎁 Free download: Patch template for your embroidery machine
🎁 Free for you:
A round patch shape (circle) for download – directly for your embroidery machine.
- ideal for beginners
- Perfect for club and logo patches
- Compatible with common machine formats
📹 Extra: Create your own patch form (Creativate Elite)
Do you want to create your own shapes?
In a short video , we'll show you how to use the Creativate Elite embroidery software. You digitize a patch format yourself – cleanly, quickly and without detours.
Inspiration: What are self-embroidered patches suitable for?
- Club clothing
- Children's jackets & kindergarten backpacks
- Dog harnesses & dog jackets
- Bags & Gym Bags
- Events & Merchandise
Suitable products for patchwork (at the end of the article)
- BadgeTex badge fabric (all colors)
- Sulky Ultra Solvy
- Sulky BSN
- Application scissors
- Patch embroidery set (ideal for beginners)


Split:
How to embroider patches with Velcro backing: Patches explained step by step
Brother F580: The sewing machine with embroidery function that won't overwhelm beginners