

AI images often look like perfect embroidery, but are frequently unsuitable as a template for a real embroidery file. We'll show you which mistakes to avoid with AI-generated motifs, how to formulate better prompts, and how to recognise well-digitised embroidery files.
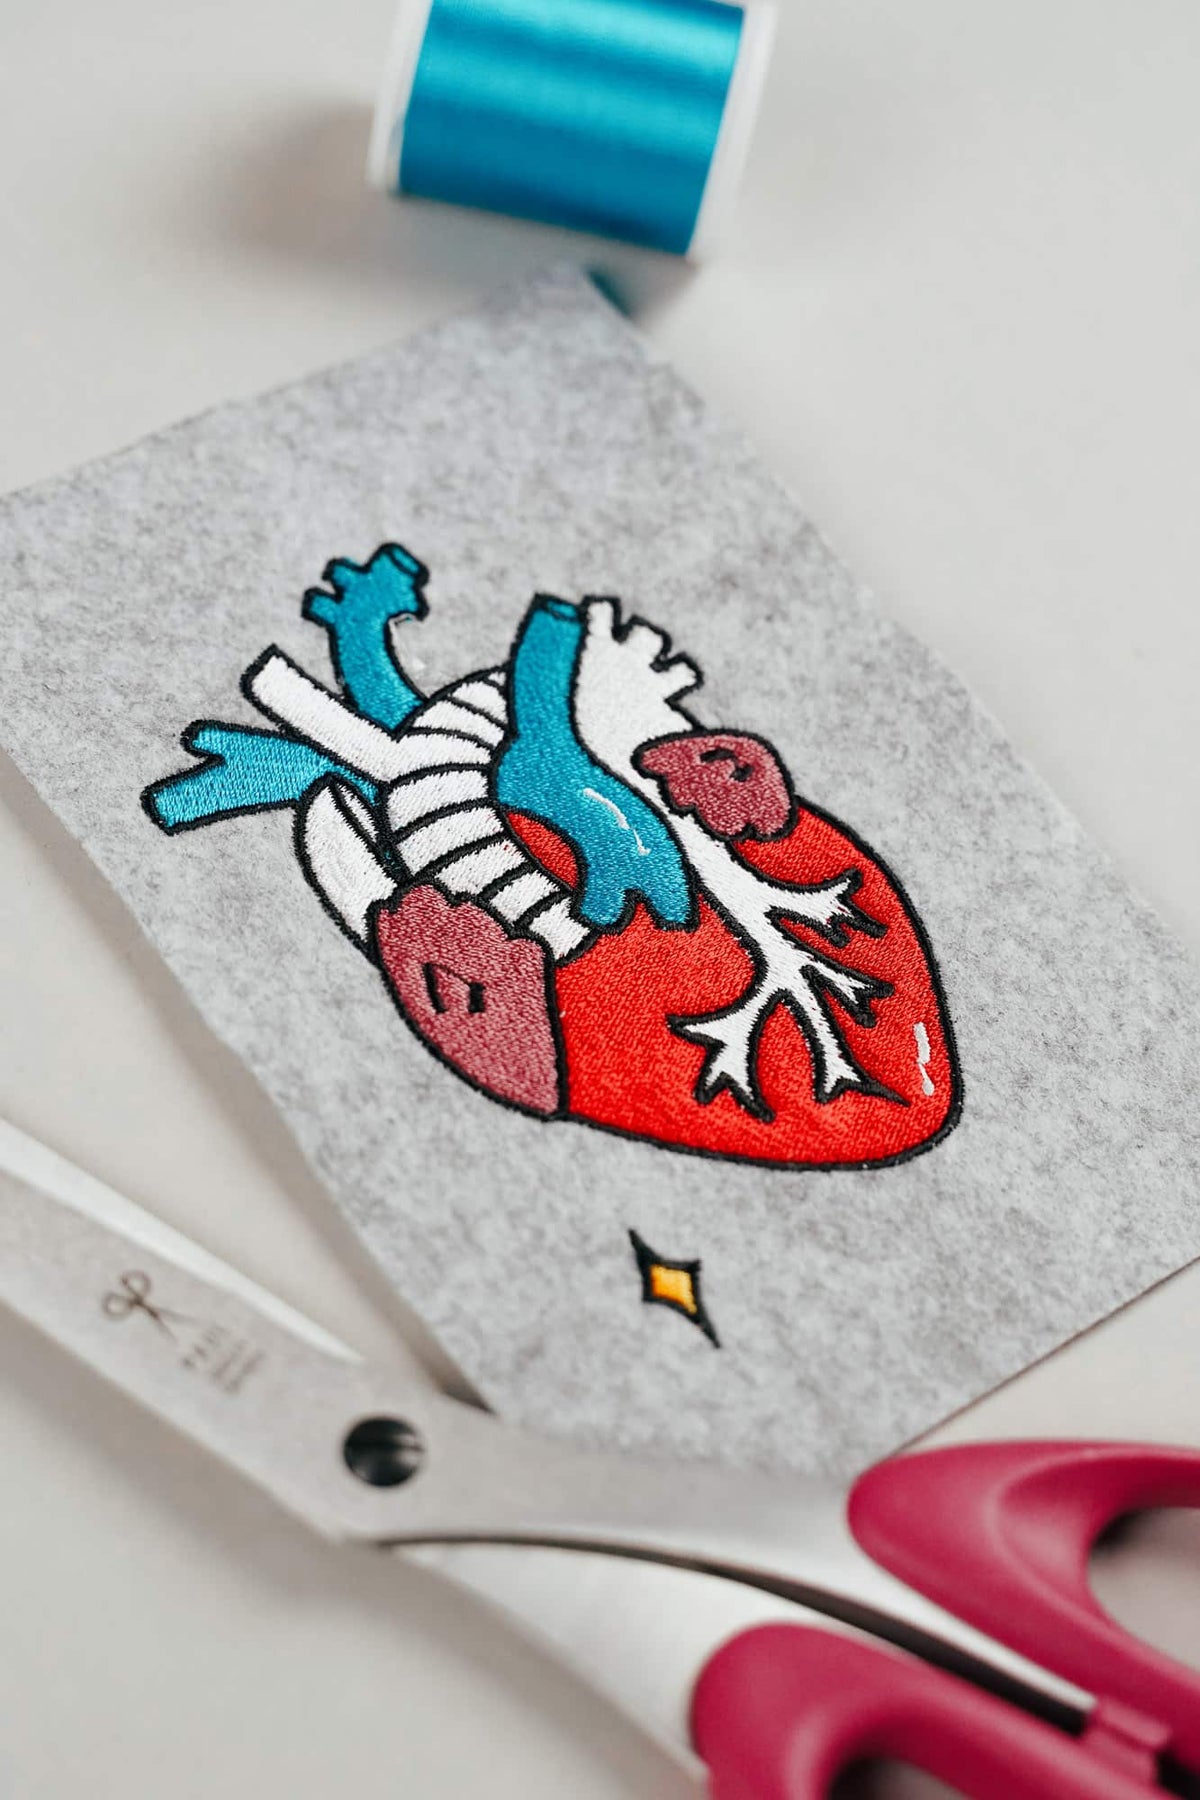
One click – and the AI generates a perfectly “stitched” logo, a detailed lettering, or an elaborate-looking embroidery. It looks impressive. But it often has astonishingly little to do with an actual embroidery file.
This is exactly where an increasingly significant problem is emerging: AI image generators create motifs that appear as finished embroideries on screen, but technically often cannot be meaningfully converted into an embroidery file at all.
Too many details, razor-thin lines, tiny fonts, gradients, shadows, light reflections, and artificial thread structures mean that a beautiful AI image is far from being a usable template for an embroidery file.
Therefore, anyone who wants to use AI to create a template for an embroidery file should proceed differently: The AI should not imitate embroidery, but rather provide the clearest, most reduced illustration possible.
Because the actual embroidery only emerges during the digitization of the embroidery file.
Why AI-generated embroidery is often not stitchable
Anyone who feeds an AI image generator with terms like "embroidery," "embroidered logo," or "stitched design" now receives astonishingly realistic-looking results.
The problem: The AI usually does not create a technically functioning embroidery.
It generates an image that looks like embroidery.
For example:
- artificial thread structures are overlaid on surfaces
- light reflections on threads are simulated
- shadows are created
- individual apparent stitches are depicted
- different thread directions are optically imitated
However, this information is largely worthless for the later creation of a real embroidery file.
Embroidery software does not need a photograph of an embroidery, but a clear graphic basis.

Embroidery look is not the same as embroidery file
For a real embroidery file, each area must be technically constructed.
During digitization, for example, the following is determined:
- which stitch type is used
- in which direction the stitches run
- how dense an area is stitched
- which underlay stitches are necessary
- which elements are stitched first and which later
- where areas overlap
- how individual elements are connected to each other
An AI-generated embroidery look does not contain this information.
It merely shows a visual interpretation of what embroidery could look like.
Therefore, the following applies:
For creating an embroidery file, a simple illustration is usually much more helpful than an AI image that already looks like a finished embroidery.
Shadows and shine do not belong in the template
We particularly often see AI images with elaborately simulated light reflections.
For example, the AI does not simply display a blue surface as blue, but creates light blue reflections, dark shadow areas, and different gloss effects within it.
For an embroidery template, this is usually counterproductive.
Embroidery thread already has its own sheen. Depending on how the light falls on the embroidered surface and in which direction the stitches run, different brightnesses and reflections automatically arise.
A single-color embroidered surface can therefore appear lighter or darker from different angles.
Exactly this effect is part of the look of a real embroidery.
Therefore, gloss reflections, light edges, and artificial shading should not already be generated in the graphic template.
Instead, the template should contain the clearest, most uniform color areas possible.
Color gradients are also problematic
Digital illustrations can display any number of color gradations within a few millimeters.
With machine embroidery, this works differently.
Of course, with elaborately digitized embroidery files, shading or transitions can also be created. However, these must be specifically built up using thread colors, stitch density, and stitch direction.
A photographic color gradient generated by AI cannot simply be automatically transferred to embroidery.
Therefore, for most templates:
No color gradients. It's better to use a few clearly defined colors.
Instead of a soft gradient from dark blue to medium blue to light blue, for example, three clearly separated color areas are much more suitable.
The biggest problem: too many details
AI image generators love details.
Fine hairs, small dots, light edges, ornaments, shadows, tiny leaves, structures, or decorative lines make a digital illustration look interesting.
However, these very elements can quickly become a problem when embroidering.
Every detail needs space.
An element that is easily recognizable on a screen can be only a few millimeters large when embroidered. Then there may simply not be enough stitches available to represent it cleanly.
The result can be:
- merging outlines
- unreadable details
- unnecessarily high stitch counts
- hard and stiff embroidered surfaces
- small gaps
- messy outlines
- barely recognizable shapes
A good template for an embroidery file is therefore often significantly simpler than a normal digital illustration.

The planned embroidery size is decisive
One of the most important pieces of information when creating an embroidery file is the later size.
A 25 cm back motif can contain significantly more details than a logo that is only to be embroidered 6 cm wide.
Therefore, it should be determined before creating the AI template:
How large should the finished embroidery be?
Exactly this information can also be included directly in the prompt.
For example:
"The finished motif should still be clearly recognizable at a width of approximately 8 cm."
This gives the AI an additional instruction to reduce the motif more strongly.
Nevertheless, one should then check oneself:
Is every depicted detail still necessary and recognizable in the actual embroidery size?
If not, it can usually be removed.
Small text is particularly problematic
The limits become particularly clear with lettering.
AI image generators like to create:
- fine serifs
- thin script fonts
- small sublines
- tightly spaced letters
- delicate embellishments
This can look excellent on a monitor.
However, with machine embroidery, each letter must be built from actual stitches.
The smaller the font, the more difficult it becomes to cleanly represent, for example, letter interiors or small gaps.
A general minimum size cannot be specified for every font. Material, thread, digitization, and font type also play a role.
However, as a general rule:
The smaller the font to be embroidered, the simpler and bolder it should be designed.
Large, clear letters work much more reliably than fine script fonts.
There should also be sufficient spacing between individual letters.
Thin lines work better digitally than embroidered
The same applies to contours.
An AI can easily generate extremely thin lines. For embroidery, however, a line needs a certain width and must be built from actually executable stitches.
Problematic are, for example, very fine:
- facial features
- animal hair
- fingers
- plant stems
- geometric patterns
- ornaments
- inner lines
- lettering
If a line is important for the motif, it should be clearly and boldly represented in the template.
Fewer colors are usually better
Even with colors, the AI should be deliberately limited.
A seemingly red motif can quickly consist of numerous different shades of red, pink, and orange due to light, shadow, and AI-generated reflections.
For a real embroidery file, this would theoretically result in a multitude of different color areas.
In many cases, this is neither necessary nor sensible.
Therefore, the prompt can already state:
"Use a maximum of four solid color areas."
or:
"Use only five clearly separated, solid color areas."
This results in much clearer templates for later digitization.
Clear areas instead of complicated overlays
When digitizing an embroidery file, it must also be decided in what order the individual areas are to be embroidered.
An AI does not work according to this logic when creating an image.
It may generate:
- semi-transparent shadows
- overlapping color areas
- light reflections
- barely discernible transitions
- numerous small intermediate areas
The clearer the individual elements are separated from each other, the easier it will be to create a technically sensible embroidery file later.

Caution with extremely cheap embroidery files from online shops
AI is now changing not only the creation of templates. On platforms and marketplaces where finished embroidery files are offered, we are increasingly encountering motifs that were apparently created with AI and then automatically converted into an embroidery file.
This can be problematic.
Many embroidery programs have functions that can automatically convert an image into stitches. Such automatics can be helpful for certain simple motifs, but they do not replace careful digitization.
Especially with complex AI images, typical errors can arise:
- unnecessarily high stitch counts
- too many short individual stitches
- unsuitable stitch directions
- missing or incorrect underlay stitches
- untidy overlaps
- gaps between areas and contours
- too dense embroidery areas
- unnecessarily many thread trims
- small details that are practically impossible to embroider cleanly
- incorrect sequences of individual areas
Despite this, such a file can still look excellent on the preview image.
Because the image with which the embroidery file is sold does not necessarily have to show how the file actually looks when embroidered.
A computer preview is not a test stitch
For us, this is one of the most important points when buying ready-made embroidery files:
A digital simulation does not replace a real test stitch.
In embroidery software, a file can look very clean. Only during actual embroidery, however, does it become apparent how thread, fabric, backing, stitch density, and stitch direction interact.
Problems can become visible that are hardly noticeable in a computer preview.
For example:
- the fabric contracts
- contours shift relative to the areas
- small areas become illegible
- satin areas are too wide or too narrow
- too dense areas become stiff
- details disappear
- unnecessary thread trims prolong embroidery time
- individual areas are technically difficult to embroider
A professionally created embroidery file is therefore ideally actually embroidered, checked, and corrected if necessary.
Our tip: Buy the embroidery file based on the embroidered image – not the render
Especially with very cheap files, it is difficult for buyers to recognize how carefully a file was actually created.
Thanks to AI-generated motifs and automatic digitization functions, very large quantities of designs can now be produced and offered online in a short time.
Whether each of these files was actually test-stitched and checked afterwards is often not verifiable from the outside.
Therefore, we have a very simple recommendation:
Purchase ready-made embroidery files wherever you are shown photos of the actually embroidered result.
A real photo of the embroidery is much more informative than a photorealistic computer simulation or an AI-generated product image.
Pay attention, for example, to whether:
- real thread structure is visible
- an actual fabric or embroidery felt is recognizable
- small irregularities of a real embroidery are visible
- several embroidered examples are shown
- detailed photos of the embroidered motif are available
While this is not a guarantee for a perfect file, it is a very good indication that the motif has at least been actually tested.
Why problems with cheap files can persist for a long time
For embroidery files costing a few euros, many customers probably do not complain about every error.
If a file cost, for example, 3.90 US dollars, the effort of a complaint is greater for many than the financial loss.
As a result, poorly digitized or untested files can continue to be sold without this necessarily becoming immediately apparent on a platform.
Therefore, reviews alone are not always sufficient.
A photo of an actual test stitch can reveal much more when purchasing.

Custom-made embroidery files are different
Individual digitization services should be distinguished from this.
When a provider creates a custom embroidery file from your own logo, illustration, or lettering, there is usually a different process involved than in the mass sale of finished designs.
Here, a person often works specifically on a particular motif and takes into account, for example:
- desired embroidery size
- material used
- stitch types
- stitch directions
- sequence
- underlay stitches
- compensation
- thread changes
- technical limits of the motif
Especially for individual logos or company embroideries, this manual assessment is particularly important.
Software can also assist here. However, it is crucial that the file is not simply generated automatically from an image and passed on unchecked.
What should you tell an AI for an embroidery template?
A common mistake is to explicitly ask the AI for an embroidery.
Terms such as: "embroidered," "embroidery texture," "realistic embroidery," "stitched," or "thread texture"
often lead precisely to the result we do not need:
The AI simulates thread.
For a template to create an embroidery file, other terms are more useful:
- flat illustration
- vector style illustration
- simple graphic illustration
- strong, clear shapes
- clear outlines
- single-color areas
- limited color palette
- few details
- no color gradients
- no shadows
- no highlights
- no textures
A good AI prompt for a later embroidery file
Instead of:
"Create an embroidered anatomical heart with visible blood vessels and small details."
the following wording is more sensible, for example:
"Create a simple, flat illustration in vector style with an anatomical heart. Use strong, closed shapes, clear outlines, and a maximum of five single-color areas. Reduce the motif to the most important components of the heart and depict the blood vessels clearly and simply. Avoid color gradients, shadows, highlights, reflections, textures, and very small details. Leave sufficient space between individual elements and outlines. The motif should remain clearly recognizable and easy to embroider even at a finished width of approximately 10 cm. Do not simulate embroidery, stitches, thread, or fabric texture."
The last sentence is particularly important:
"Do not simulate embroidery, stitches, thread, or fabric texture."
Because we don't need a digital preview of a supposed embroidery.
We need a clear template from which a real embroidery file can then be created.
Even better: explicitly tell the AI what to omit
AI prompts often work better when they not only describe what should be created, but also what should be explicitly avoided.
For embroidery templates, the following instructions are helpful, for example:
- No color gradients.
- No shadows.
- No highlights.
- No reflections.
- No thread texture.
- No fabric texture.
- No very small details.
- No thin lines.
- No photorealistic representation.
- No simulated embroidery look.
- Use only clear, solid color areas.
- Use large, simple shapes.
- Clearly separate all elements.
This increases the likelihood of getting a usable starting point.
Simplifying an existing AI motif
If a complex AI image already exists, you can also ask the AI to create a simplified version of it.
For example:
"Simplify this motif as a graphic template for creating a machine embroidery file. Remove small details, thin lines, color gradients, shadows, highlights, reflections, and textures. Reduce the motif to a maximum of five single-color and clearly separated areas. The main silhouette and the most important elements should remain recognizable. Do not add any embroidery, stitch, thread, or fabric effects."
While the result is still not a finished embroidery file, it can be a much better basis for digitization.
AI can create the template – but not simply the embroidery file
AI is excellent for brainstorming.
Within a short time, different motif ideas, compositions, styles, font combinations, and color schemes can be tried out, for example.
However, creating a technically functional embroidery file is a separate step.
When digitizing, stitch types, stitch directions, underlay stitches, stitch densities, overlaps, and embroidery sequences must be determined, among other things.
The material used also plays a role.
For example, a motif for a firm cotton fabric can be structured differently than the same embroidery for jersey, fleece, or a cap.
Therefore, an AI image is initially just that:
a graphic template.
Our checklist for AI-generated templates
Before sending us an AI-generated graphic to create an embroidery file, it's best to check:
- Is the desired size of the finished embroidery known?
- Is the motif still clearly recognizable at this size?
- Can small details be removed?
- Are all important lines sufficiently bold?
- Are the shapes clearly separated from each other?
- Are as few colors as possible used?
- Have color gradients been removed?
- Does the template contain no artificial shadows?
- Does it contain no highlights or reflections?
- Have thread and embroidery textures been avoided?
- Is the font large and bold enough?
- Do the letters have sufficient spacing?
- Can the motif be further simplified?
The most important thing in one sentence
If you use AI to help with an embroidery file, don't let it create an embroidery – let it create a good illustration.
And if you buy a finished embroidery file, almost the opposite applies:
Don't rely on the perfect illustration or computer simulation. Look at how the file actually stitches out.
Luster, texture, and the characteristic effect of real embroidery are created by thread, stitch direction, stitch density, and digitization. Therefore, whether an embroidery file truly works is ultimately only shown on the embroidery machine.
Browse magazine & FAQ
More articles
AI embroidery designs look great – but as embroidery files, they're often completely useless
AI images often look like perfect embroidery, but are frequently unsuitable as a template for a real embroidery file. We'll show you which mistakes to avoid with AI-generated motifs, how to formulate better prompts, and how to recognise well-digitised embroidery files.
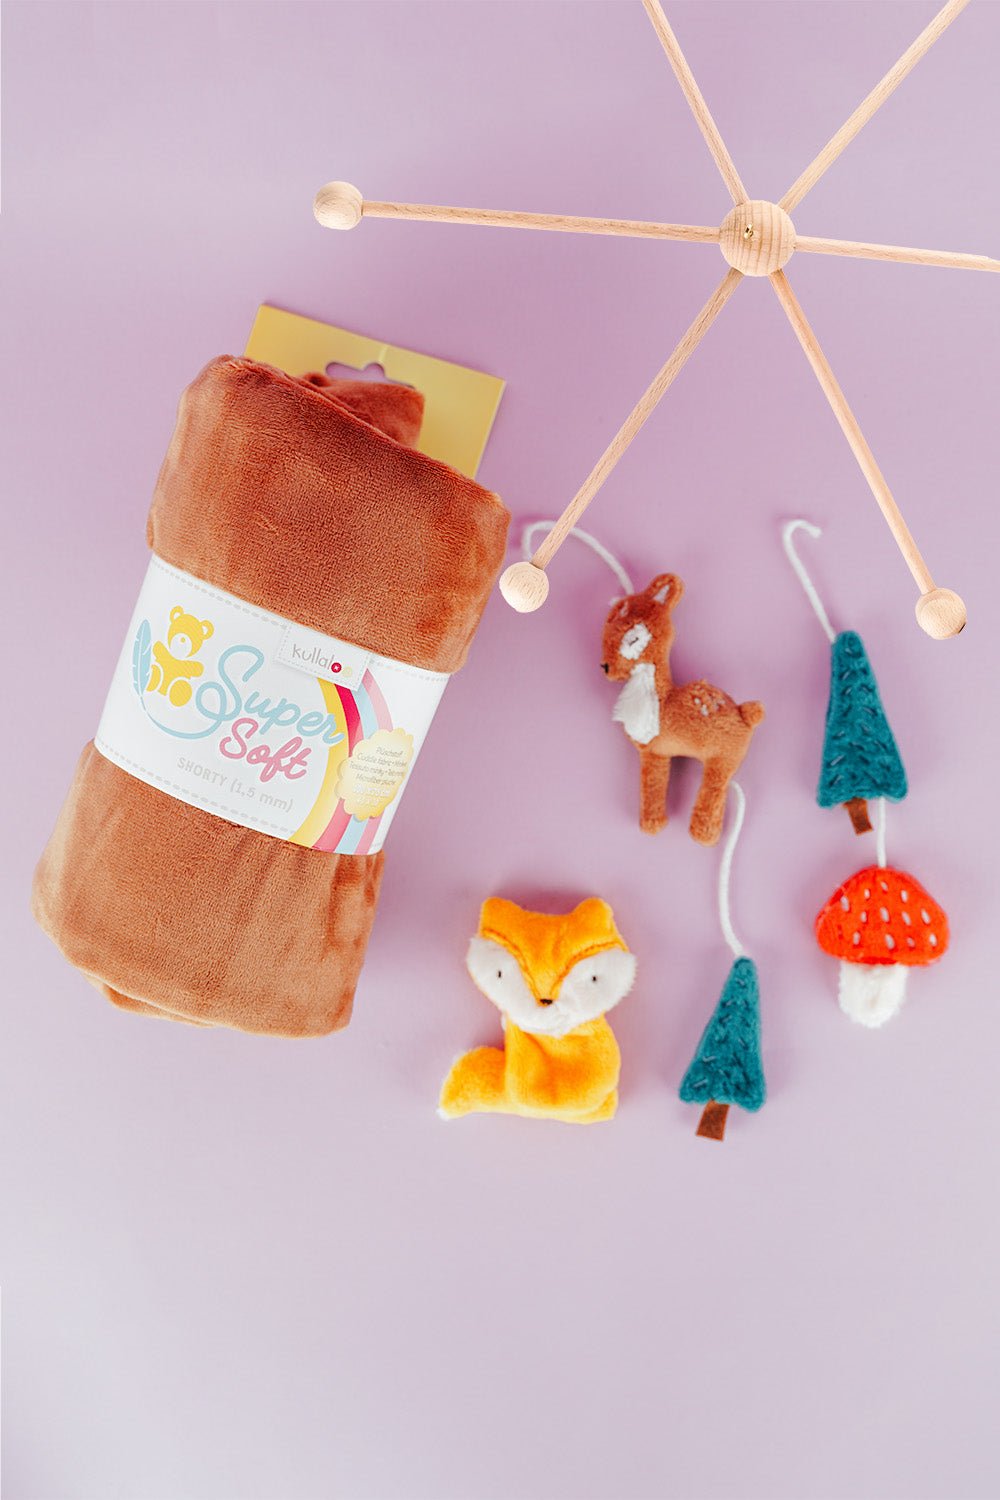
Embroider a woodland mobile: ITH ornaments step by step
Embroider fox, deer, fir tree and mushroom in a 10 × 10 cm hoop, then turn them into a woodland mobile or garland.
Read moreabout Embroider a woodland mobile: ITH ornaments step by step
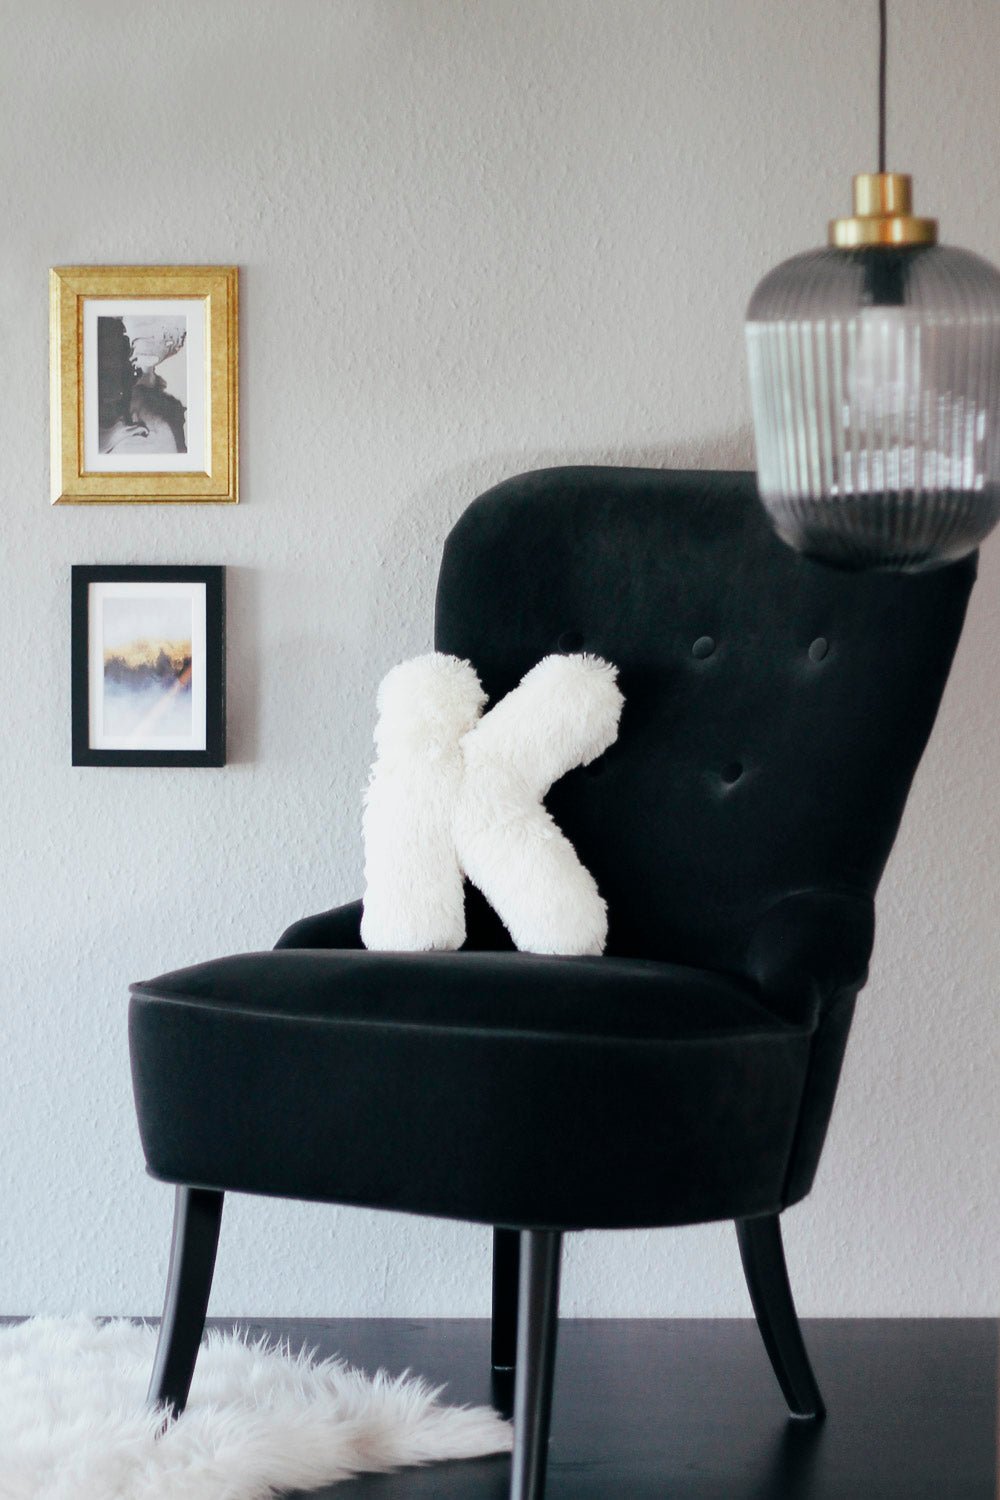
Sew an alphabet cushion: personal pillows from A to Z
Sew an alphabet cushion with neat curves, even filling and a hidden ladder stitch, using a digital pattern that includes every letter from A to Z.
Read moreabout Sew an alphabet cushion: personal pillows from A to Z
Split:
Embroider a woodland mobile: ITH ornaments step by step