

Sew an alphabet cushion: personal pillows from A to Z
- 0 commentson Sew an alphabet cushion: personal pillows from A to Z
- by Marit Warncke
Sew an alphabet cushion with neat curves, even filling and a hidden ladder stitch, using a digital pattern that includes every letter from A to Z.
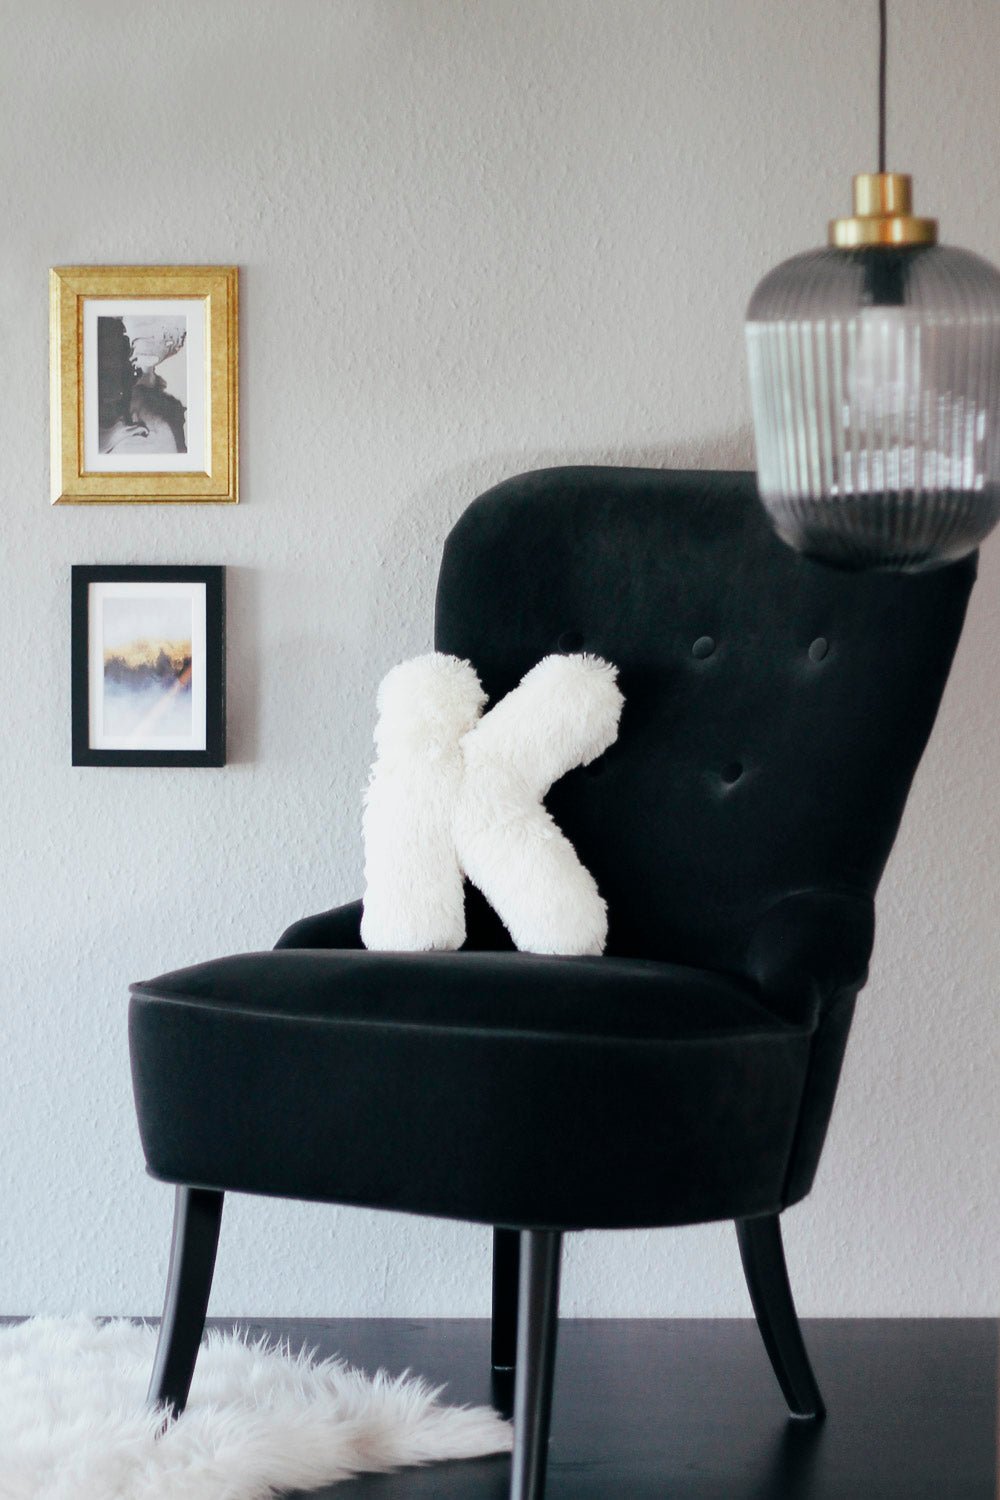
An alphabet cushion is a personal gift, name decoration and approachable sewing project in one. A correctly printed pattern, suitable fabric and evenly distributed filling keep the shape neat around curves and inside corners.
This guide takes you from printing to closing the turning gap. The digital Make ma! pattern contains every letter from A to Z plus its own instructions; always follow the measurements and seam allowance supplied with the pattern.

Print the PDF using the setting specified in the document and verify the scale before cutting fabric. At the original scale, the finished cushion is just under 40 cm tall. If you resize it, first check on paper that narrow bridges, openings and the turning gap remain practical. Place the layers right sides together and align the nap on plush fabric.
Use a slightly shorter stitch around tight curves and pivot in small steps with the needle down. Careful clipping works better than pulling at inside corners. Fill narrow sections a little at a time with a blunt turning tool so the surface stays even and the seams are not strained.

Choose one initial or combine several cushions into a name. For a child’s room, avoid loose ribbons, buttons and small decorations; this is décor, not a certified toy. Review the sewing essentials guide, then use the digital A–Z alphabet cushion pattern for the full project.
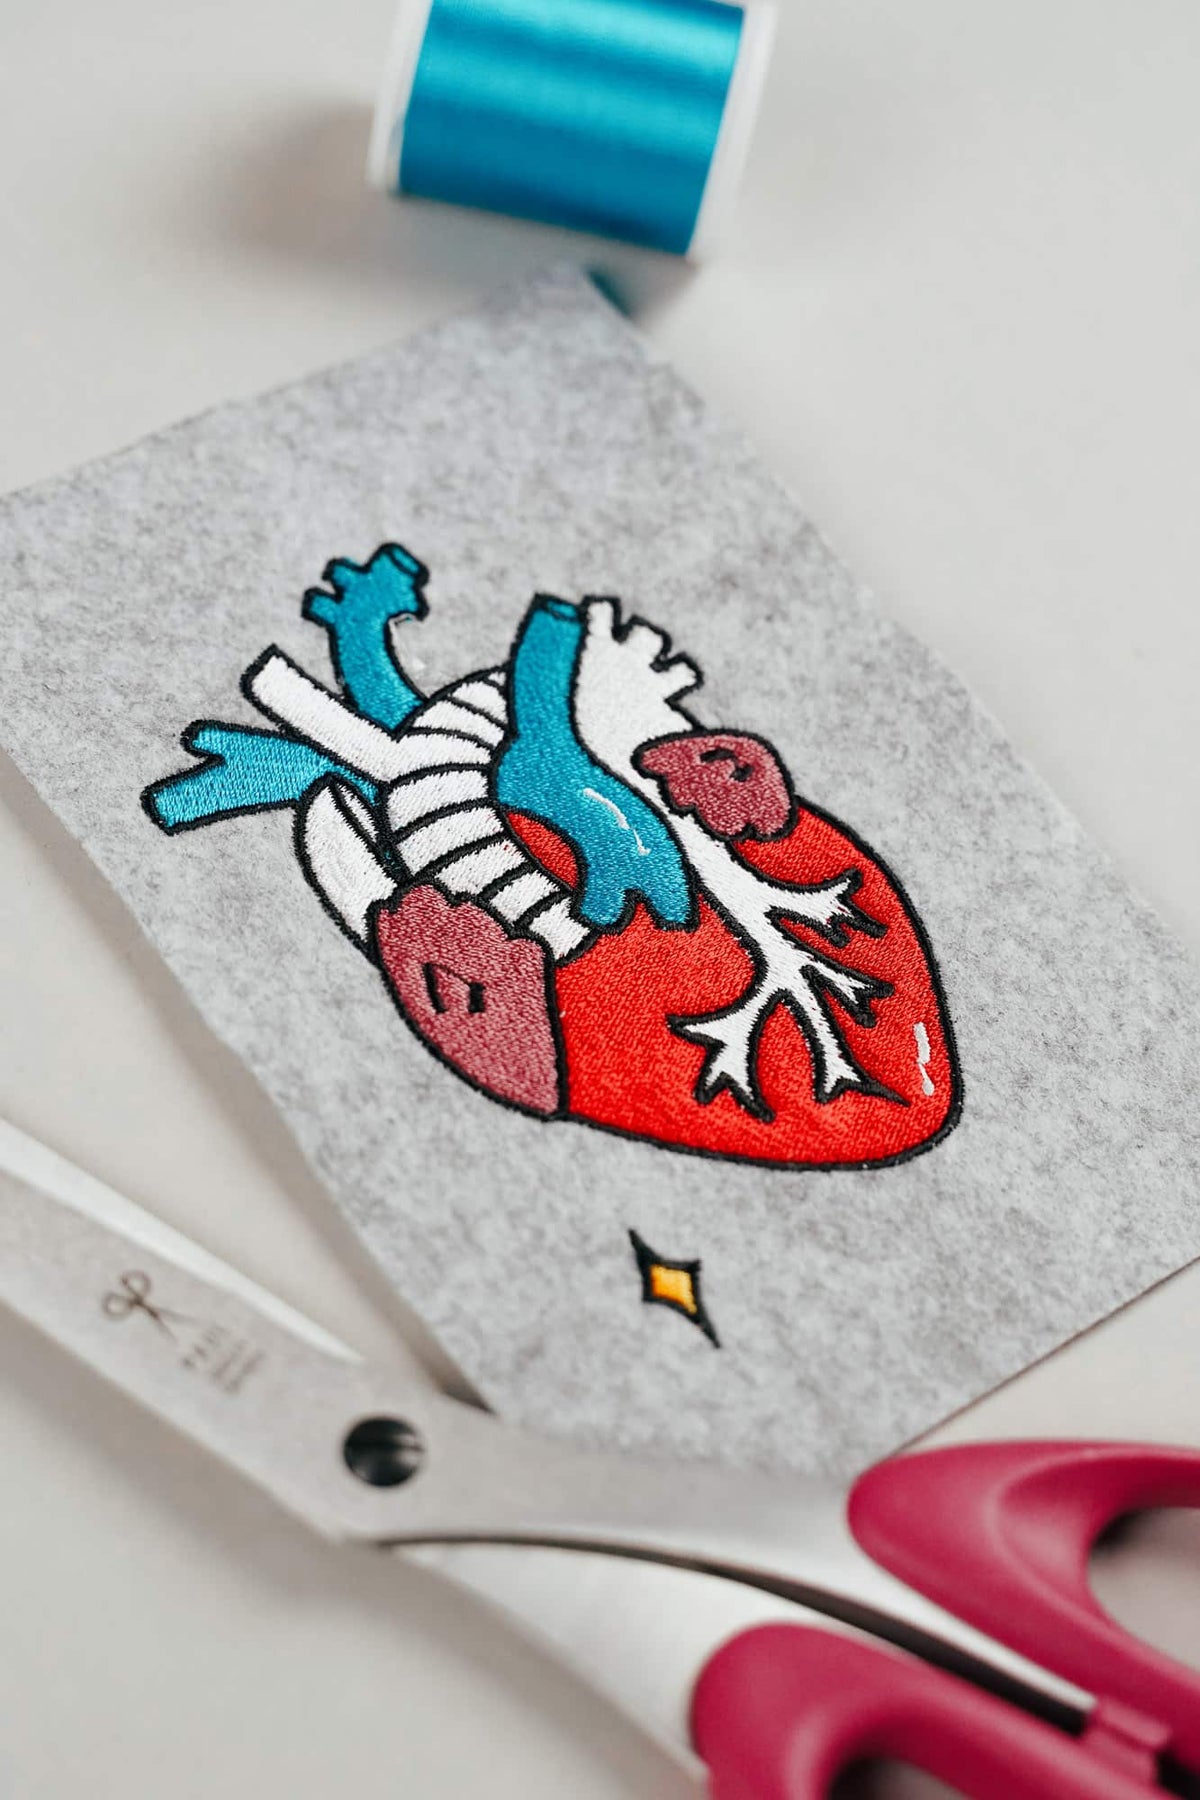
AI embroidery designs look great – but as embroidery files, they're often completely useless
AI images often look like perfect embroidery, but are frequently unsuitable as a template for a real embroidery file. We'll show you which mistakes to avoid with AI-generated motifs, how to formulate better prompts, and how to recognise well-digitised embroidery files.
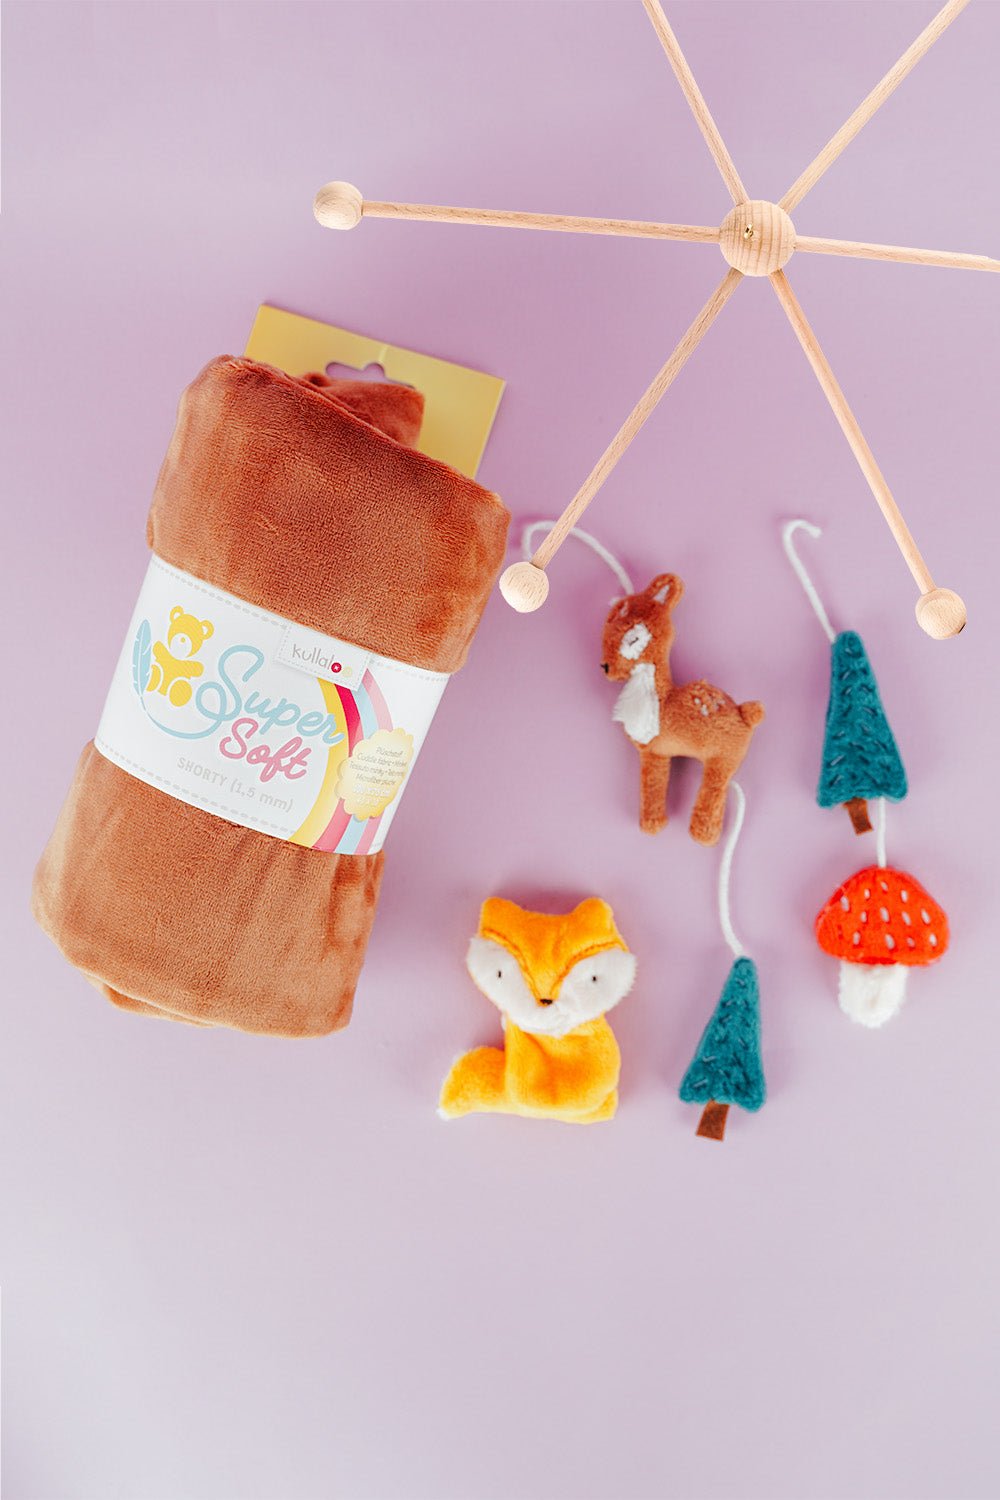
Embroider a woodland mobile: ITH ornaments step by step
Embroider fox, deer, fir tree and mushroom in a 10 × 10 cm hoop, then turn them into a woodland mobile or garland.
Read moreabout Embroider a woodland mobile: ITH ornaments step by step
Sew an alphabet cushion: personal pillows from A to Z
Sew an alphabet cushion with neat curves, even filling and a hidden ladder stitch, using a digital pattern that includes every letter from A to Z.
Read moreabout Sew an alphabet cushion: personal pillows from A to Z
Split:
Creative embroidery techniques: 5 machine effects
Embroider a woodland mobile: ITH ornaments step by step