
- 1. Free embroidery software: What you're really looking for (and why an overview is so beneficial)
- 2. You'll learn this in the free video course.
- 3. Who might find Creativate Elite (formerly mySewnet Platinum) interesting?
- 4. Typical search queries (keywords) that this article answers
- 5. Link to the free video course
Free embroidery software: What you're really looking for (and why an overview is so beneficial)
Many people google " free embroidery software " or " free embroidery software " – and then quickly realize: either the tools are very limited, or the sheer number of functions makes it hard to know where to even begin. That's precisely why a guided introduction is so valuable.
This course is not "marketing fluff," but a real look at the operation , logic, and workflow:
You can see how an idea becomes a file that runs smoothly on the machine.
You'll learn this in the free video course.
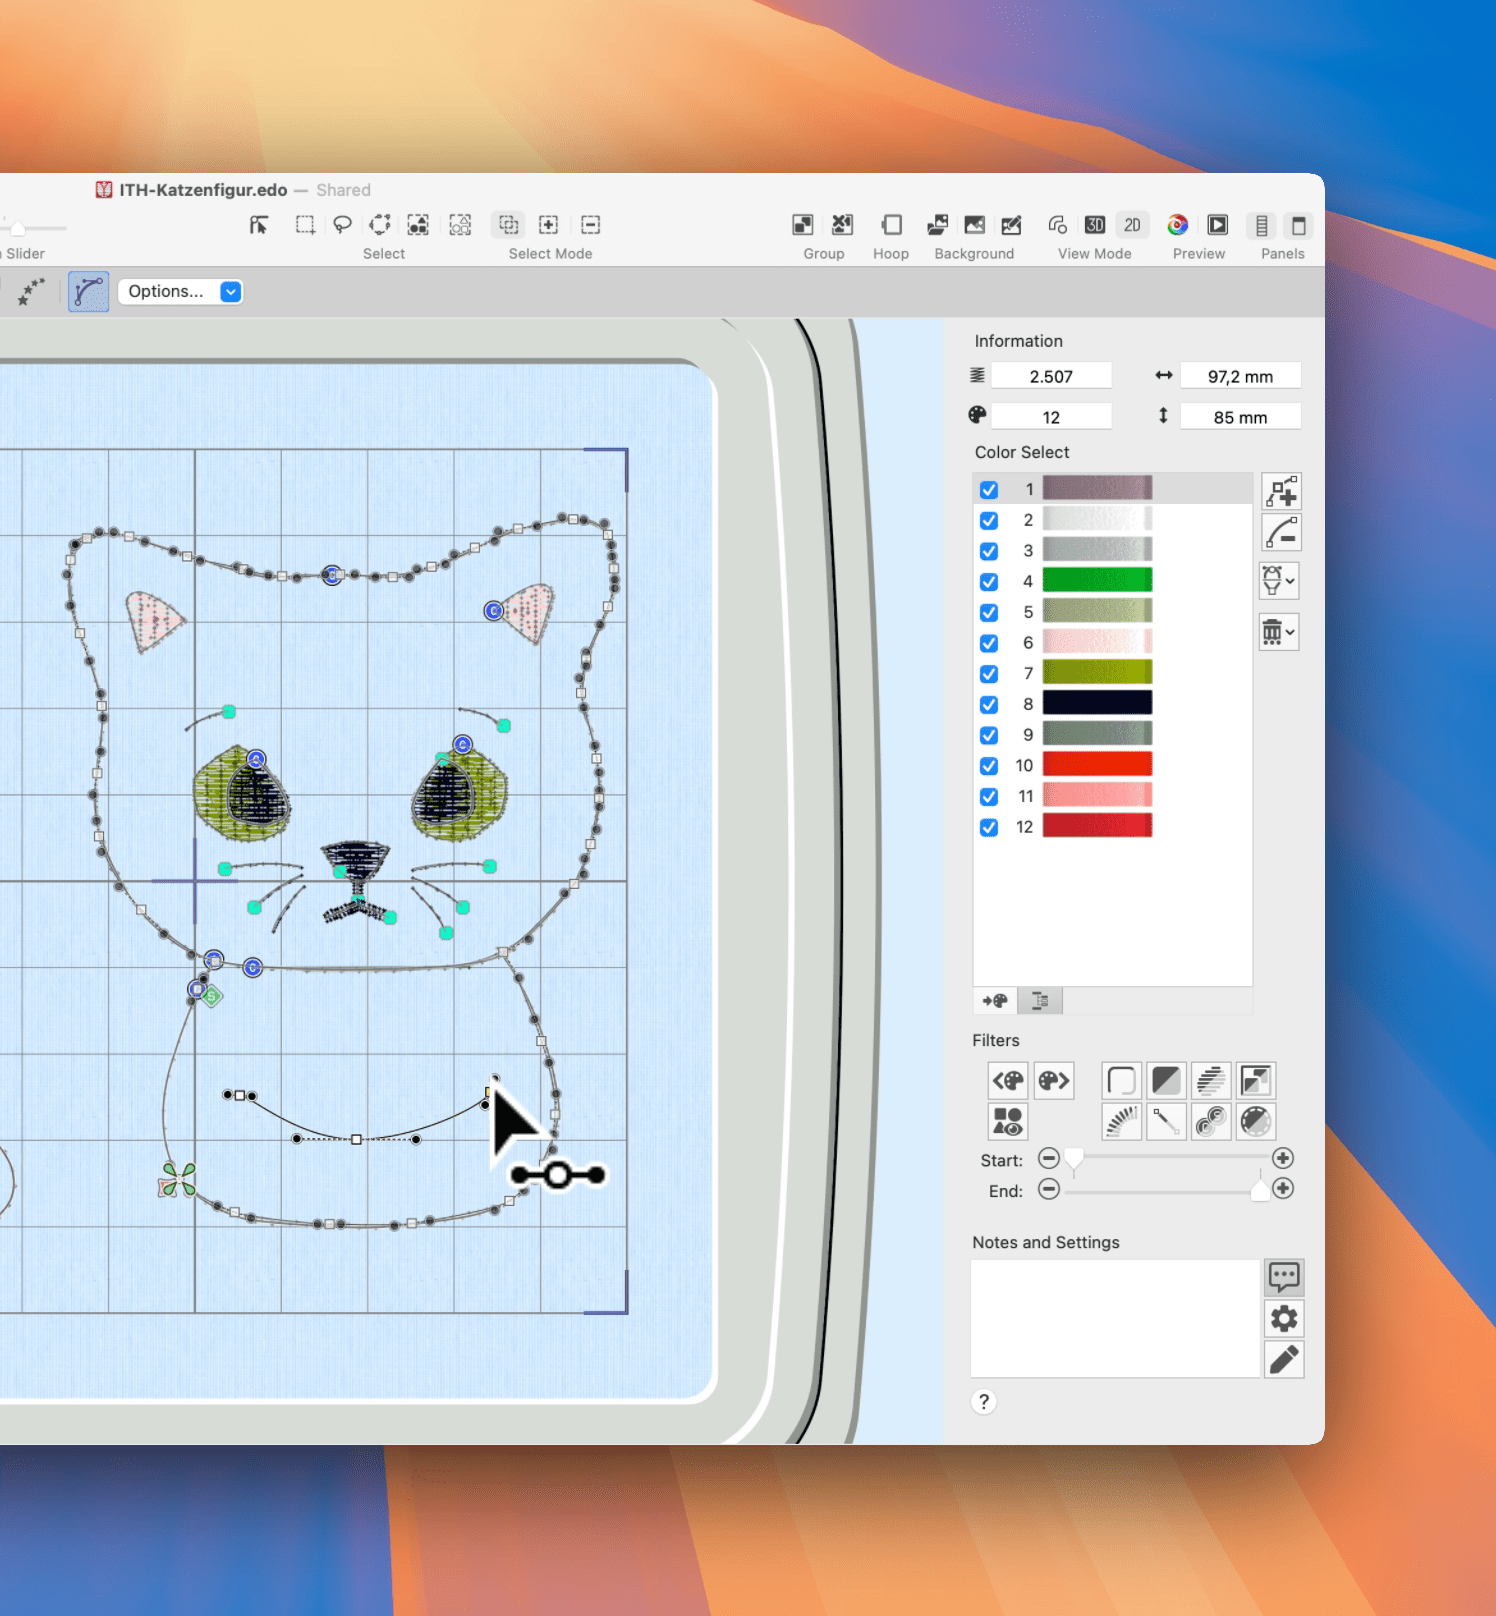
1) Understand the controls instead of just clicking
You will find guidance in the Creativate Elite interface:
Which areas are important, which tools do you really need – and what can you ignore for now?
2) Creating an embroidery file: Appliqué as a perfect starting point
Applications are ideal because they clearly show how an embroidery file is structured:
Placement, fixing, completion – logical, comprehensible and great for beginners.
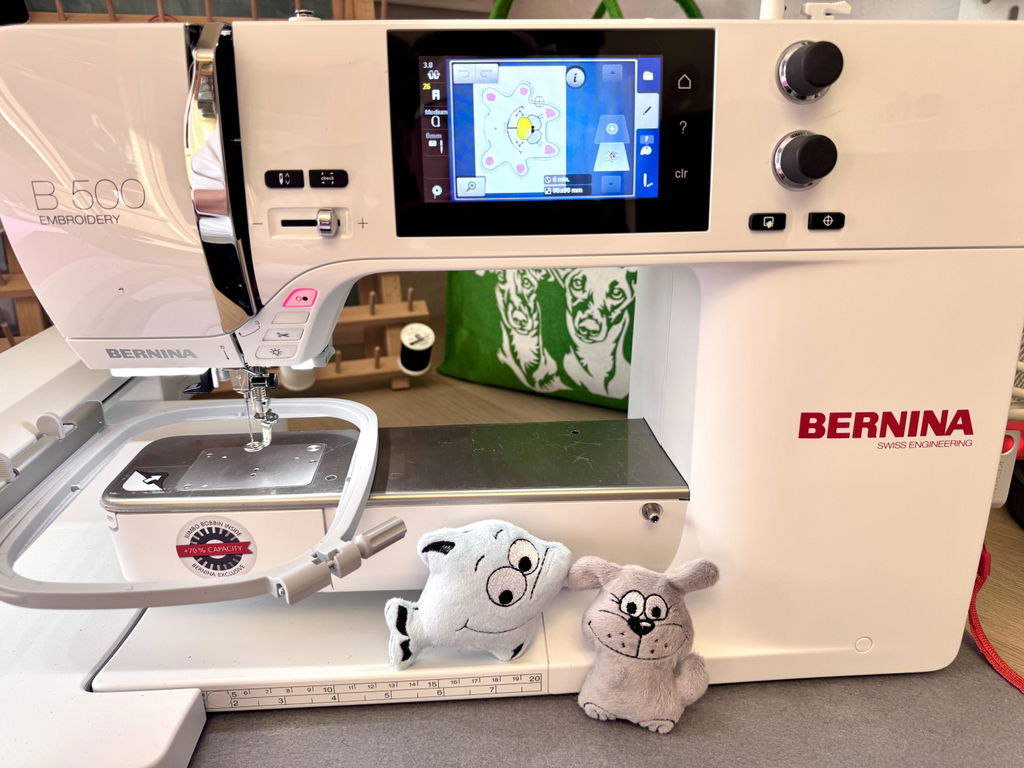
3) Practice: Embroidery on the Husqvarna VIKING Quartz 29
You not only see the software on the screen, but also the most important part: the result on fabric.
Because it's only when you start embroidering that you realize whether a design "just looks pretty" or actually works. This is possible with any embroidery machine, not just the Husqvarna VIKING Quartz 29 .
Who might find Creativate Elite (formerly mySewnet Platinum) interesting?
Creativate Elite is a particularly good fit if you:
- If you want to create your own embroidery files or meaningfully edit existing designs
- are you looking for software that doesn't feel like a technical degree?
- You enjoy working with fonts, shapes, and applications
- You want a workflow that quickly leads you to clean results.
Typical search queries (keywords) that this article answers
- Free embroidery software
- Embroidery Software Tutorial / Embroidery Software Course (Free)
- Create embroidery file / Digitize embroidery file
- Create an application embroidery file
- Creativate Elite Tutorial / mySewnet Platinum Tutorial
- Embroidery software for beginners
- Embroidery software for Mac / Embroidery software for Windows
Link to the free video course
If you want to get started right away, here's the access:
Free video course: https://makema.de/community/kurse/course/68fd06a568db7e083a262a9e/68fd08da68db7e083a2694ec
Tip: Save the course – then you'll always have the entry point readily available if you want to delve deeper later.


Split:
Do it! Festival in September 2025
Tips for buying fabric scissors: What to look for in scissors for sewing and embroidery machines