
What do I need to consider if I want to embroider leather?
Leather is a demanding yet exquisite material. To ensure that embroidery designs adhere cleanly and permanently to synthetic or genuine leather, needle selection, stabilization, and material quality are crucial. Incorrect settings can damage the leather or lead to uneven stitches.
Which leather is suitable for embroidery?
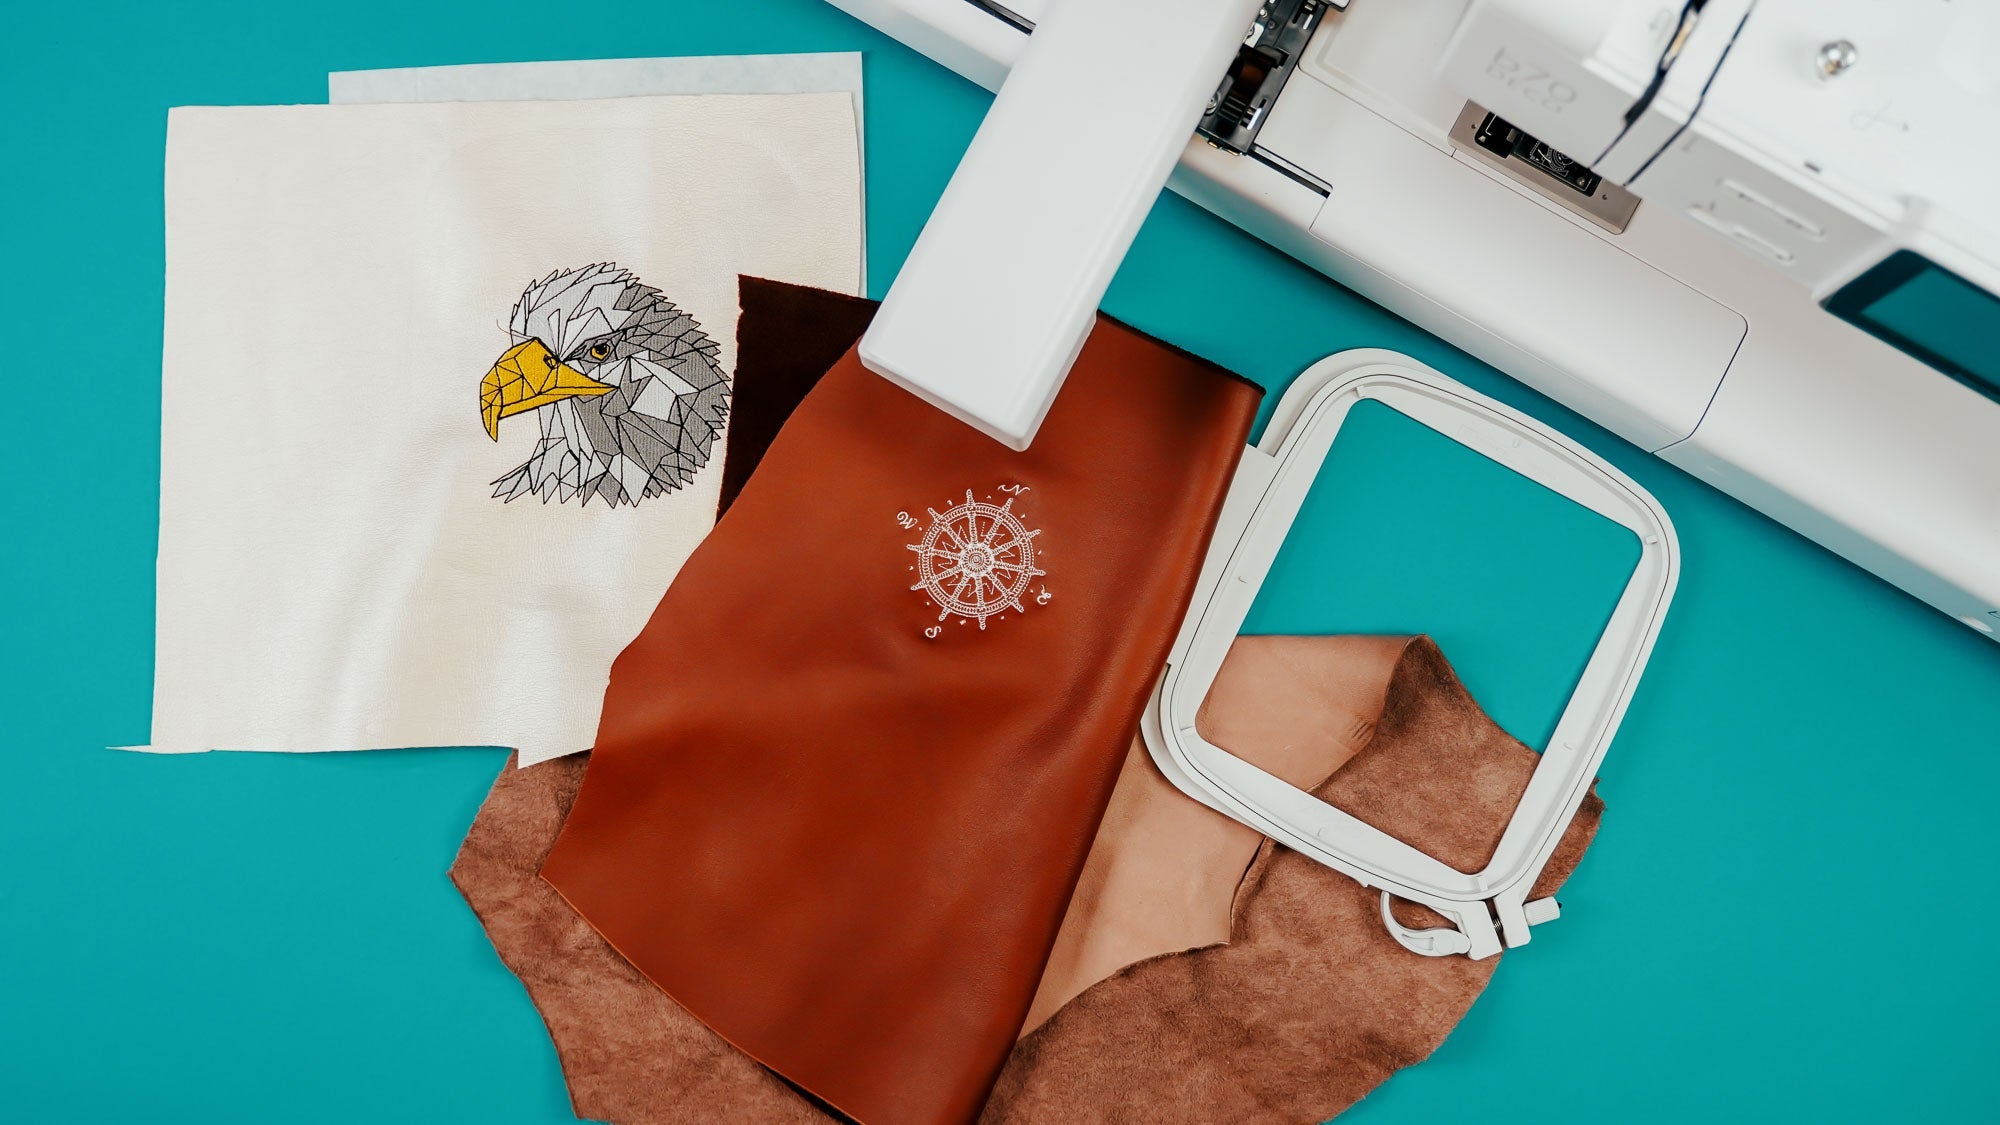
For consistent results, the leather surface should be as smooth and even as possible – even on the back. Synthetic leather with a textile backing , such as the one you can find in our shop, is ideal. It stabilizes well and doesn't show any waviness or perforation, even with intensive embroidery.
Genuine leather can also be embroidered, provided it isn't too thick or brittle. Important: The softer, thinner, and smoother the leather, the better the embroidery results.
Which needle do I use to embroider leather?
When embroidering on leather, do not use a leather needle , as its blade will cut and perforate the material. This can permanently damage your leather.
Instead, we recommend a Microtex needle , such as size 80/12 or 90/14. These needles have a slim, pointed tip that pierces rather than cuts the leather—for clean, precise stitches.


How do I properly stabilize leather when embroidering?
To prevent leather from slipping or being damaged in the embroidery frame, you should not clamp it directly , but rather:
- Clamp the Filmoplast in the frame and glue the leather on
- Alternatively: Apply spray adhesive to the cutting fleece and carefully fix the leather
This way you not only avoid marks from the embroidery frame , but also wrinkles and slipped motifs.


Which embroidery thread is suitable for leather?
For optimal results, we recommend high-quality 40s viscose or polyester embroidery thread , e.g. from:
- Gunold
- Sulky
- Madeira
These yarns are tear-resistant, color-stable and produce even, fine embroidery patterns – even on dense structures such as leather.


Summary: How to successfully embroider on leather
| Area | Recommendation |
| Suitable material | Smooth synthetic leather with textile backing or soft genuine leather |
| Needle type | Microtex 80/12 or 90/14 |
| stabilization | Filmoplast or cutting fleece with spray adhesive |
| embroidery thread | 40s viscose or polyester yarn from Gunold, Sulky or Madeira |
| Clamping | Not directly into the frame – better glue |
| Notice | Test motifs beforehand, adjust embroidery density if necessary |
Common mistakes when embroidering leather
- Too high embroidery density → risk of perforation
- Using leather needles → cut instead of stitch
- Direct clamping → Marks and cracks
- Cheap yarn → uneven embroidery, thread breaks
Conclusion
Embroidering leather isn't magic – with the right needle, the right thread, and a stable fixation, you can achieve clean designs on both faux and real leather. Faux leather with a lined back is particularly suitable for machine embroidery.


Split:
Embroidering webbing with the embroidery machine
Make your own patches with the embroidery machine