
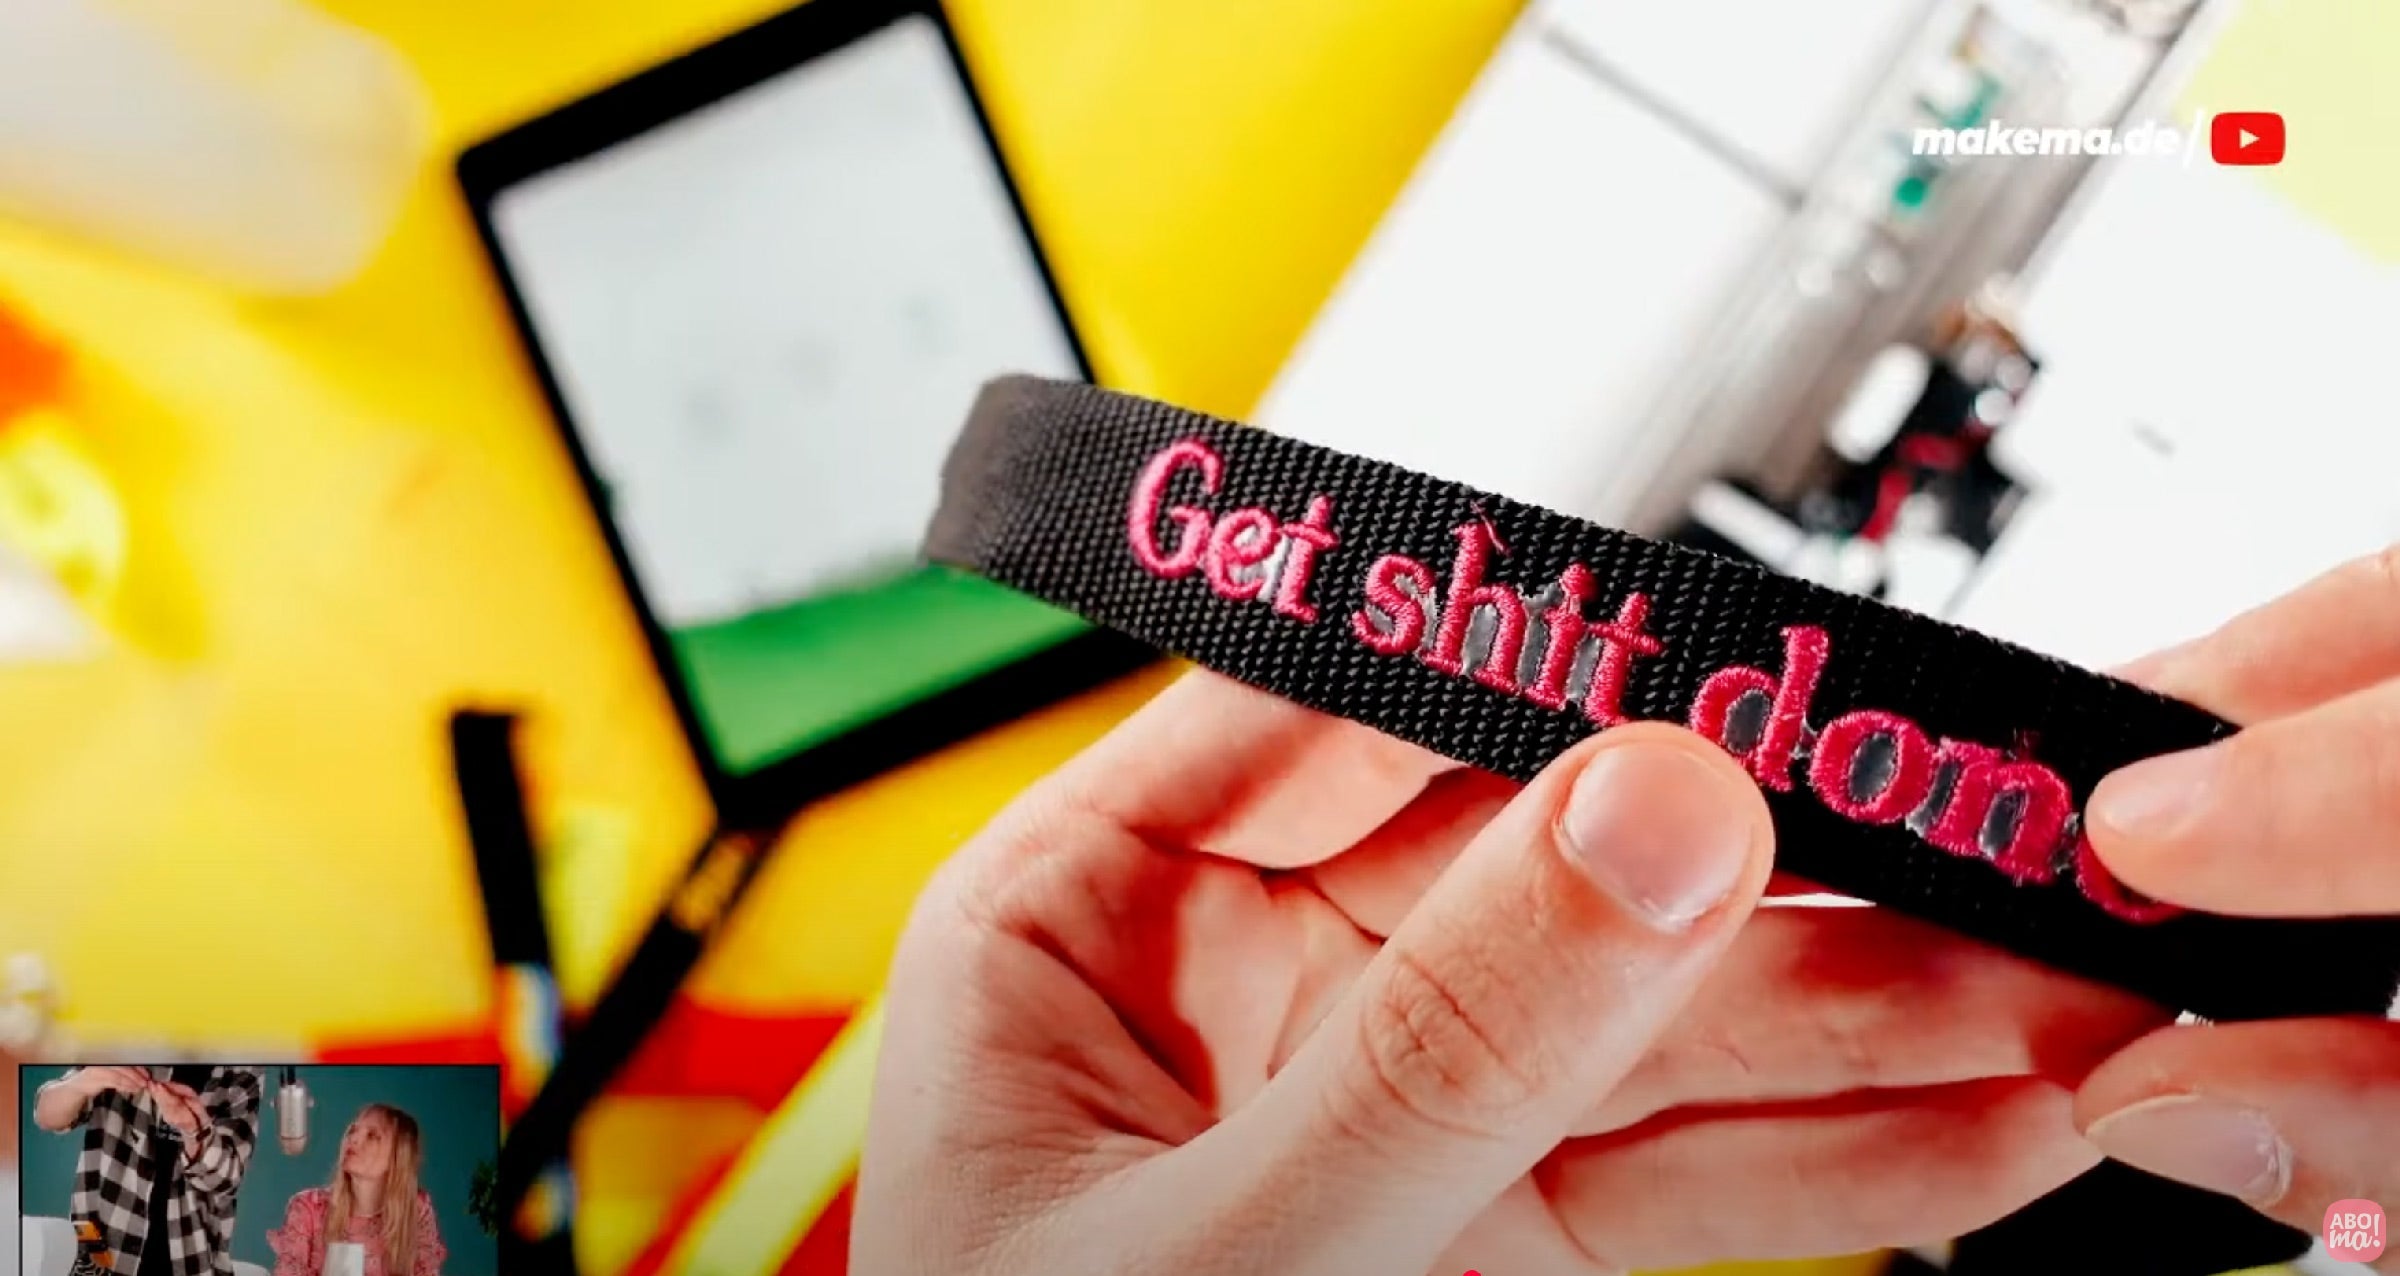
Embroidering webbing opens up a host of creative possibilities – from personalized bag straps to personalized dog collars. To ensure the embroidery lasts and the webbing doesn't slip, proper preparation and material selection are crucial.
Which webbing is suitable for embroidery?
Use woven or knitted webbing made of polyester or polypropylene with a width of at least 20 mm. Cotton webbing is also possible, but less dimensionally stable. Avoid heavily textured, slippery, or stretchy materials.
Tip: A webbing that's too thick can damage the needle and needle plate. A material thickness of up to approximately 2 mm is ideal.
The most important materials at a glance
- Embroidery machine with suitable embroidery area
- Filmoplast® (or similar self-adhesive embroidery backing)
- Polyester yarn for maximum tear resistance
- Standard embroidery needle 75/11 or 80/12
- Embroidery frame (e.g. 10 × 10 cm or slimline frame)
Instructions: Embroidering webbing with Filmoplast
1. Clamp the fleece
Stretch the Filmoplast flat into your embroidery frame, paper side up. Smooth out any wrinkles.
2. Cut the carrier film
Lightly score the paper layer in the middle and carefully peel it off so that the adhesive surface is exposed.
3. Glue on the webbing
Center the strap on the adhesive surface. Press it down lightly to ensure it's securely in place. Use a marking line for precise positioning.
4. Load embroidery file
Choose a suitable file with a low stitch density. Lettering or simple shapes work particularly well.
5. Insert yarn & needle
Use polyester thread for the top and bobbin threads. Use a regular embroidery needle (not denim or leather needles).
6. Embroidery
Start the machine at moderate speed. Maintain visual contact so you can stop immediately if necessary.
7. Carefully remove the webbing
After stitching, you can carefully peel the ribbon off the stabilizer. Remove any remaining thread with a thread trimmer or tweezers.
The matching embroidery pattern
Not every embroidery pattern is suitable for webbing. Keep in mind:
- low stitch density
- no too tight satin stitches
- optimized underlay (adjust in software if necessary)
- central placement for even tension
Why polyester yarn is the best choice
Polyester yarn is particularly tear-resistant and colorfast—ideal for webbing subjected to heavy wear. It retains its shape, even under tension and after washing. Avoid viscose or metallic yarns.
Livestream video: This is how we did it
In our livestream, we embroidered a webbing strap live—including tips on framing, embroidery files, and avoiding mistakes. You can find the video right here in this post.
Conclusion: Embroidering webbing with structure and system
With Filmoplast, the right thread, and careful preparation, you can easily and securely embroider webbing. This method is suitable for creative DIY projects as well as personalized small batches.


Split:
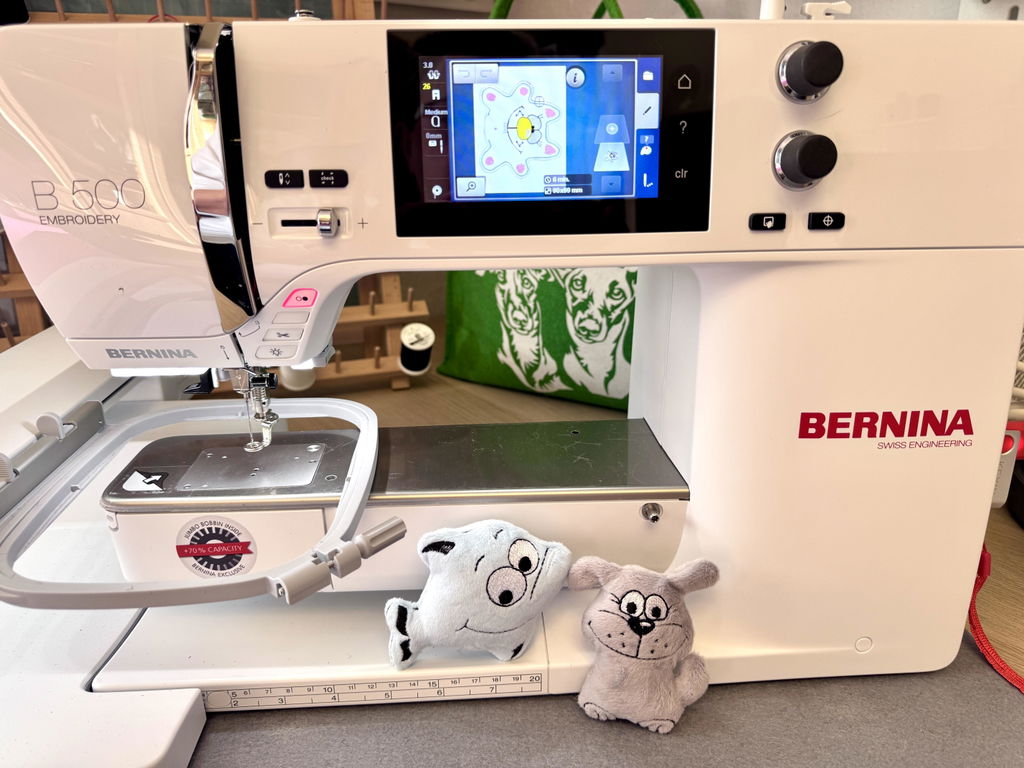
Bernina B500
Embroidering leather