

Here's how to properly maintain Brother PR and VR embroidery machines: daily cleaning, oiling, needle replacement, and other maintenance steps—with the official Brother video guide and the appropriate PR service package.

Regular maintenance is no minor matter for an Brother PR or VR embroidery machine: It ensures consistently high embroidery quality, a reliable production process, and helps prevent unnecessary downtime. Here you’ll find the most important maintenance steps in a handy FAQ—supplemented by the official video tutorials from Brother.
Why is regular maintenance of an Brother PR or VR embroidery machine important?
When embroidering, dust, lint, and thread scraps accumulate around the bobbin, hook, and knife areas. Needles and other wear-and-tear parts also take a toll from many hours of use. A quick, consistent maintenance routine will help you keep your machine in reliable working order, achieve clean embroidery results, and avoid major repairs whenever possible.
What maintenance tasks should you perform every day?
Brother recommends incorporating the maintenance of the PR and VR embroidery machines into your daily workflow. Always follow the operating and maintenance instructions for your specific model.
- Keep the bobbin area clean: Remove dust, lint, loose threads, and, if necessary, fragments of broken needles.
- Clean under the needle plate: Remove the needle plate as directed and remove any thread remnants from around the blades.
- Oiling the grippers: Apply one drop of the specified machine oil to the gripper every day—exactly at the spot shown in the maintenance manual.
- Check the machine: Before starting production, check the needles, thread path, bobbin case, and embroidery area for visible dirt or damage.

Regular maintenance of the hook and needle areas helps ensure reliable embroidery operation. Photo: Brother Sewing Machines Europe
How often should you change the needles?
Brother recommends replacing the needle after approximately six to eight hours of embroidery. When working with heavy fabrics, metallic thread, or projects that put a lot of strain on the machine, it may be a good idea to change the needle sooner. Replace any bent, dull, or damaged needles immediately. New, properly sized needles help prevent skipped stitches and broken threads and protect the needle threader from unnecessary strain.
Which areas require additional regular attention?
Depending on usage and the machine model, additional maintenance tasks may be required. The official Brother manuals cover, among other things, oiling the needle bar, cleaning the upper thread tension mechanism, cleaning the hook, and replacing the blades. Perform these tasks only according to the instructions for your specific model. Turn off the machine before cleaning or replacing any parts, and use only appropriate tools, oils, and replacement parts.
Simple Maintenance Schedule for Brother PR and VR
| Date and Time | Recommended Inspection or Maintenance |
| Every day or before starting work | Inspect and clean the spool and gripper area; apply a drop of oil to the grippers according to the Brother instructions. |
| After about 6–8 hours of embroidery | Change needles; for heavy fabrics or metallic yarn, change them sooner if necessary. |
| As needed and in accordance with the model manual | Check and maintain the stitch plate, the knife area, the upper thread tension, the hook, and the needle bar. |
| If you hear unusual noises, experience recurring errors, or notice damage | Stop the embroidery operation and have the machine inspected or serviced by a qualified technician. |
What does the Brother PR service package include?
For routine maintenance of the PR Series, the original Brother PR Service Package includes key wear and replacement parts:
- 1 set of blades
- 1 spool capsule
- 2 packs of needles, each containing 6 needles
- 1 needle threader
- 1 QR code sticker for quick access to the maintenance manual and service videos

The Brother PR service package includes standard replacement and wear parts for routine machine maintenance. Photo: Brother Sewing Machines Europe
This ensures you have typical maintenance parts on hand before a full production schedule begins. Please check compatibility with your specific machine model before purchasing—especially if you have an Brother VR, since Brother explicitly lists the set as a PR service package.
{"layoutMobile":2,"layoutDesktop":3,"buttonAlign":"Center","buttonText":"View Product","productTitle":{"hue":213,"saturation":0,"brightness":0,"alpha":1},"priceColor":{"hue":0,"saturation":1,"brightness":0},"discountPrice":{"hue":356,"saturation":0.74,"brightness":1},"buttonColor":{"hue":213,"saturation":0,"brightness":0,"alpha":1},"textBottomColor":{"hue":0,"saturation":0,"brightness":1},"activeTitleButton":false,"moreProduct":"View all","moreProductUrl":"makema.de","rowNumber":1,"dynamicProductId":[{"id":"gid://shopify/Product/15542785442167","title":"Brother PR Service Package","handle":"brother-pr-service-package","currencyCode":"EUR","amountMax":"62.1","amountMin":"62.1","price":"62.10","compareAtPrice":"69.00","imagesUrl":"https://cdn.shopify.com/s/files/1/0919/2954/3031/files/01-brother-reparatur-wartungskit-pr1055x-pr1060w-pr680w.png?v=1789393220&width=600","additionalImages":[],"urlStore":"/products/brother-pr-service-package","altImage":"Brother PR Service Package with needles, bobbin case, and replacement parts for PR1055X, PR1060W, and PR680W"}],"typeSearch":"product","device":"desktop","decimalsPrice":2,"aspectRatio":"3 / 4","isAutoPlay":false,"isNavigation":false,"isPriceDisplay":false,"isHideImage":false,"rowDynamic":"mot","activeDecimals":false,"positionPrice":true,"currencyCodeCustom":"$","cssContent":"","componentName":"Products – Creativate Software","componentId":"DynamicProduct-Xrfx95h68Sf3","type":"DynamicProduct","updatedAt":"2025-07-12T12:16:32.265Z","createdAt":"2025-07-12T12:16:32.265Z","activeDynamicProd":true,"hidden":false,"locked":false,"blockName":"Product"}

View the Brother PR Service Package on Make ma!
Official Brother videos on the maintenance of PR and VR embroidery machines
The following brief instructions are provided by Brother SewingCraft Europe. They show the most important steps right on the machine. Be sure to also check the manual for your specific model.
Insert or Replace the Needle
Cleaning the needle plate
Clean the coil housing
Oil the grippers
Oil the needle bar
Clean the upper thread tension
Clean the grippers
Replace the knife
Frequently Asked Questions About the Maintenance of Brother PR and VR Embroidery Machines
Can I perform the daily maintenance myself?
The routine tasks described by Brother—such as cleaning, oiling, and needle replacement—are intended for regular maintenance. Be sure to follow the manual for your specific model exactly. Repairs, adjustments, or any work beyond these tasks should be left to a professional.
How much oil does the grapple need?
Brother recommends applying one drop of suitable machine oil daily to the designated spot on the gripper. Too much oil can stain textiles. Therefore, be sure to follow the instructions exactly as shown in the maintenance manual and the official video.
Why should I change my needles after just six to eight hours of embroidery?
Needles are subjected to heavy wear during embroidery. A worn or damaged needle can cause skipped stitches, broken threads, and an uneven embroidery pattern. Brother recommends changing needles more frequently when working with heavy fabrics and metallic thread.
Does daily care replace professional maintenance?
No. Daily maintenance reduces dirt buildup and can prevent unnecessary downtime, but it is no substitute for a professional inspection in the event of malfunctions, damage, or unusual noises.
Is the PR service package also compatible with my Brother VR?
Brother offers this set as a PR service package. Since parts and approvals may vary depending on the model, you should check the specific compatibility for your VR before purchasing. We'd be happy to help you with that.
Sources and additional help: Brother: Maintenance of PR and VR embroidery machines. The maintenance manual and operating instructions for your specific machine model remain the authoritative sources.
Browse magazine & FAQ
More articles
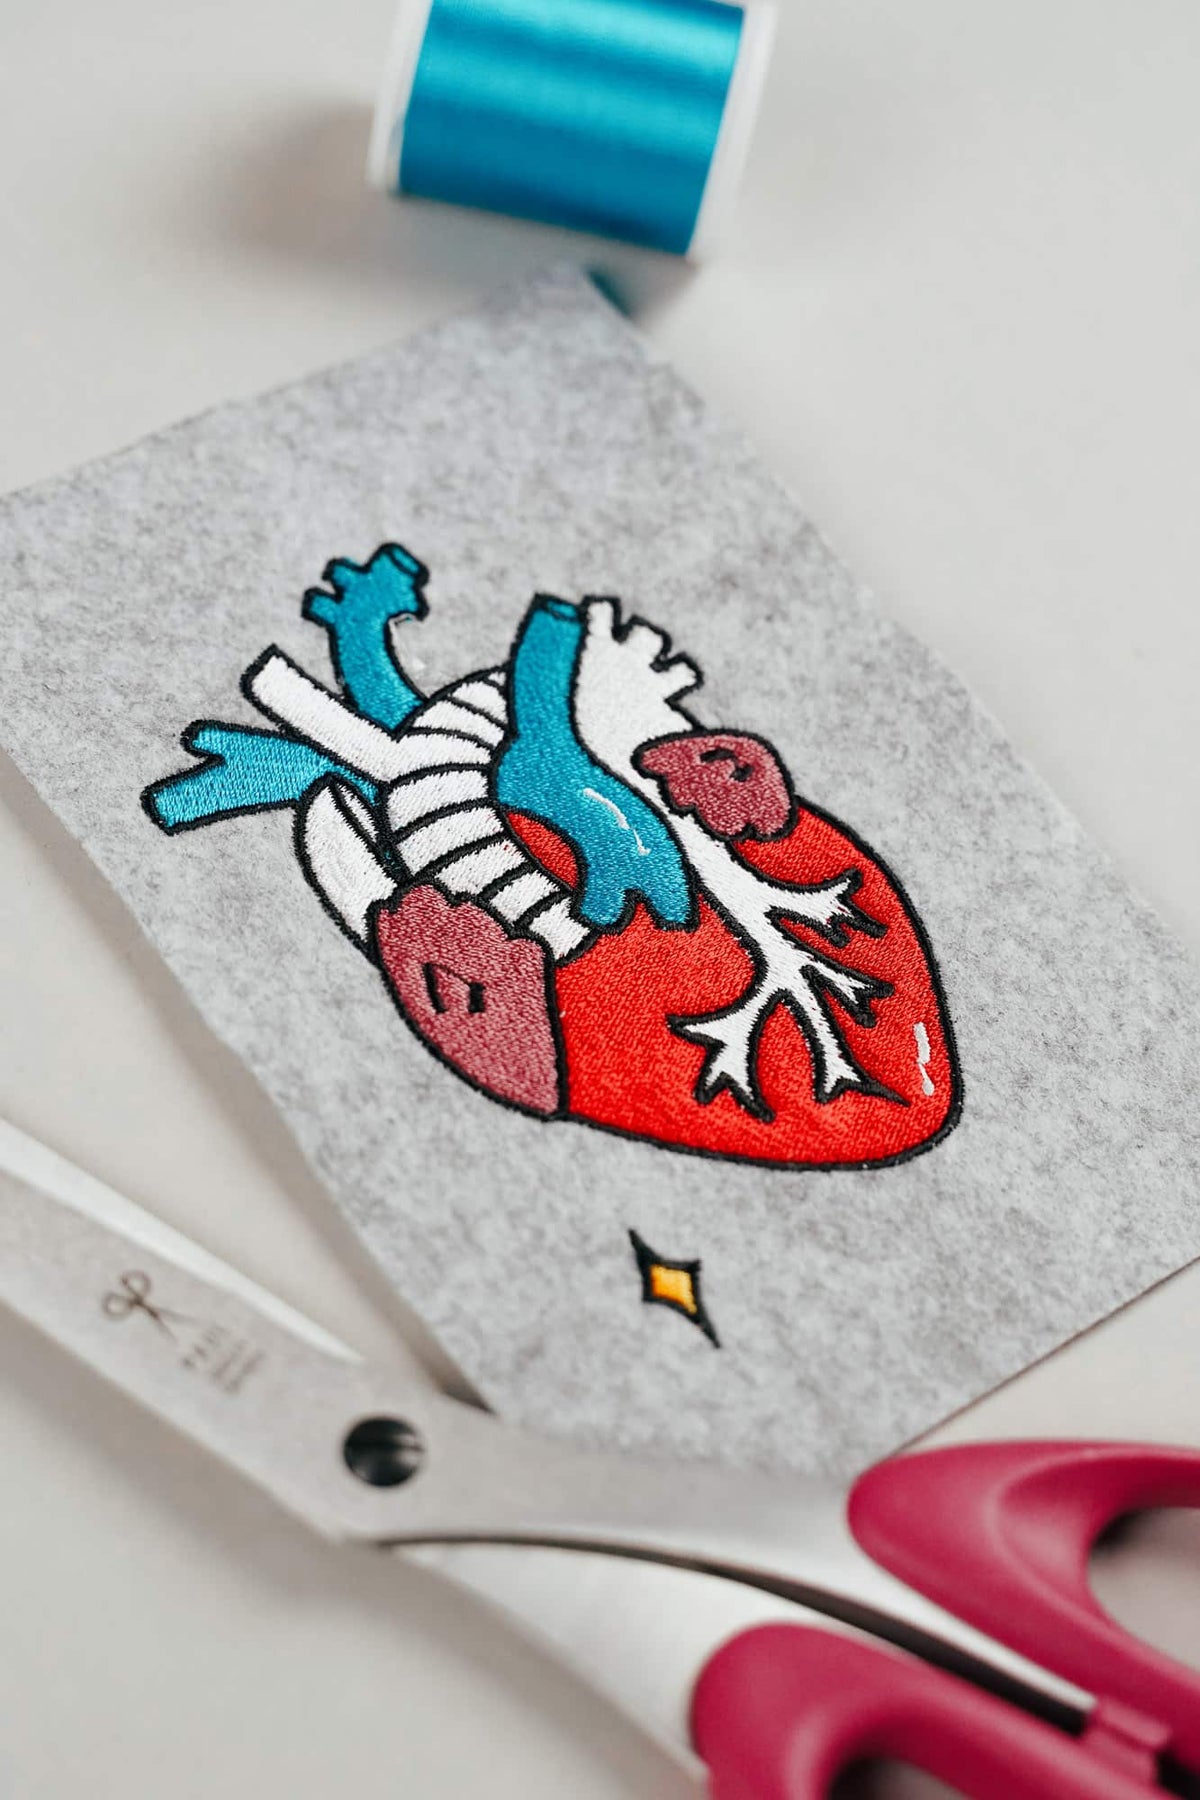
AI embroidery designs look great – but as embroidery files, they're often completely useless
AI images often look like perfect embroidery, but are frequently unsuitable as a template for a real embroidery file. We'll show you which mistakes to avoid with AI-generated motifs, how to formulate better prompts, and how to recognise well-digitised embroidery files.
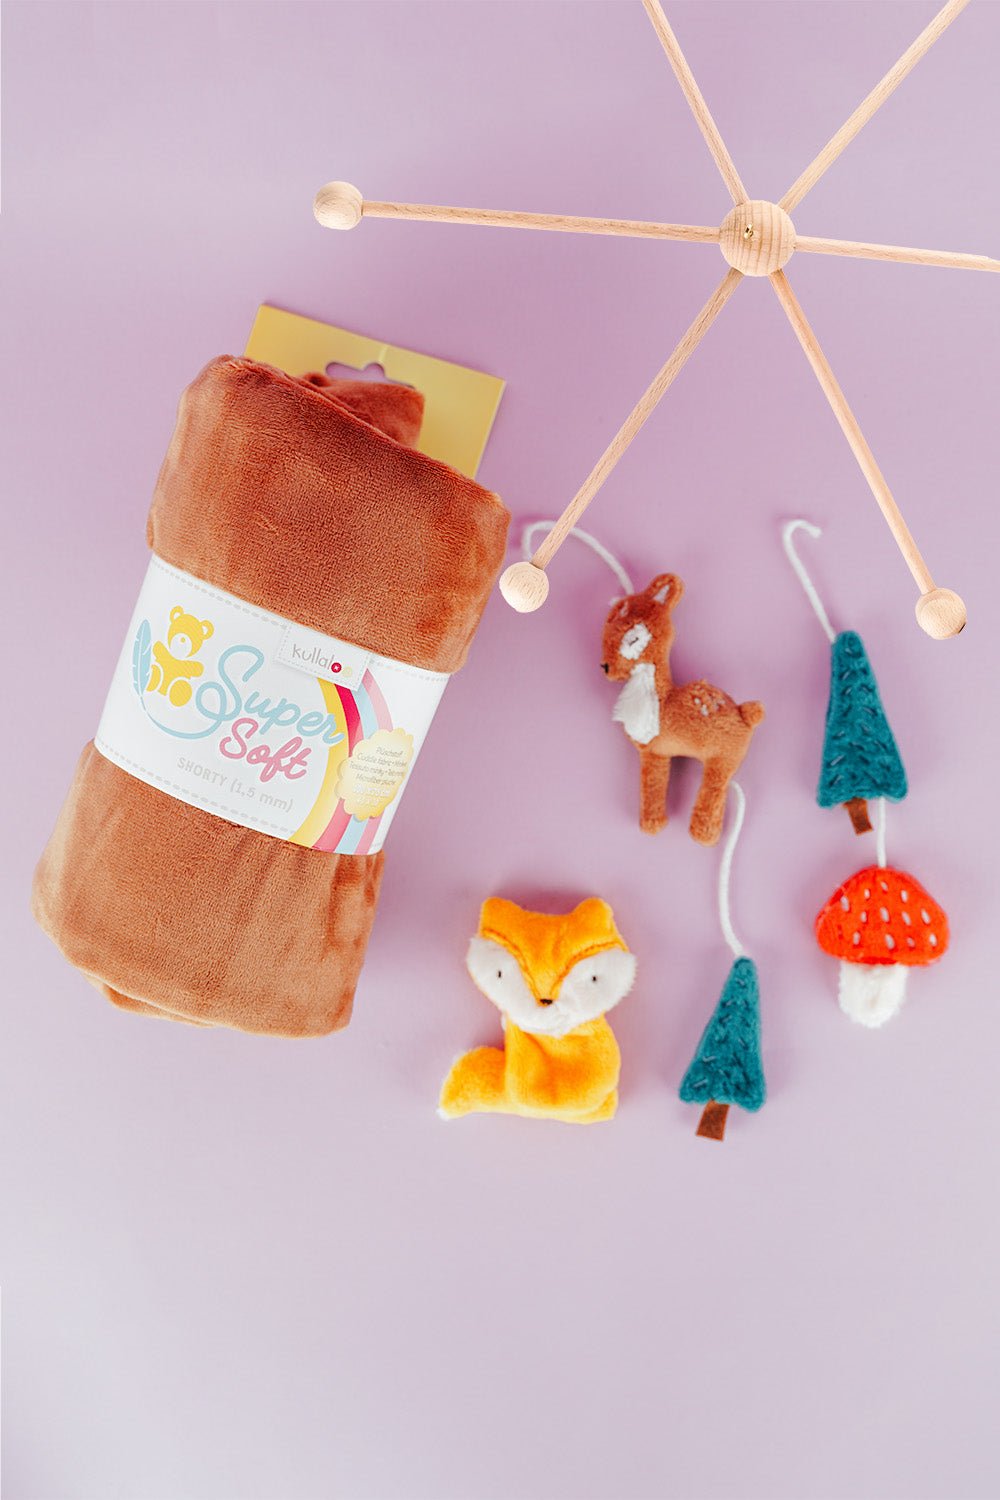
Embroider a woodland mobile: ITH ornaments step by step
Embroider fox, deer, fir tree and mushroom in a 10 × 10 cm hoop, then turn them into a woodland mobile or garland.
Read moreabout Embroider a woodland mobile: ITH ornaments step by step
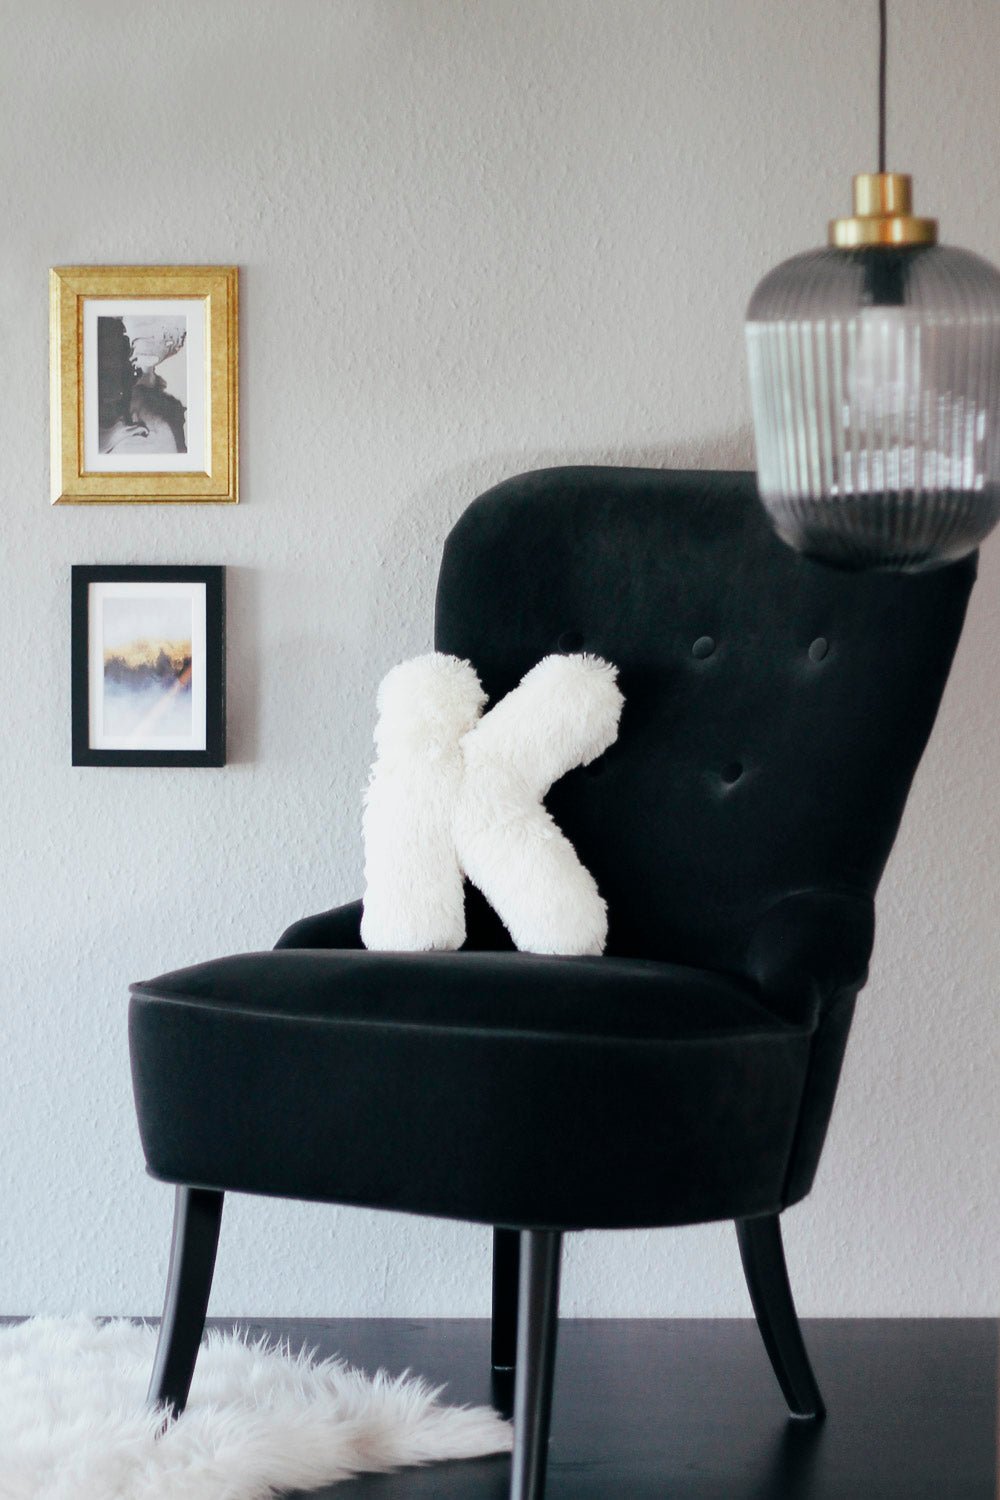
Sew an alphabet cushion: personal pillows from A to Z
Sew an alphabet cushion with neat curves, even filling and a hidden ladder stitch, using a digital pattern that includes every letter from A to Z.
Read moreabout Sew an alphabet cushion: personal pillows from A to Z
Split:
How to clean a sewing machine safely: step-by-step guide