
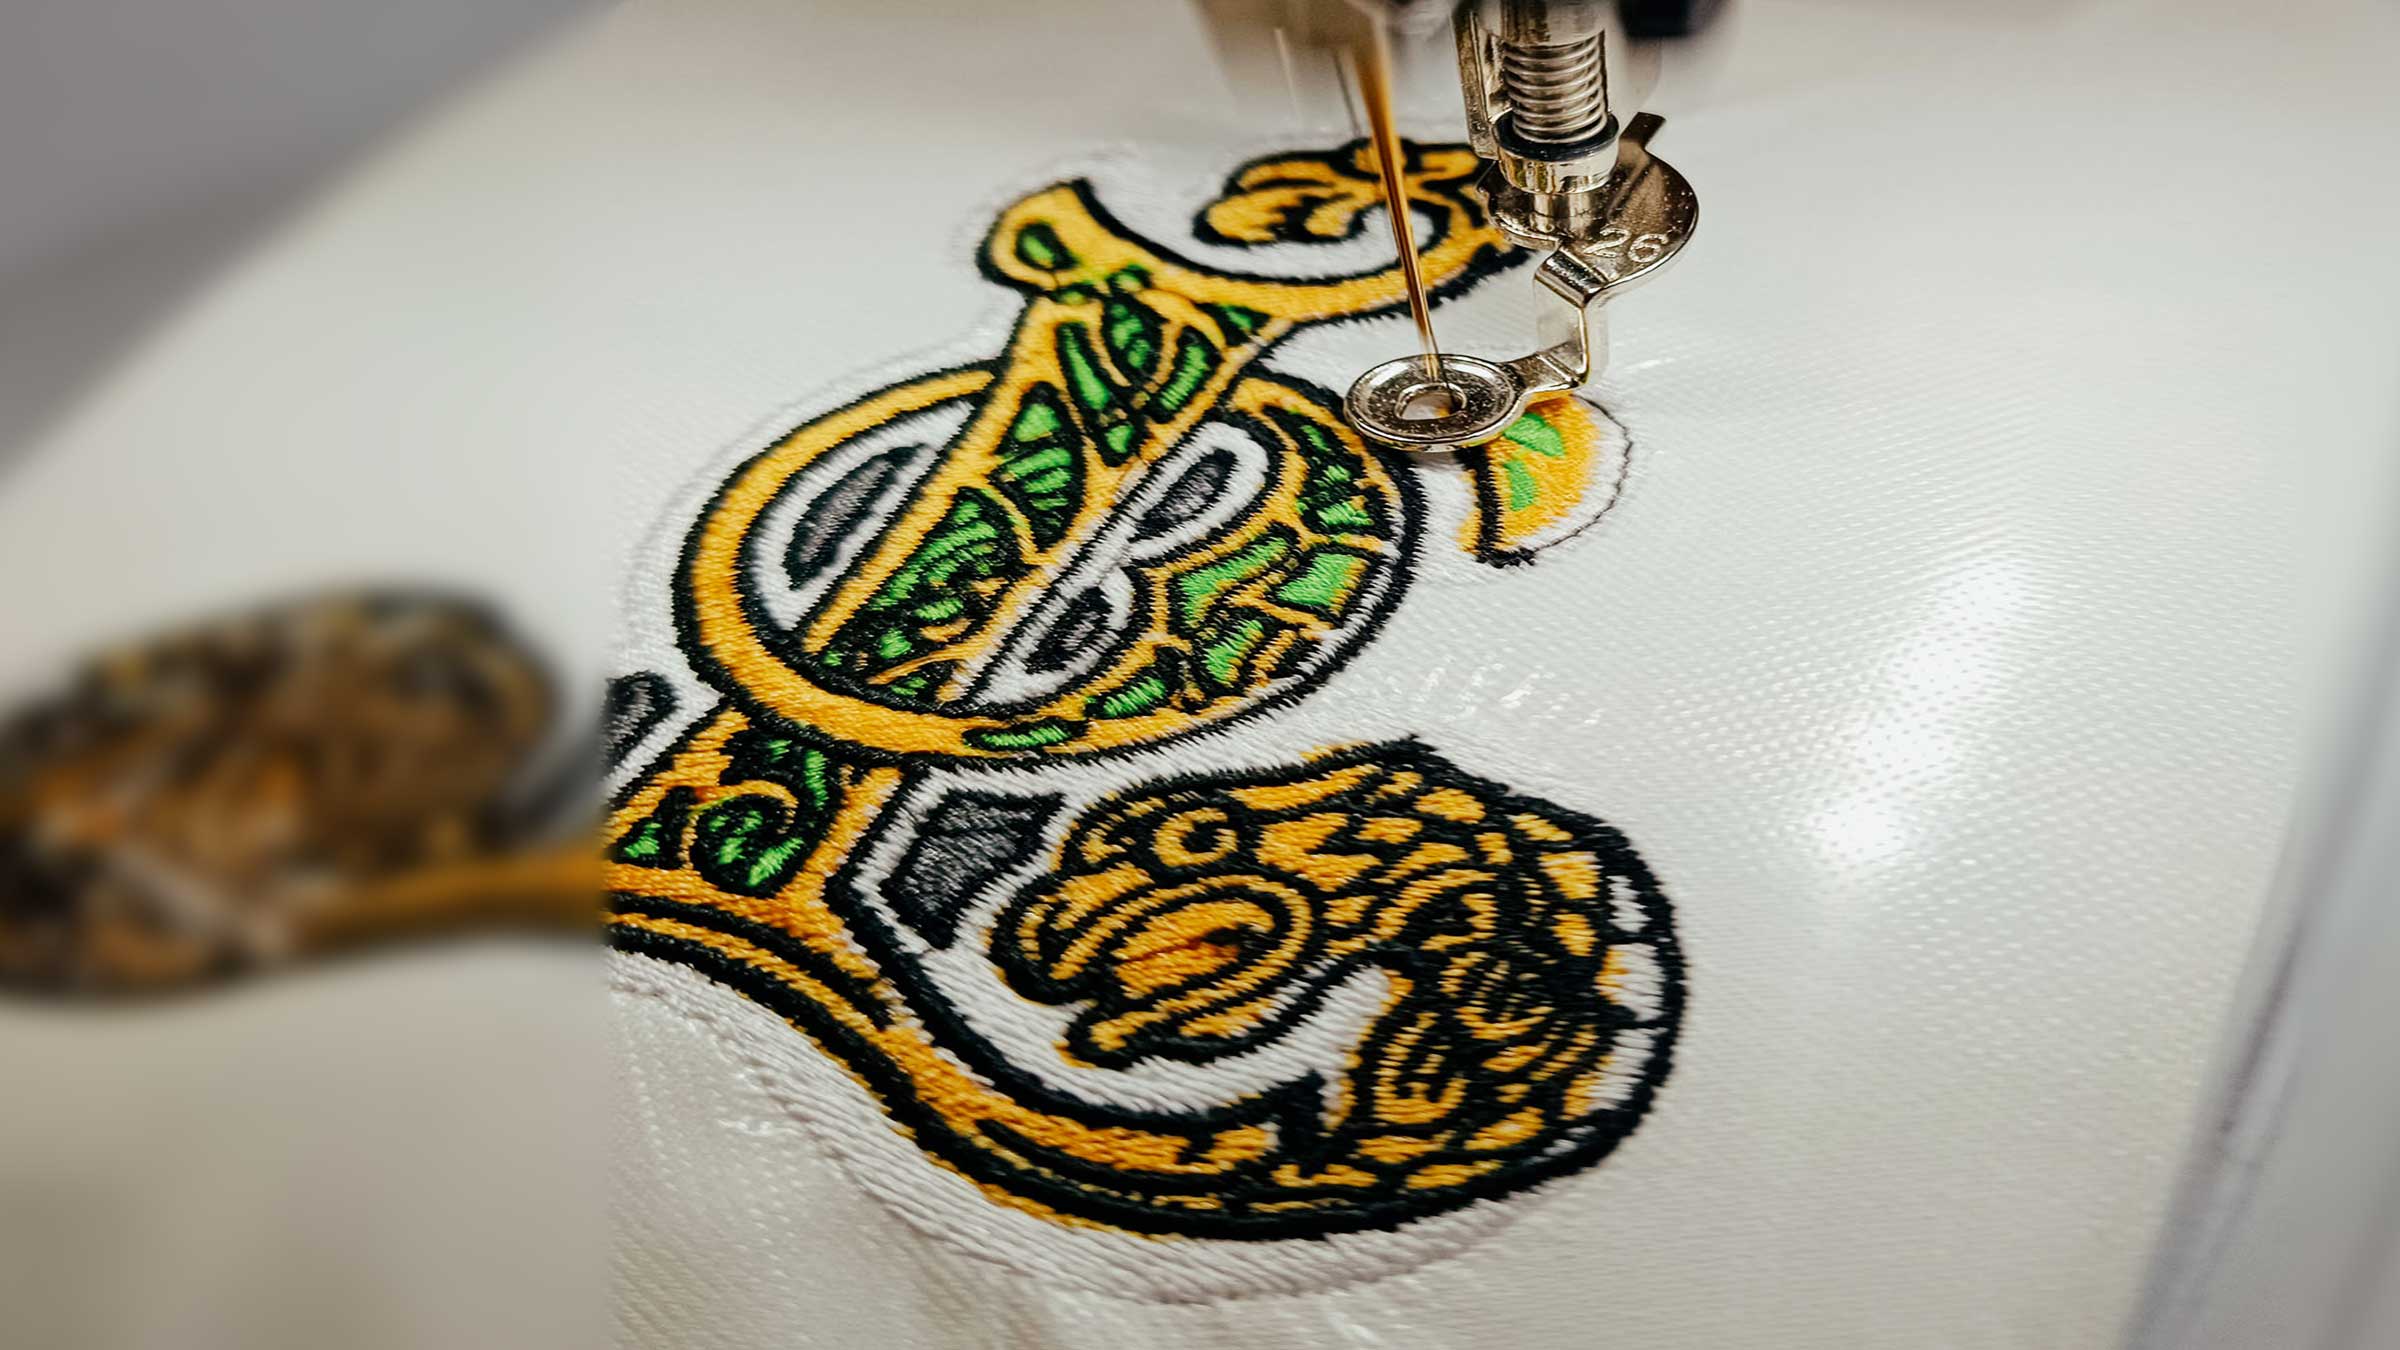
A distorted embroidery image is one of the most common problems in machine embroidery. The cause is rarely in the embroidery file. In most cases, the fabric is not sturdy enough to accommodate the selected motif – especially with embroidery-intensive or large-format designs.
The most common cause: insufficient stabilization
Fabrics stretch under the needle and thread tension. Without sufficient stabilization, the material begins to warp. Stretchy, thin, or loosely woven fabrics are particularly susceptible to this.
Even if the embroidery file is technically correct, the motif cannot be applied in the intended shape on an unsuitable surface. The result: waves, distortions, slanted lines, or "bulges."
Illustrative example: The bus comparison
Imagine your fabric is a bus with 80 seats, and your embroidery design wants to accommodate 300 people. Without additional seats, it's going to be cramped: People will jostle, stepping on each other's toes—just like stitches pushing each other out of place on unstable ground.
However, if you create more stability —that is, more "seating" through a sturdier fabric or a good interfacing—the motif will spread evenly, and the embroidery will retain its shape.

How can I prevent warping?
1. Choose the right fabric
Sturdy, tightly woven fabrics are significantly less likely to warp than stretchy or loose materials. The more elaborate the embroidery motif, the more robust the fabric should be.
2. Use high-quality embroidery stabilizers
Choose the fleece to match the fabric:
- Tear-away on solid woven fabrics
- Cut-away for stretchy fabrics
- Solvy (water-soluble) for fluffy fabrics on the top
For particularly demanding motifs, it may be useful to combine two fleeces .


3. Clamp or glue the fabric correctly
For delicate fabrics, avoid direct hooping. Instead, use Filmoplast or a temporary spray fixative to secure the fabric to the backing.
4. Adjust file (only if necessary)
Very embroidery-intensive designs with many stitches in a small space can cause problems even on well-stabilized fabrics. In such cases, it can help to slightly soften the file—for example, by reducing the density or avoiding double underlay.
Checklist: How to keep your embroidery stable
| Step | Recommendation |
| Fabric selection | Firm, evenly woven fabric |
| stabilization | Matching embroidery stabilizer – double if necessary |
| Fixation in the frame | No direct pull, if necessary with adhesive fleece |
| Motive check | Adjust embroidery density to the material |
| Test run | Embroider new motif on test fabric in advance |
Conclusion
A warped embroidery is not a file error, but almost always a stability issue. With the right stabilizer, high-quality material, and proper preparation, your embroidery will retain its shape permanently—even with complex motifs.


Split:
Error message "Thread break" at Happy Japan
Problems downloading digital products