
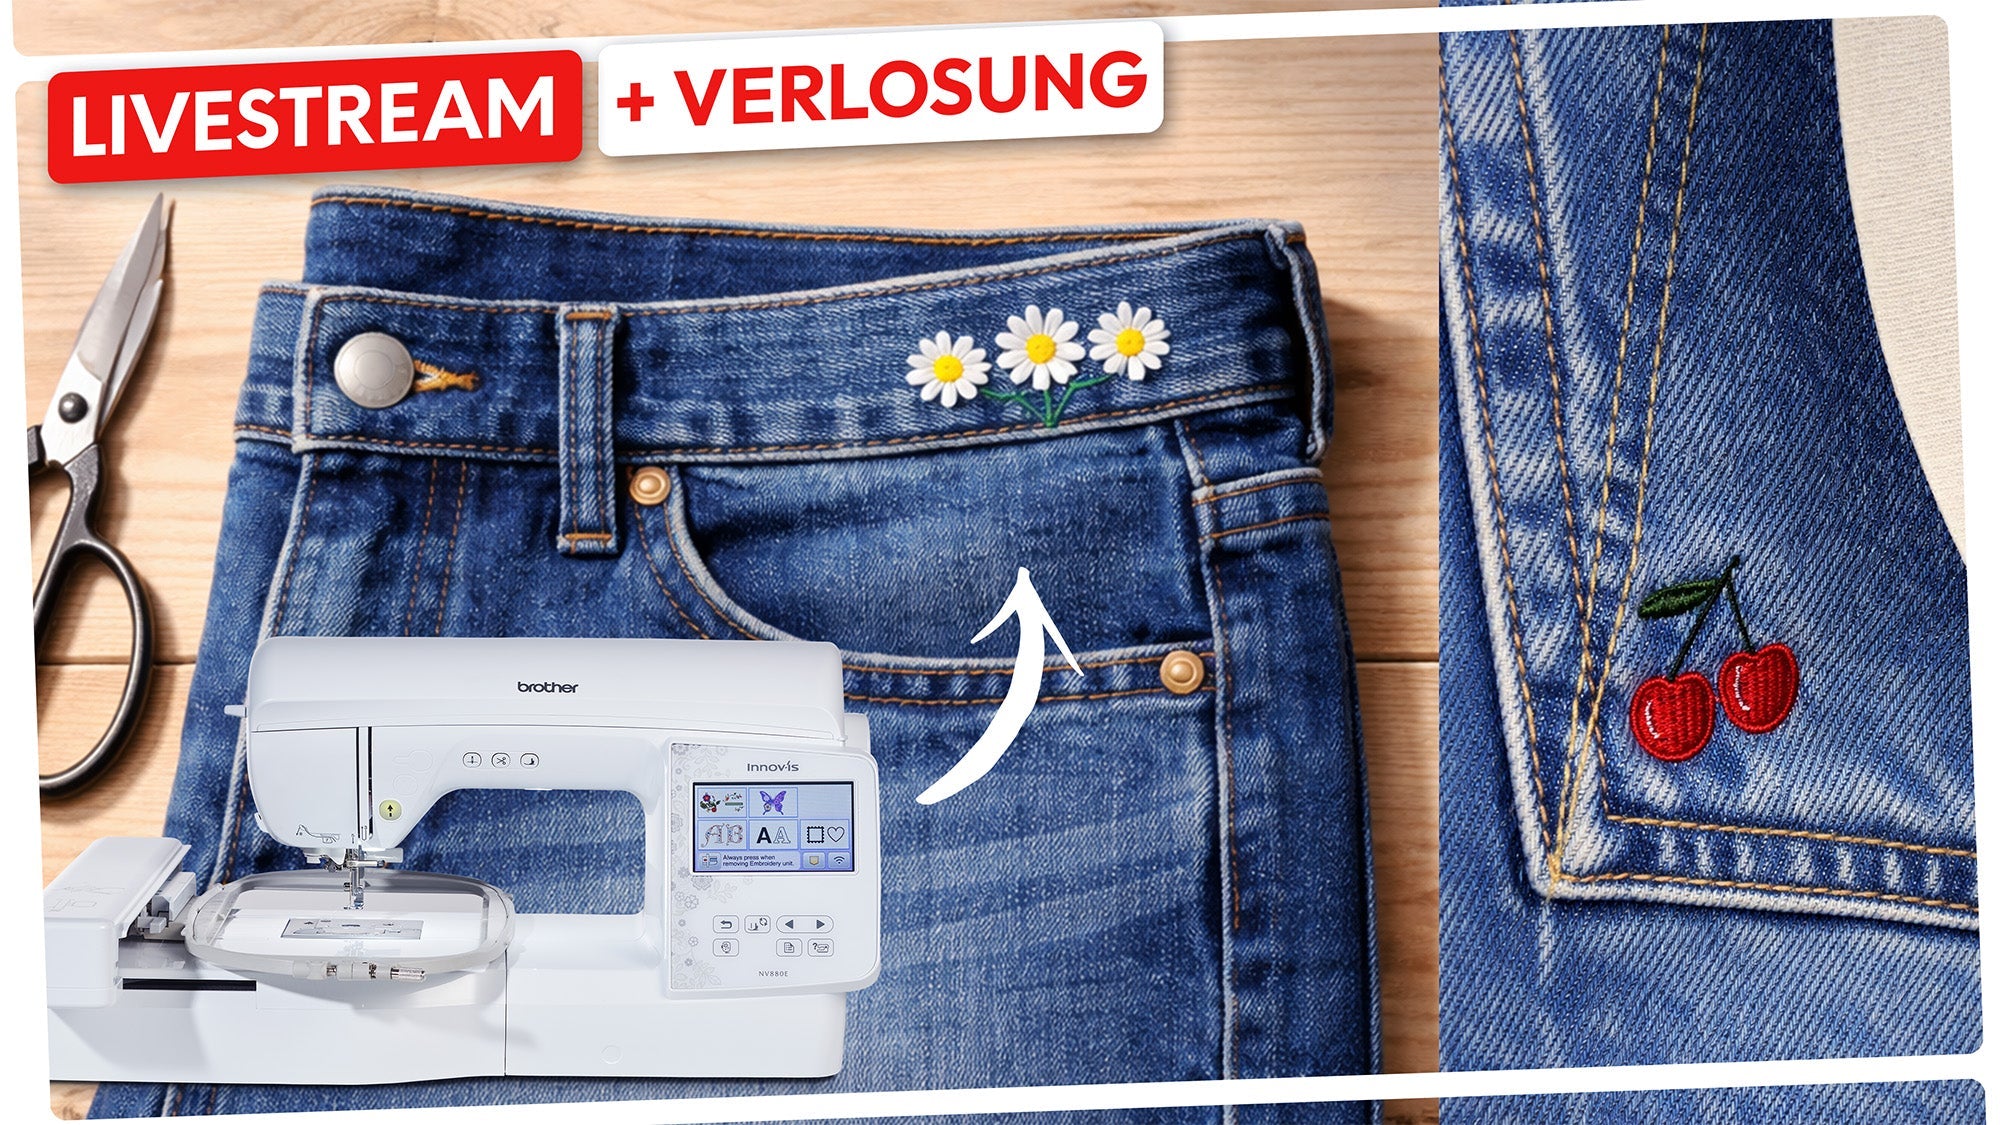
Embroidering jeans is a great way to personalize, enhance, or even repair garments. At the same time, denim is one of those materials that commands respect from many – and for good reason. Thick fabric, multiple layers, and often already closed seams make embroidery more challenging than with cotton or sweatshirt fleece. However, with the right preparation and materials, jeans can be embroidered reliably and neatly.
The biggest challenge: clamping & material thickness
One of the first hurdles when embroidering with jeans is hooping. Trouser legs, jackets, or finished bags are already closed objects. Using a traditional embroidery hoop is often difficult or even impossible. Then there's the thickness of the material: denim is stiff, often multi-layered, and unforgiving of needle selection errors.
This is especially important: Please do not use a regular sewing needle. These are designed for sewing, not for embroidering through thick fabrics. We recommend a Schmetz Embroidery Gold needle instead. It is extra hardened, glides smoothly through firm materials, and significantly reduces skipped stitches and thread breakage. This is particularly crucial if you want to embroider on a back pocket with two layers of denim.

Embroidering bags – what you absolutely need to know
Embroidering jeans pockets looks great, but it has a very practical consequence: if you embroider directly onto a pocket, you embroider it shut.
What options do you have?
Option 1: Detach the bag (the professional solution)
- Carefully detach the bag.
- Embroider the bag separately
- Then sew it back on using a thick, tear-resistant denim thread.
This is the cleanest solution, but also the most complex.
Option 2: Small motif in the lower corner
If you place a small design in a corner at the bottom, only that part of the bag becomes unusable. The majority of the bag remains functional.
➡️ This is a matter of discretion and a very good compromise for many projects.
How to embroider jeans step by step
With the right materials, you can easily embroider even difficult areas on jeans – without distortion or messy results.
You will need:
- Filmoplast (self-adhesive tear-away fleece)
- Solvy or Avalon (thin water-soluble film)
- Schmetz Embroidery Gold Needle or alternatively Titanium Needle
- Water-soluble marker


Step-by-step instructions:
- Stretch the Filmoplast smoothly in your embroidery frame – without fabric.
- Lightly score the top film of the Filmoplast and peel it off.
- Mark the desired embroidery position on the jeans with a water-soluble pen.
- Lay the back of the jeans flat onto the exposed Filmoplast and press down firmly. Make sure the fabric lies flat and without wrinkles. Advantage: You don't need to clamp the jeans – perfect for tight or confined areas.
- Place a thin, water-soluble film on top. This ensures a more even stitch pattern, especially with coarse denim.
- Select your design on the machine and position it exactly over your mark.
- Prepare your machine: Reduce speed Use an embroidery gold or titanium needle
- Embroider your design, then remove the foil and residue – done!

Conclusion
Embroidering jeans isn't rocket science, but it does require a bit more planning than other fabrics. With Filmoplast, a water-soluble film, and the right embroidery needle, even tricky areas can be embroidered neatly and securely. Whether small accents or elaborate pocket designs – with the right technique, denim becomes the perfect canvas for your embroidery ideas.

Want to see the whole process in detail as a video? No problem! In this stream, we embroidered a pair of jeans live together with the community.


Split:
Connection drops with embroidery machines on Wi-Fi, e.g., Bernina WiFi
Firmware update for BERNINA 5 and 7 series