

Creative embroidery techniques: 5 machine effects
- 0 commentson Creative embroidery techniques: 5 machine effects
- by Marit Warncke
Faux chenille, Filaine, cross stitch, redwork or collegiate letters: choose the right creative embroidery technique and prepare a safe first sample.
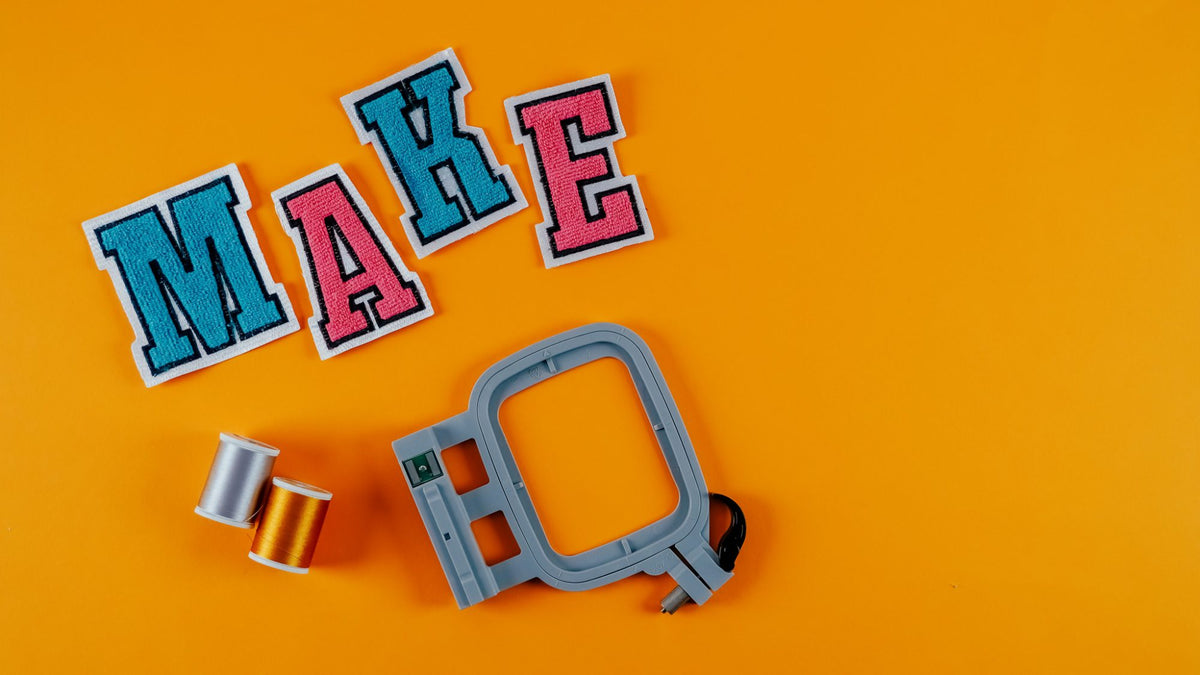
Creative machine-embroidery techniques change the surface of a design, not merely its subject. Faux chenille feels soft and raised, Filaine can resemble hand stitching or fur, cross stitch builds an image from visible crosses, redwork relies on clean lines, and collegiate lettering combines appliqué with dimension.
Use this guide to choose the right technique, then work with a design prepared for it. Follow the stated thread, needle and stabilizer requirements and stitch a sample on the same material first.
| Technique | Effect | Good for |
|---|---|---|
| Faux chenille | soft, raised and graphic | large letters, patches and sweat fabrics |
| Filaine | matt, woolly or brushed | fur, outlines and a visible hand-stitched look |
| Cross stitch | gridded and traditional | ornaments, animals and designs with visible individual stitches |
| Redwork | light and illustrative | quilts, line drawings and quick one-colour projects |
| Collegiate letters | sporty and dimensional | jackets, bags, team names and monograms |
A standard embroidery design cannot always become a specialty technique just by changing the thread. Stitch length, order, spacing and underlay must suit the surface. Use a purpose-digitised file or adapt it properly in embroidery software.
The soft faux-chenille surface is made from layered fabric or a material surface that is raised after stitching. Our Make ma! examples combine large, clear shapes with a matching appliqué or cutting sequence. The design determines which areas are secured and later opened or brushed.
Avoid tiny detail because the effect needs room. Stabilise the base permanently enough, cut only the intended layers and follow the project sequence. For conventional fabric appliqué, use our machine-appliqué guide.

SULKY Filaine is a bulky effect thread. Open lines can resemble hand embroidery; prepared areas may be brushed carefully with a matching Filaine brush for a fur-like surface. Both require a suitable design.
Thread size, needle, speed and thread path must work together. Begin with the thread and machine makers’ instructions, slow down if the thread runs poorly and test on scrap. Brush only after embroidery and keep away from delicate fabric, narrow outlines and exposed connecting stitches.

Machine cross stitch translates the familiar grid into an embroidery file. The crosses remain visible, so design size and cross size together determine the level of detail. Heavy reduction may crowd the crosses and remove the characteristic look.
CREATIVATE Elite can create custom cross-stitch designs. Do not use it as a simple image filter: simplify the artwork, review colour changes and test the chosen cross size on the final fabric.

Traditional redwork uses red running-stitch-style lines on light fabric. On an embroidery machine it works especially well for illustrations, quilts and designs that should remain light. Other colours are possible; the clear line character is what matters.
Digitise a logical stitch path, minimise needless jumps and secure starts and ends. Very short stitches make curves rough and repeated lines quickly become heavy. Review the sequence in the stitch player, then test it. Our artwork-to-embroidery guide explains the basic digitising workflow.
Collegiate letters often combine a large letter shape with appliqué fabric, a bold border or faux chenille. Names and initials remain readable on sweatshirts and bags. A purpose-built design such as the University alphabet is safer than simply enlarging an ordinary font.
Position the letter, stabilise without stretching and keep every loose fabric layer away from the embroidery arm. For clothing, also use our guide to embroidering T-shirts and jersey.
Do I need a special embroidery machine?
Usually not. You need a suitable file, enough hoop space and an approved needle and thread. Use cutting or specialty accessories only when they are intended for your model.
Can I stitch an ordinary file with Filaine?
Not reliably. Bulky thread needs suitable stitch lengths and spacing. Use a prepared file or test a professionally adapted version.
Which technique is easiest to try first?
Redwork or a finished cross-stitch file is easy to control on stable woven fabric. Faux chenille and brushed Filaine areas need more finishing.
How do I avoid a stiff result?
Match the technique and design to the fabric, avoid needless density and use only as much stabilisation as required. For systematic troubleshooting, see improving embroidery results.
Choose one surface that genuinely improves the project. Start with a prepared design and a material sample. Once appearance, feel and finishing work, repeat the same setup on the final piece.
Current software tutorials are available from CREATIVATE. For machine-specific values, always follow the manufacturer.
AI embroidery designs look great – but as embroidery files, they're often completely useless
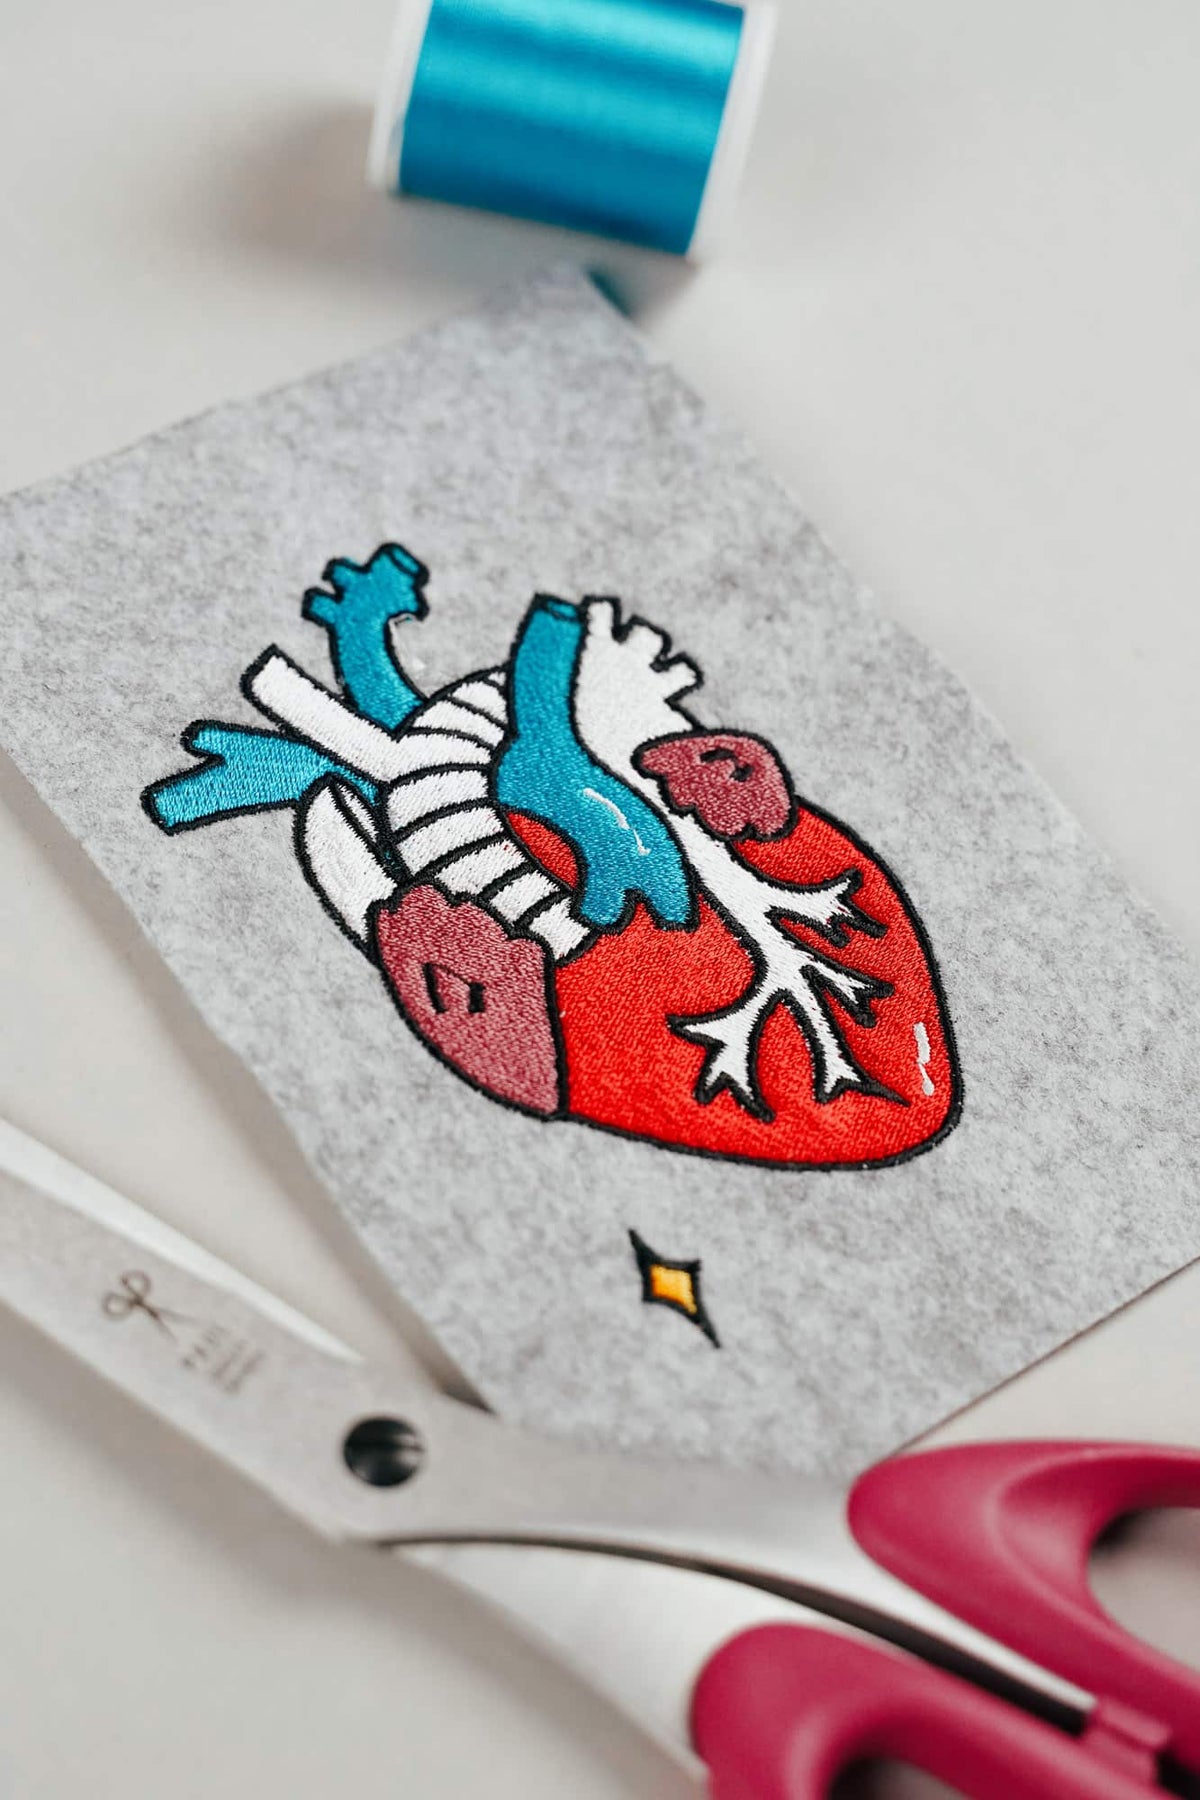
AI images often look like perfect embroidery, but are frequently unsuitable as a template for a real embroidery file. We'll show you which mistakes to avoid with AI-generated motifs, how to formulate better prompts, and how to recognise well-digitised embroidery files.
Embroider a woodland mobile: ITH ornaments step by step
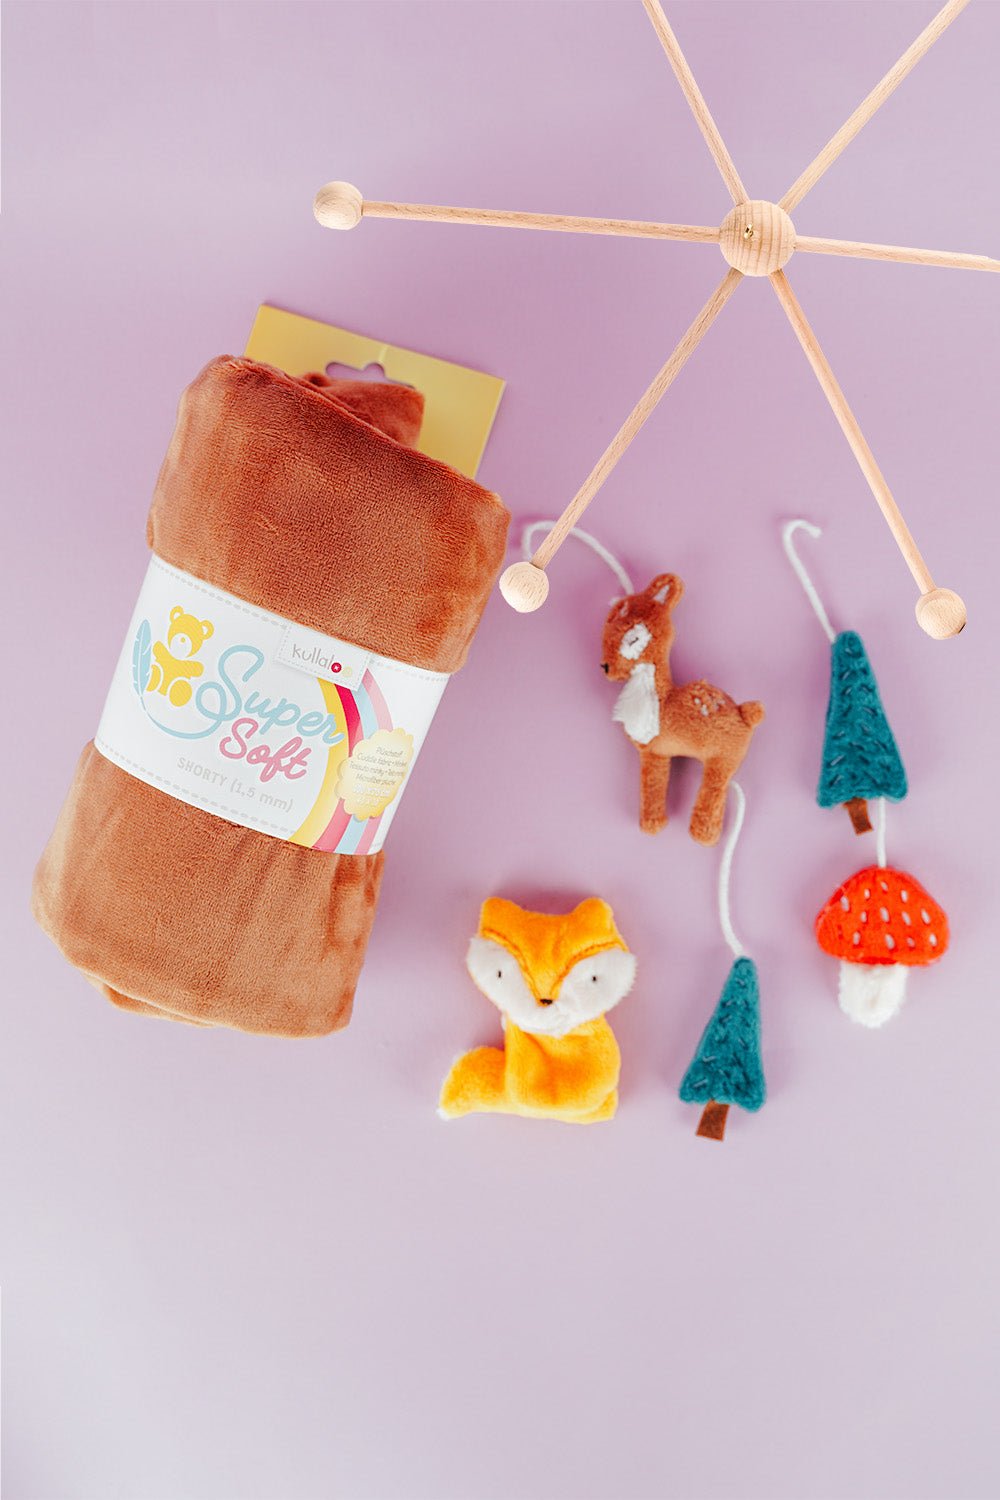
Embroider fox, deer, fir tree and mushroom in a 10 × 10 cm hoop, then turn them into a woodland mobile or garland.
Read moreabout Embroider a woodland mobile: ITH ornaments step by step
Sew an alphabet cushion: personal pillows from A to Z
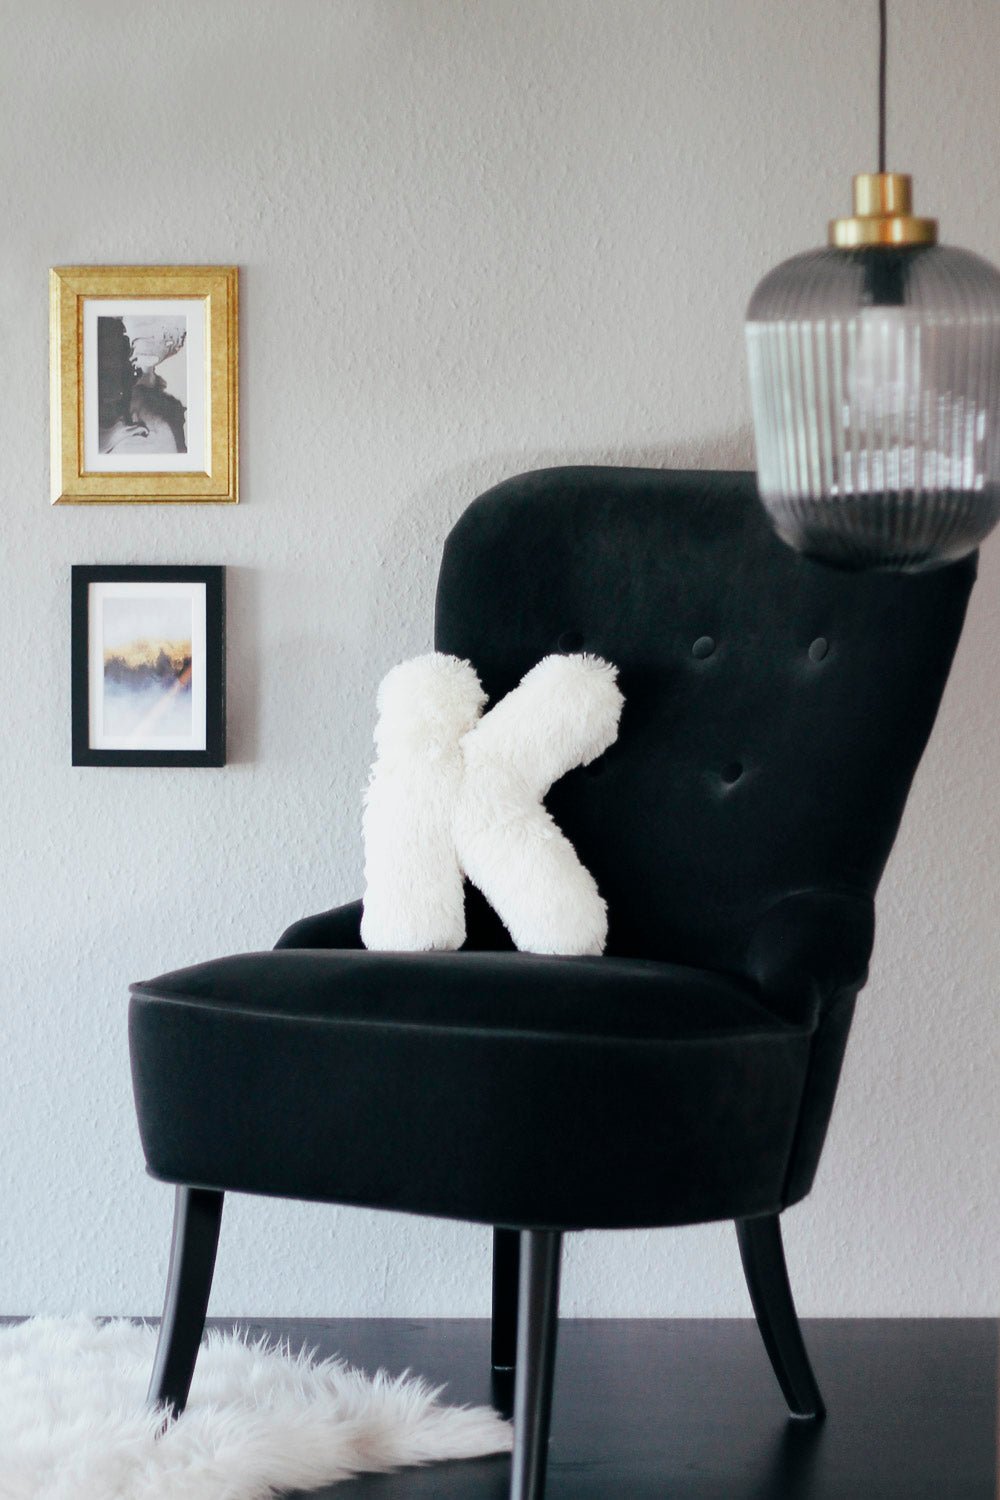
Sew an alphabet cushion with neat curves, even filling and a hidden ladder stitch, using a digital pattern that includes every letter from A to Z.
Read moreabout Sew an alphabet cushion: personal pillows from A to Z
Split:
Improve embroidery results: troubleshoot step by step
Sew an alphabet cushion: personal pillows from A to Z