

Improve embroidery results: troubleshoot step by step
- 0 commentson Improve embroidery results: troubleshoot step by step
- by Mark Angilowski
Misaligned outlines, loops, thread breaks or puckering? Diagnose the cause in the right order: threading, needle, stabilizer, hooping, design and tension.
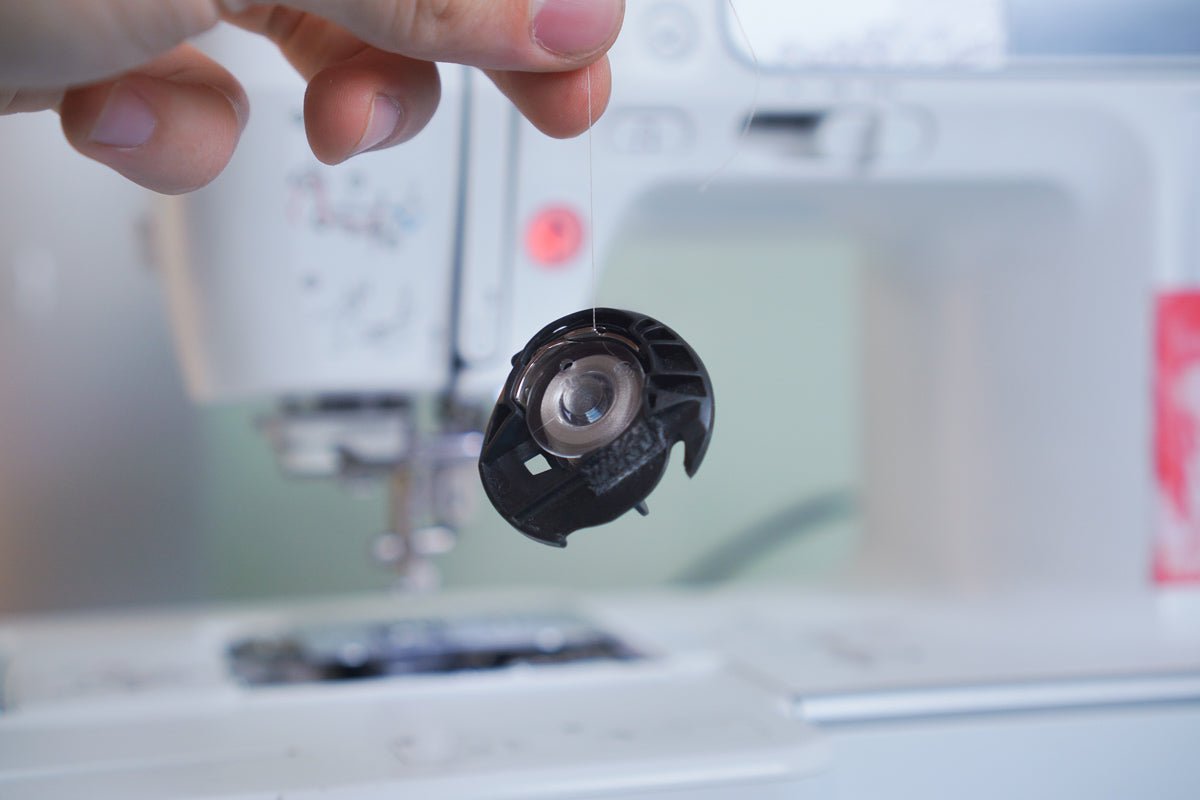
The quickest way to improve a poor embroidery result is to troubleshoot in a fixed order instead of immediately changing thread tension. Check the upper thread path and bobbin first, then the needle, hooping and stabilizer, followed by the embroidery design. A small tension adjustment only makes sense once those basics are correct.
This guide is Make ma!’s central troubleshooting hub. It helps you identify the symptom, run a controlled test stitch and move directly to detailed help for a specific fault. The manual for your machine and its specifications for needles, thread and bobbins always take priority.
“The machine stitches badly” can describe several different faults. If an outline shifts away from the fill, movement in the fabric, an oversized hoop or unsuitable digitizing are common starting points. Loops point more often to incorrect upper threading, unsuitable tension or a problem around the hook. Puckering and distortion usually involve the combination of fabric, hooping, stabilizer and stitch density.
Before changing anything, note what happens, at which stitch or colour change it starts and whether the problem repeats on a scrap of the same material. Then change only one variable at a time. If you replace the needle, add stabilizer, reduce speed and alter tension together, a better test cannot tell you which change solved the problem.

This earlier Make ma! video shares practical ideas from our embroidery work. Treat it as additional experience; current manuals and manufacturer approvals govern model-specific settings.
A skipped guide or thread that has missed the tension discs can create loops, breaks and uneven stitches. Do not rethread only the last few centimetres: begin at the spool. Check that the correct spool cap is fitted, the spool can feed freely and the thread is not catching on a notch, label or rough edge.
A rule such as “every spool must unwind anticlockwise” is not valid for every machine. The machine or external stand determines whether thread feeds from the side of a rotating spool or off the top of a stationary cone. Follow the manual and the spool construction. For ordinary embroidery, smooth-running 40-weight threads such as GUNOLD Poly 40 or SULKY Rayon 40 are common starting points, but suitability for your machine and project remains decisive.
Bobbin size, shape and thread weight are model-specific. Do not assume overlocker thread is a suitable replacement. A damaged, unevenly wound or incorrect bobbin can feed inconsistently. If thread tangles beneath the needle plate, see “Thread nest under the needle plate”. If the upper thread frays or breaks, continue with “Embroidery thread frays, sheds or breaks”.
The needle system must match the machine first. Many domestic machines use 130/705 H, while multi-needle and industrial machines may need a different system. Next choose point and size for the fabric and thread. Knits often require a different point from firm woven fabric; metallic or thicker threads may need a larger eye. A size 75 embroidery needle in system 130/705 H-E is therefore a common option, not a universal answer.
Replace a bent, blunt or damaged needle immediately. An unfamiliar tapping sound, skipped stitches or increasing fraying are also good reasons for a controlled needle change. A fixed number of operating hours is less reliable than the condition of the needle and the demands of the project. Never fit a similar-looking overlocker or industrial needle unless the manual explicitly specifies that system.
Fabric should sit smooth and stable in the hoop without being artificially stretched. If stretched fabric relaxes after removal, the embroidery puckers. Select the smallest hoop that accommodates the design with safe clearance; an unnecessarily large hoop gives the fabric more room to move. Also keep heavy excess fabric from pulling on the hoop and leave the embroidery arm unobstructed.
The stabilizer must support the fabric type, design size and stitch density. Tear-away may be enough for stable woven fabric, whereas stretchy knits generally need longer-lasting support. On pile, a water-soluble topper can prevent stitches from sinking into the surface. The stabilizer adviser guides you by material and use. For an existing distortion problem, read “Why is my embroidery distorted?”.
An unsuitable design cannot be permanently repaired with more stabilizer or greater tension. Too many overlapping stitches, extremely short stitch lengths, unsuitable underlay or excessive density increase friction and pull. Outlines can also shift when pull compensation does not suit the material.
Do not resize a finished file arbitrarily on the machine: depending on the system, stitch count and density can remain unsuitable. Use a professionally digitized size and test it on representative scrap fabric. If the same fault occurs at the same point on several fabrics or machines, the design becomes the stronger suspect. Visible gaps are covered in detail in “Gaps in an embroidery design”.
Thread tension is not the first control for every problem. Confirm threading, bobbin, needle, stabilizer and design first. Then examine both sides of a test stitch. Bobbin thread on the face can indicate excessive upper tension, but an incorrectly inserted bobbin can produce a similar appearance. See “Bobbin thread showing on top” for the focused checklist.

Change upper tension in small increments and record both the starting value and the result. Adjust the bobbin-case screw only if the manual for your model explicitly permits it and you can mark the original position. Slower embroidery may help with small outlines, special thread or a large hoop, but it cannot replace correct preparation.
| Symptom | Check first | Then check |
|---|---|---|
| Loops or a thread nest underneath | completely rethread the upper thread with the presser foot raised | bobbin, hook area and upper tension |
| Bobbin thread visible on top | correct bobbin insertion and smooth feed | reduce upper tension slightly according to the manual |
| Thread breaks or frays | needle, thread path, spool and visible burrs | speed, thread condition and design density |
| Outline is misaligned | hooping, hoop size and pull from excess fabric | stabilizer and design compensation |
| Fabric puckers or design contracts | fabric not stretched and stabilizer strong enough | density, design size and tension |
| Skipped stitches or tapping | fit a new, correct needle properly | needle plate, hook and possible service need |
Useful tools are organized by task in the separate article “Embroidery-machine accessories: what you really need”. Do not buy at random, though: a controlled test usually shows whether you need different material, a tool, a revised design or maintenance.
Should I change tension first?
No. Rethread upper and bobbin threads, then check the needle, bobbin, hooping, stabilizer and design. Only then change upper tension in small, recorded steps.
Which side of the test stitch should I inspect?
Both. The face shows outlines, gaps and puckering; the reverse helps assess threading and tension. The ideal balance varies with machine, stitch type and manufacturer guidance.
Is polyester always better than rayon?
No. Polyester is often robust for frequently washed or heavily used textiles, while rayon provides a characteristic sheen for decorative work. Intended use, machine, design and smooth feeding determine the better choice.
When is professional service necessary?
When the needle contacts metal parts, the needle plate or hook has a burr, timing problems recur, unusual noises persist or faults remain after a correct setup with several tested materials.
How should I document a fault for support?
Record the machine model, needle and thread type, bobbin thread, fabric, stabilizer, file format, design size and stitch at which the problem begins. Photos of both sides and a short video are much more useful than “it stitches badly”.
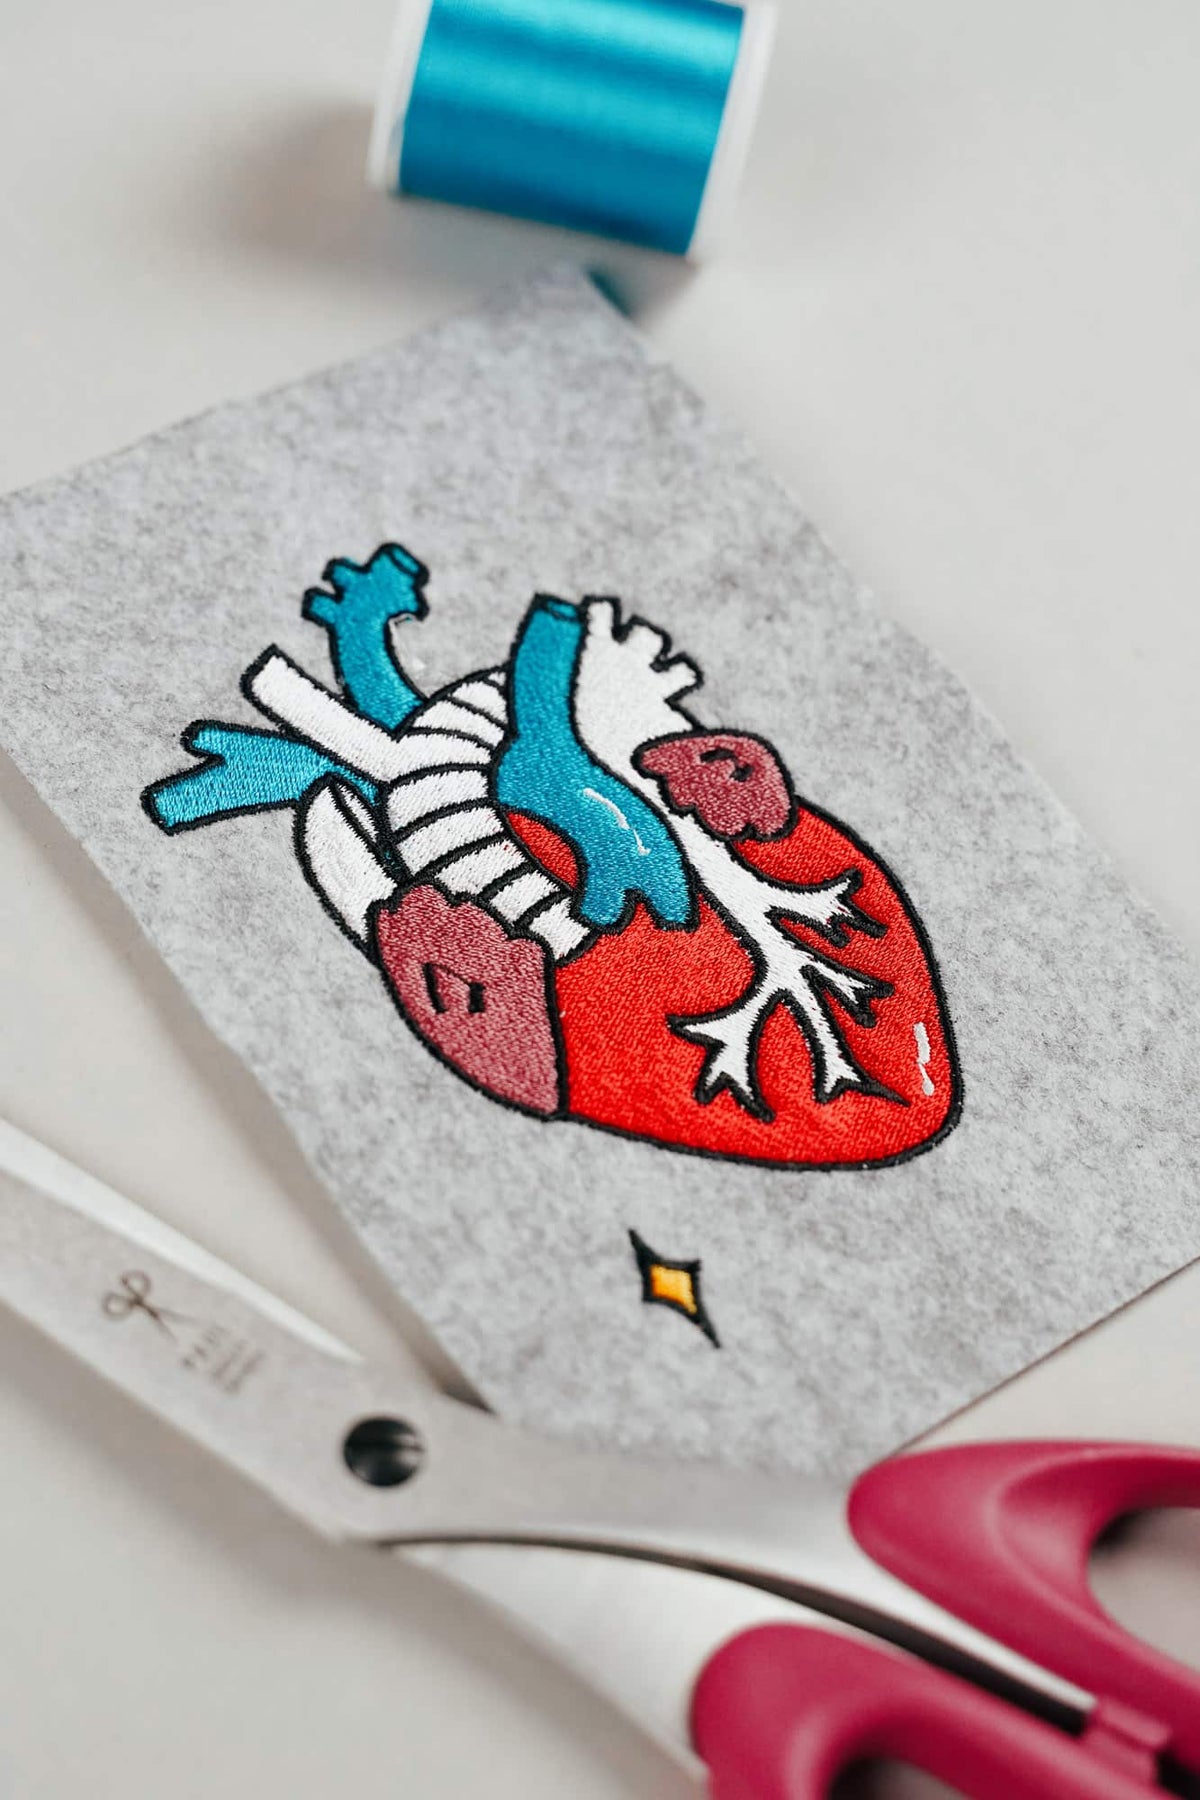
AI embroidery designs look great – but as embroidery files, they're often completely useless
AI images often look like perfect embroidery, but are frequently unsuitable as a template for a real embroidery file. We'll show you which mistakes to avoid with AI-generated motifs, how to formulate better prompts, and how to recognise well-digitised embroidery files.
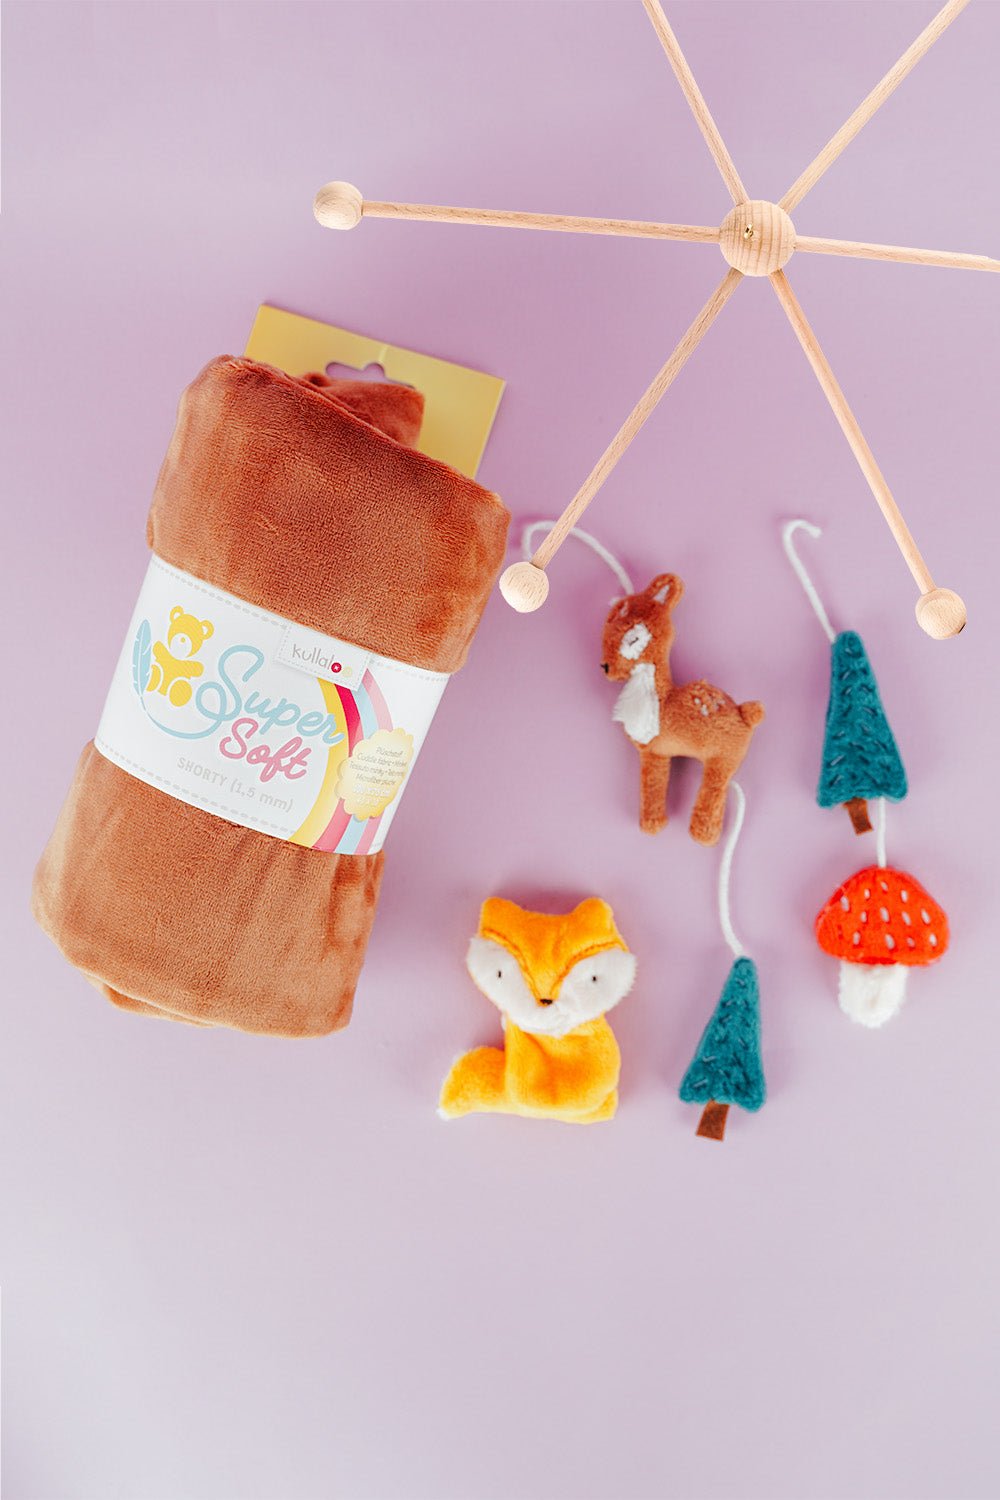
Embroider a woodland mobile: ITH ornaments step by step
Embroider fox, deer, fir tree and mushroom in a 10 × 10 cm hoop, then turn them into a woodland mobile or garland.
Read moreabout Embroider a woodland mobile: ITH ornaments step by step
Sew an alphabet cushion: personal pillows from A to Z
Sew an alphabet cushion with neat curves, even filling and a hidden ladder stitch, using a digital pattern that includes every letter from A to Z.
Read moreabout Sew an alphabet cushion: personal pillows from A to Z

Split:
How to embroider socks: hoop, stabilizer and design guide
Creative embroidery techniques: 5 machine effects