

Turn JPG, PNG, SVG or EPS artwork into an embroidery file: prepare it, digitise automatically or manually, export and test-stitch it.
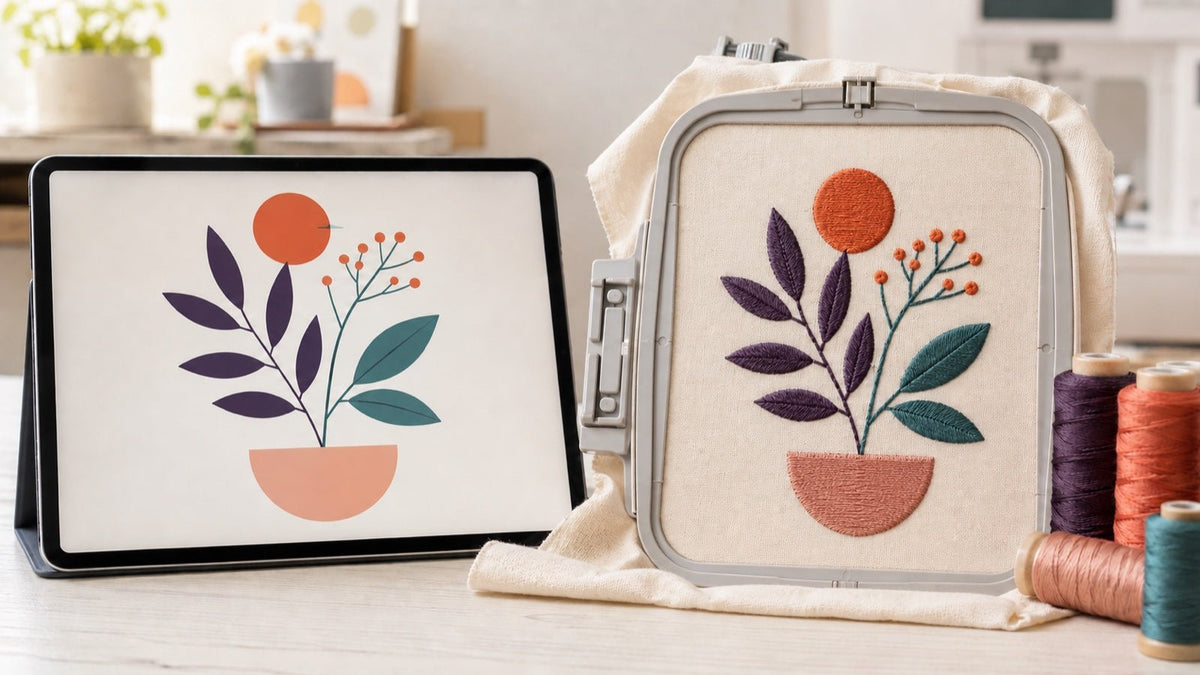
A JPG, PNG, SVG or EPS graphic cannot be opened directly on an embroidery machine. It must first be digitised: embroidery software translates shapes and colours into stitch types, directions, density, underlay, sequence and colour changes. Only then do you export a machine format such as PES, EXP, VP3, JEF or DST.
This guide explains which source artwork works well, when automatic conversion is sufficient and when manual digitising or a professional service is the better choice. It helps you avoid the most common mistake: simply renaming an image file and expecting a clean stitch-out.
Contents
JPG, PNG, SVG and EPS are not embroidery files yet
A graphic describes pixels or geometric shapes. An embroidery file describes where the needle penetrates and in which order thread areas, outlines and colour changes are formed. Renaming .jpg to .pes, or using a standard image converter, therefore cannot work.
| File type | Typical purpose | What matters |
|---|---|---|
| JPG/JPEG | Photo or pixel graphic without transparency | Compression artefacts and low resolution make clean edges harder. |
| PNG | Pixel graphic, often with a transparent background | Clean, high-contrast areas are easier to recognise than fine photo detail. |
| SVG/EPS | Vector graphic with scalable shapes | Often a useful starting point; import and vector handling still depend on the software and version. |
| EDO/EMB | Editable project file from embroidery software | Keep it for later changes to size, objects and stitches. |
| PES/EXP/VP3/JEF/DST | Output for the embroidery machine | The correct format depends on the exact machine model. Use our embroidery file format guide. |
What digitising really means in machine embroidery
Digitising is more than changing the file format. For every element, you decide whether it should become a running stitch, satin stitch or fill area. You also control direction, underlay, density, pull compensation, overlaps, entry and exit points, sequence, jumps and colour changes.
Those decisions depend on final size and fabric. The same logo may need a different construction on firm twill than on stretch jersey or high-pile terry cloth. A realistic screen preview can therefore never replace a test on the intended fabric.
Make ma! practical experience: our archived auto-digitising test with a detailed multicolour graphic produced a stitchable draft immediately, but also many separate objects, colour changes and areas that needed correction. The key lesson still applies: automation saves the initial build, not the technical check and test stitch.
How to prepare artwork for a better result
- Set the final size: start with the actual width and height in millimetres and the available hoop.
- Reduce detail: remove elements that will become too narrow to stitch cleanly at the target size.
- Create clear areas: limit colours and avoid unnecessary gradients, shadows, transparency and texture.
- Improve contrast: separate neighbouring shapes clearly and close accidental gaps.
- Check lettering: very small or extremely fine letters often need simplification or a dedicated embroidery build.
- Keep the original: save the untouched artwork and later the editable embroidery project file as well.
Clean vector art may help shape recognition, but it does not guarantee a good embroidery file. BERNINA’s V9 help, for example, notes that shadows, transparency and complex vector fills do not always convert meaningfully to embroidery objects. What matters is how the design is reinterpreted for thread, fabric and size.
Convert artwork into an embroidery file: step by step
- Define the target: choose design size, fabric, colours, hoop and machine model.
- Clean the artwork: simplify shapes, remove the background and repair small gaps or duplicate outlines.
- Import the graphic: open it in suitable embroidery software. Accepted image formats vary by program.
- Choose a method: begin with auto-digitising for a simple design; use manual objects for small lettering, tight detail or demanding fabrics.
- Inspect stitch objects: check stitch types, angles, underlay, density, sequence, overlaps and necessary colour changes.
- Save the project file: preserve an editable format such as EDO or EMB before exporting a machine file.
- Export the machine format: choose the confirmed format for your model and make sure design and hoop fit.
- Test-stitch and correct: use the same fabric, stabiliser, thread and preferably the same needle as in the final project.
CREATIVATE demonstrates this basic sequence in its current Digitizing Wizard: load and crop the image, set the size, generate a design, refine objects, save an editable EDO file and export a machine format. Menu names can change with updates, so also consult the help for your installed version.
When is automatic digitising enough?
| Starting point | Sensible route | Why |
|---|---|---|
| large, simple motif with a few clear colours | auto-digitising as a starting point | Shapes are easy to detect; stitch objects still need checking. |
| logo with small text, thin lines or tight gaps | digitise manually or use a service | Legibility, sequence and pull compensation require deliberate decisions. |
| photo with many shades | dedicated PhotoStitch process | A photo effect is its own embroidery style, not an ordinary logo file. |
| production run or valuable garment | professional digitising and a binding test | Repeatability and material tuning matter more than a quick first draft. |
Automatic tools are particularly useful for trying alternatives. Do not judge only by the 3D preview: play the stitch sequence slowly and watch for needless jumps, very short stitches, overloaded areas and missing overlaps.
Editing an existing embroidery file is a different task
Digitising artwork starts from image or vector shapes. A finished PES, EXP, VP3, JEF or DST file already contains stitches and usually retains less editable object information than the original project file. Good software can analyse and alter those stitches to a degree; for major changes, the source project or a rebuild is often safer.
If you only want to change the size, first read our guide to scaling embroidery files correctly. Also check the licence: the fact that a file can technically be edited does not automatically permit modifications or commercial use.

Common problems when converting artwork
| Problem | Likely cause | Next test |
|---|---|---|
| Outlines look jagged | small pixel source or rough edges | Clean the source at target size or redraw the shapes accurately. |
| Small text closes up | too fine, too dense or the wrong stitch type | Simplify or enlarge the lettering and test it on the final material. |
| Gaps appear between areas | fabric movement, missing overlap or unsuitable pull compensation | Check stabilisation and overlap objects deliberately. |
| Design feels stiff or puckers | too many stitches, excessive density or unsuitable underlay | Review density and underlay by object, then stitch a new sample. |
| Colour sequence is inefficient | automation sorted objects poorly | Optimise the sequence without breaking necessary overlaps. |
Which software or service suits you?
If you regularly build your own motifs, software with editable objects and manual tools is worth considering. Our CREATIVATE Elite versus BERNINA V9 comparison covers operating systems, workflow and scope. For the levels within CREATIVATE, use the Essential, Extra and Elite comparison.
- CREATIVATE Elite: for Mac and Windows when you want to combine automatic drafts with manual digitising and stitch editing.
- BERNINA V9 Creator: an object-based Windows workflow for digitising and editing; check current system requirements before buying.
- Professional embroidery-file creation: useful for one logo, fine details, repeat orders or when you do not want to learn dedicated software.
After export, our guide explains how to transfer the file to your embroidery machine. Keep the editable project and a colour sequence sheet alongside the machine file.
Frequently asked questions about digitising artwork
Can I convert a JPG or PNG to PES for free?
Free software can digitise a design, but not as a dependable one-click conversion. You still need to create or check stitch objects and test the result. An online converter that merely changes the extension cannot create a usable embroidery file.
Is SVG or EPS always better than JPG?
Clean vector art usually provides clearer shapes and scales without pixel loss. It still does not guarantee good embroidery: tiny detail, gradients and unsuitable geometry must also be simplified and reinterpreted as stitches.
Can I turn a photo into an embroidery file?
Yes, with dedicated photo-embroidery methods. The result often contains many stitch rows and shades and will not look like a printed photograph. Use a purpose-built PhotoStitch function and make your own test sample.
What does a digitising service need?
The cleanest available original artwork, desired width and height, fabric or product, machine model or target format, intended colours and planned use. A photo of the final material also helps with assessment.
Want to try more than a standard fill after digitising? Our guide to five creative embroidery techniques covers faux chenille, Filaine, cross stitch, redwork and collegiate lettering, each with a safe next test.
Your next step: define the artwork and result first
Do not begin with the export format. Begin with the finished result: how large should the design be, which fabric will carry it and how fine are the smallest details? Prepare a simplified graphic and a small test stitch from those answers. If only the matching machine format remains to be chosen, the digitising stage has done its job.
Browse magazine & FAQ
More articles
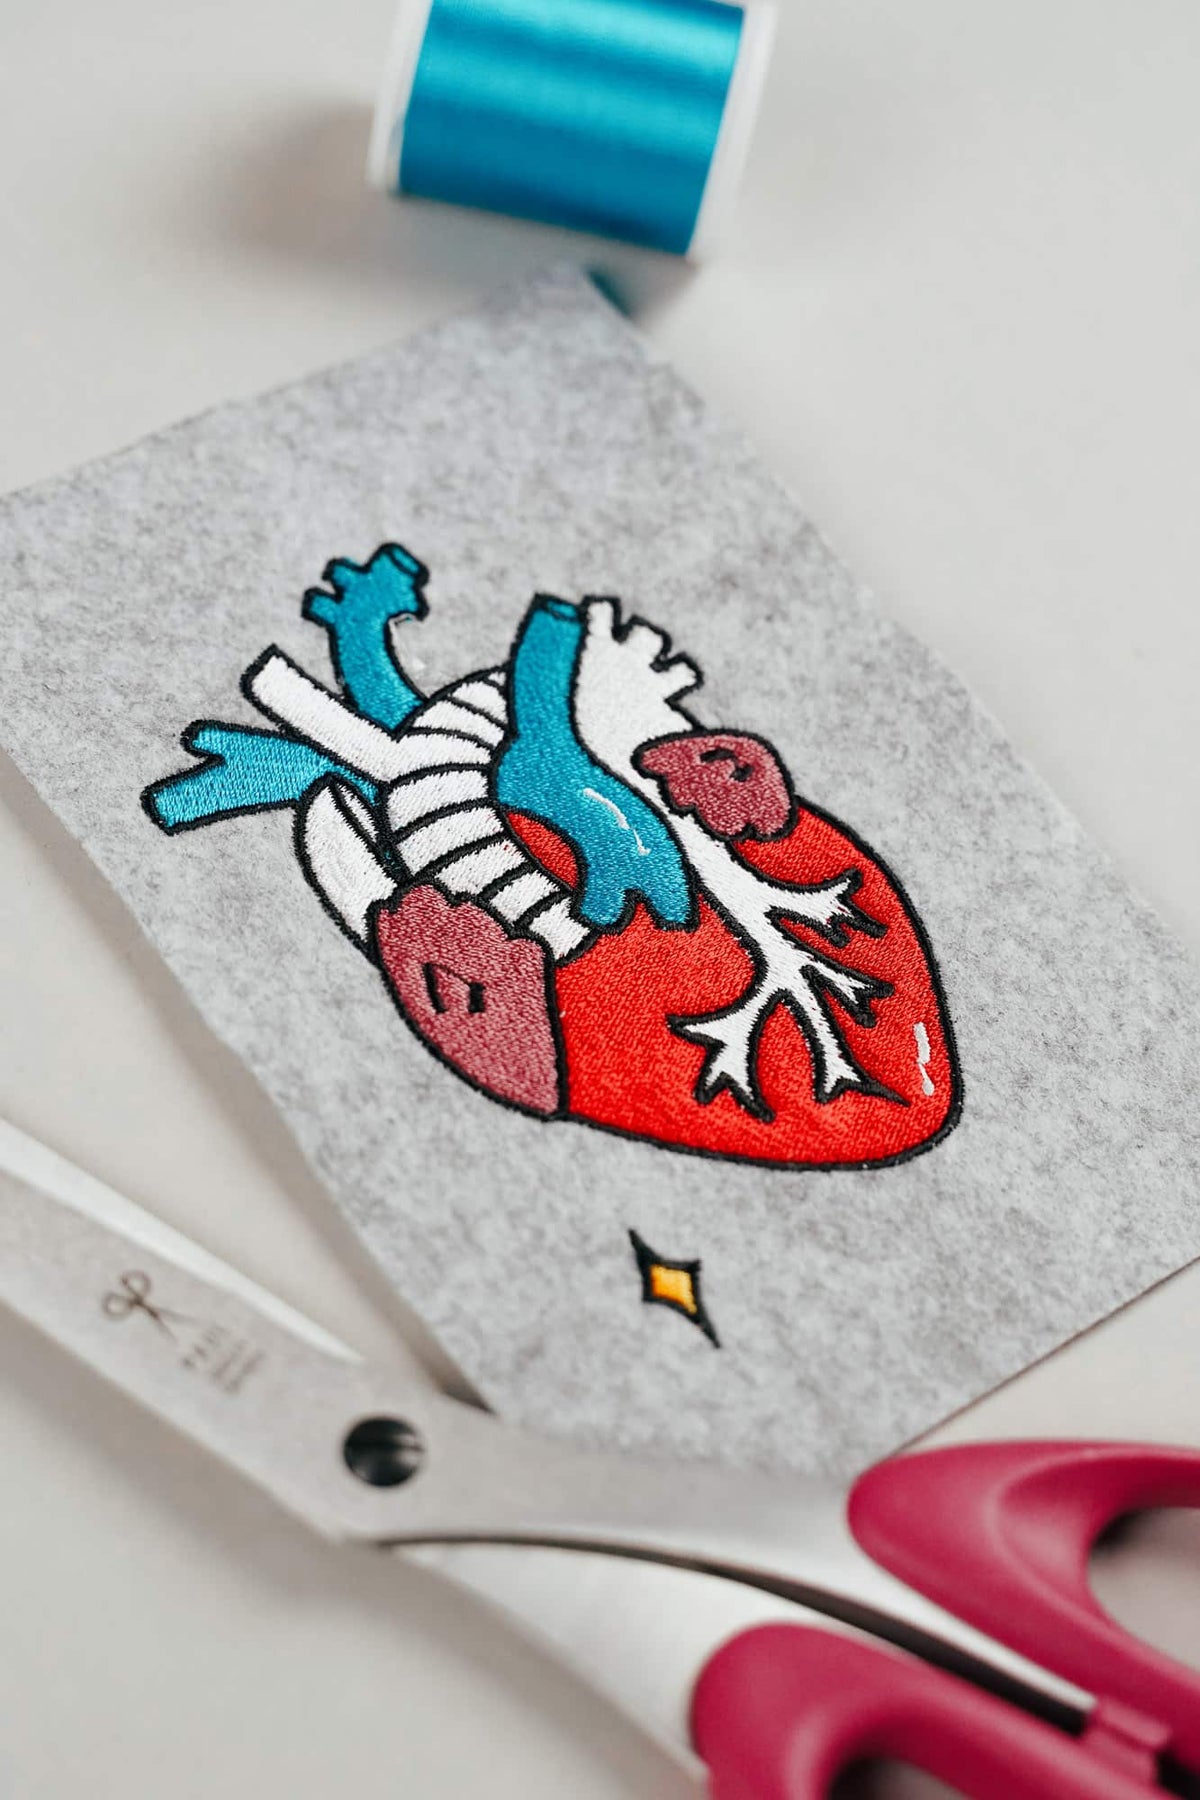
AI embroidery designs look great – but as embroidery files, they're often completely useless
AI images often look like perfect embroidery, but are frequently unsuitable as a template for a real embroidery file. We'll show you which mistakes to avoid with AI-generated motifs, how to formulate better prompts, and how to recognise well-digitised embroidery files.
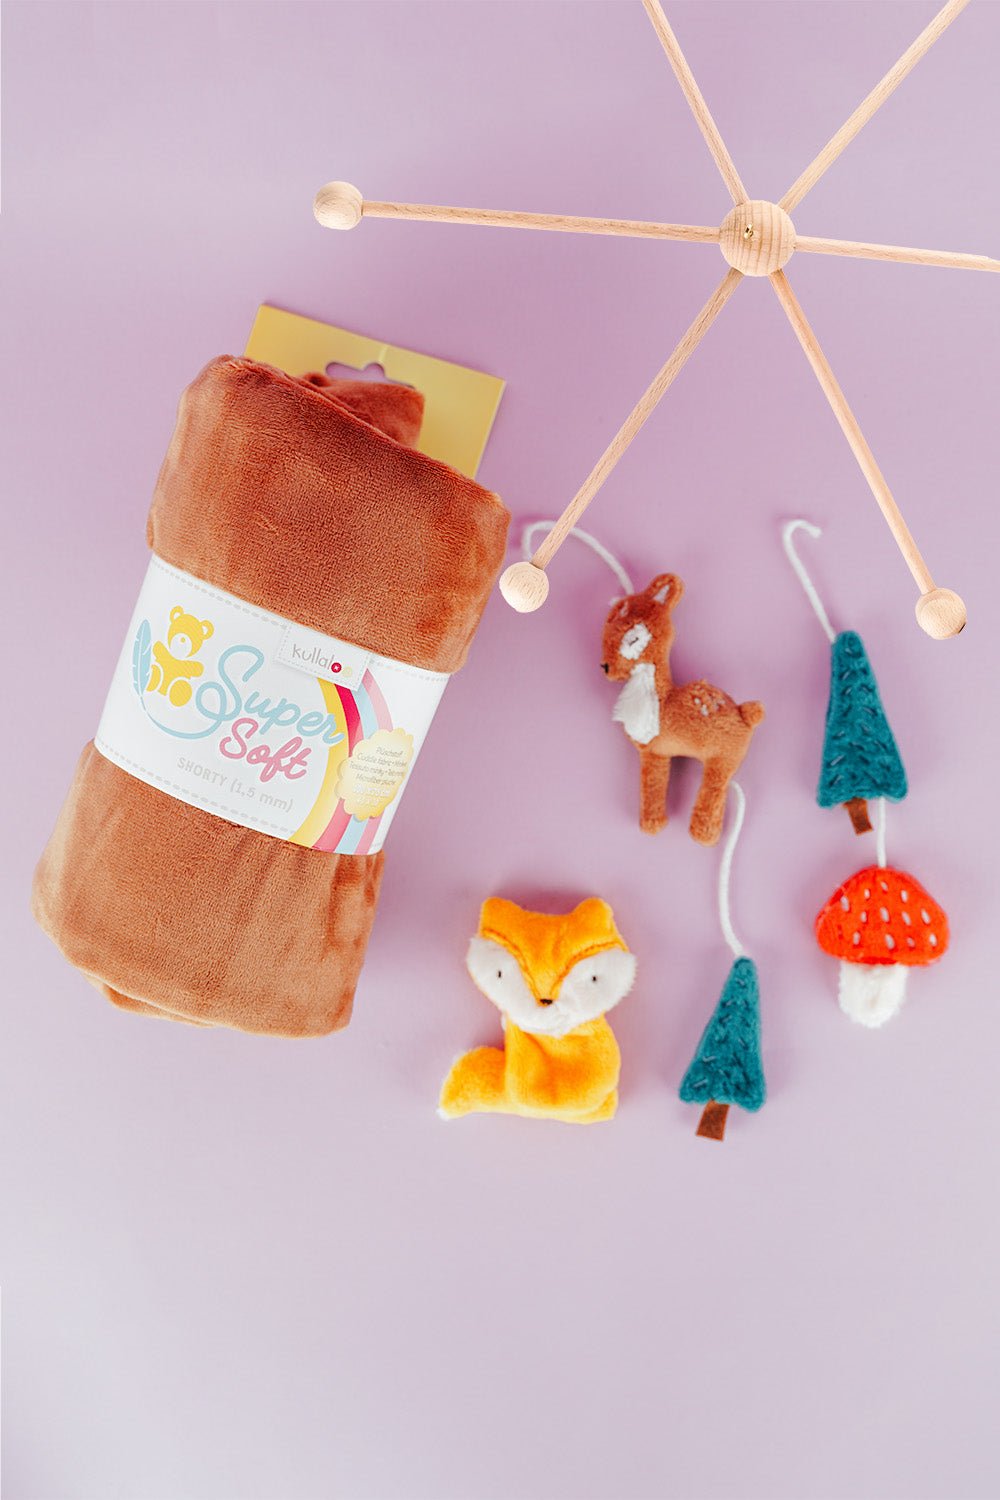
Embroider a woodland mobile: ITH ornaments step by step
Embroider fox, deer, fir tree and mushroom in a 10 × 10 cm hoop, then turn them into a woodland mobile or garland.
Read moreabout Embroider a woodland mobile: ITH ornaments step by step
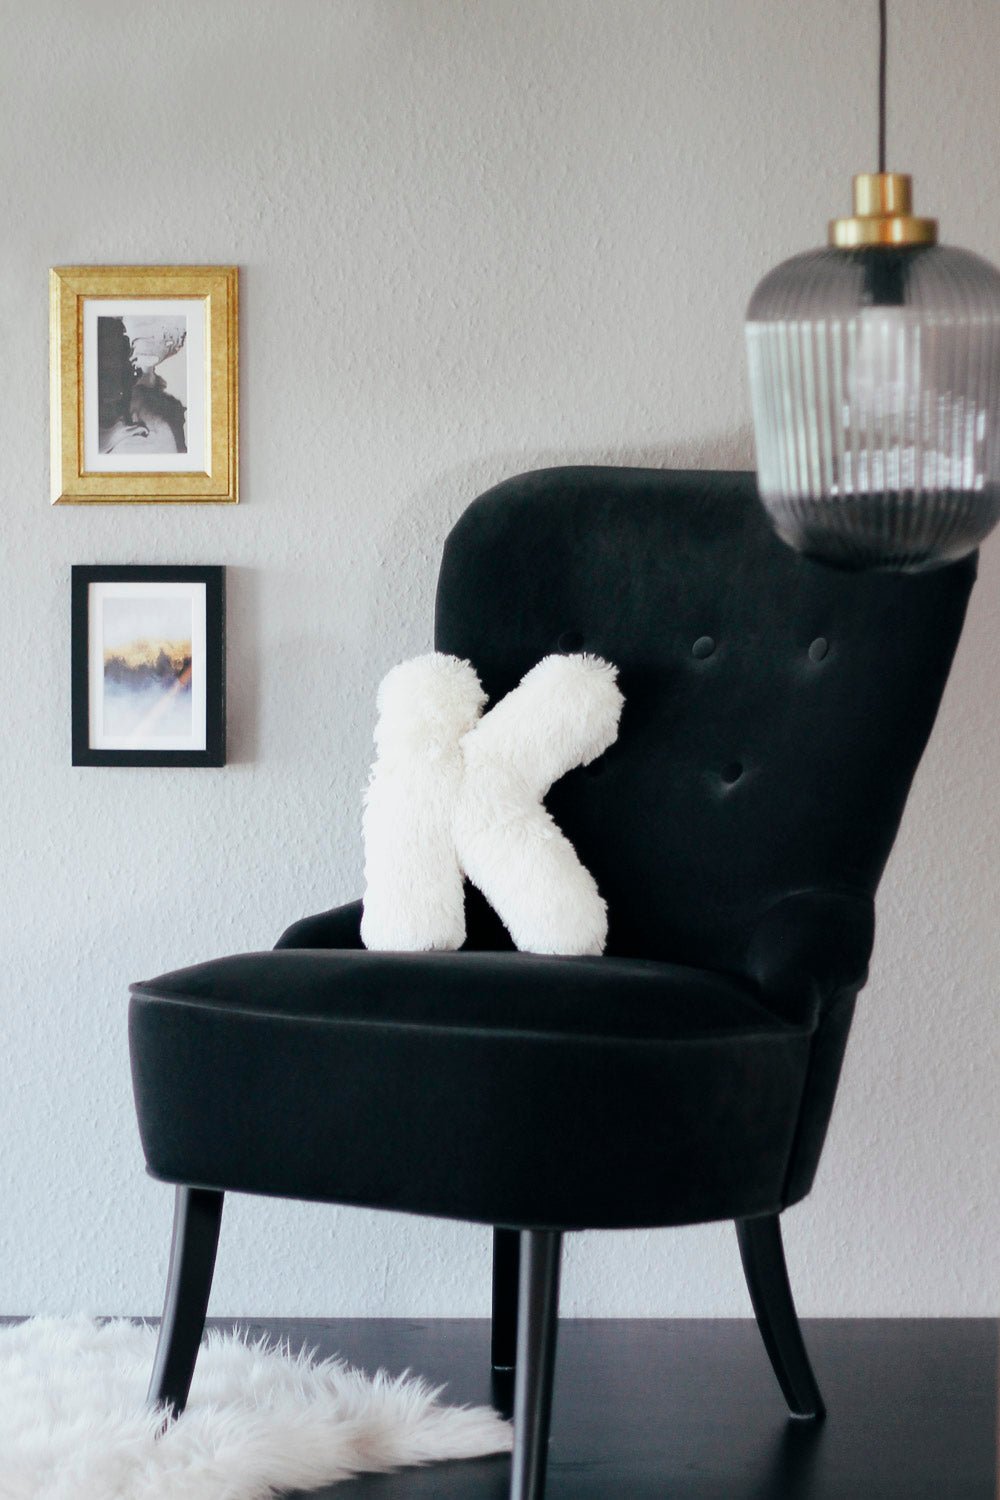
Sew an alphabet cushion: personal pillows from A to Z
Sew an alphabet cushion with neat curves, even filling and a hidden ladder stitch, using a digital pattern that includes every letter from A to Z.
Read moreabout Sew an alphabet cushion: personal pillows from A to Z
Split:
mySewnet and CREATIVATE on Mac: What does the Rosetta warning mean?
How to clean a sewing machine safely: step-by-step guide