

Learn how to embroider T-shirts, sweatshirts and jersey cleanly: fabric, stabiliser, design, hooping and troubleshooting explained.
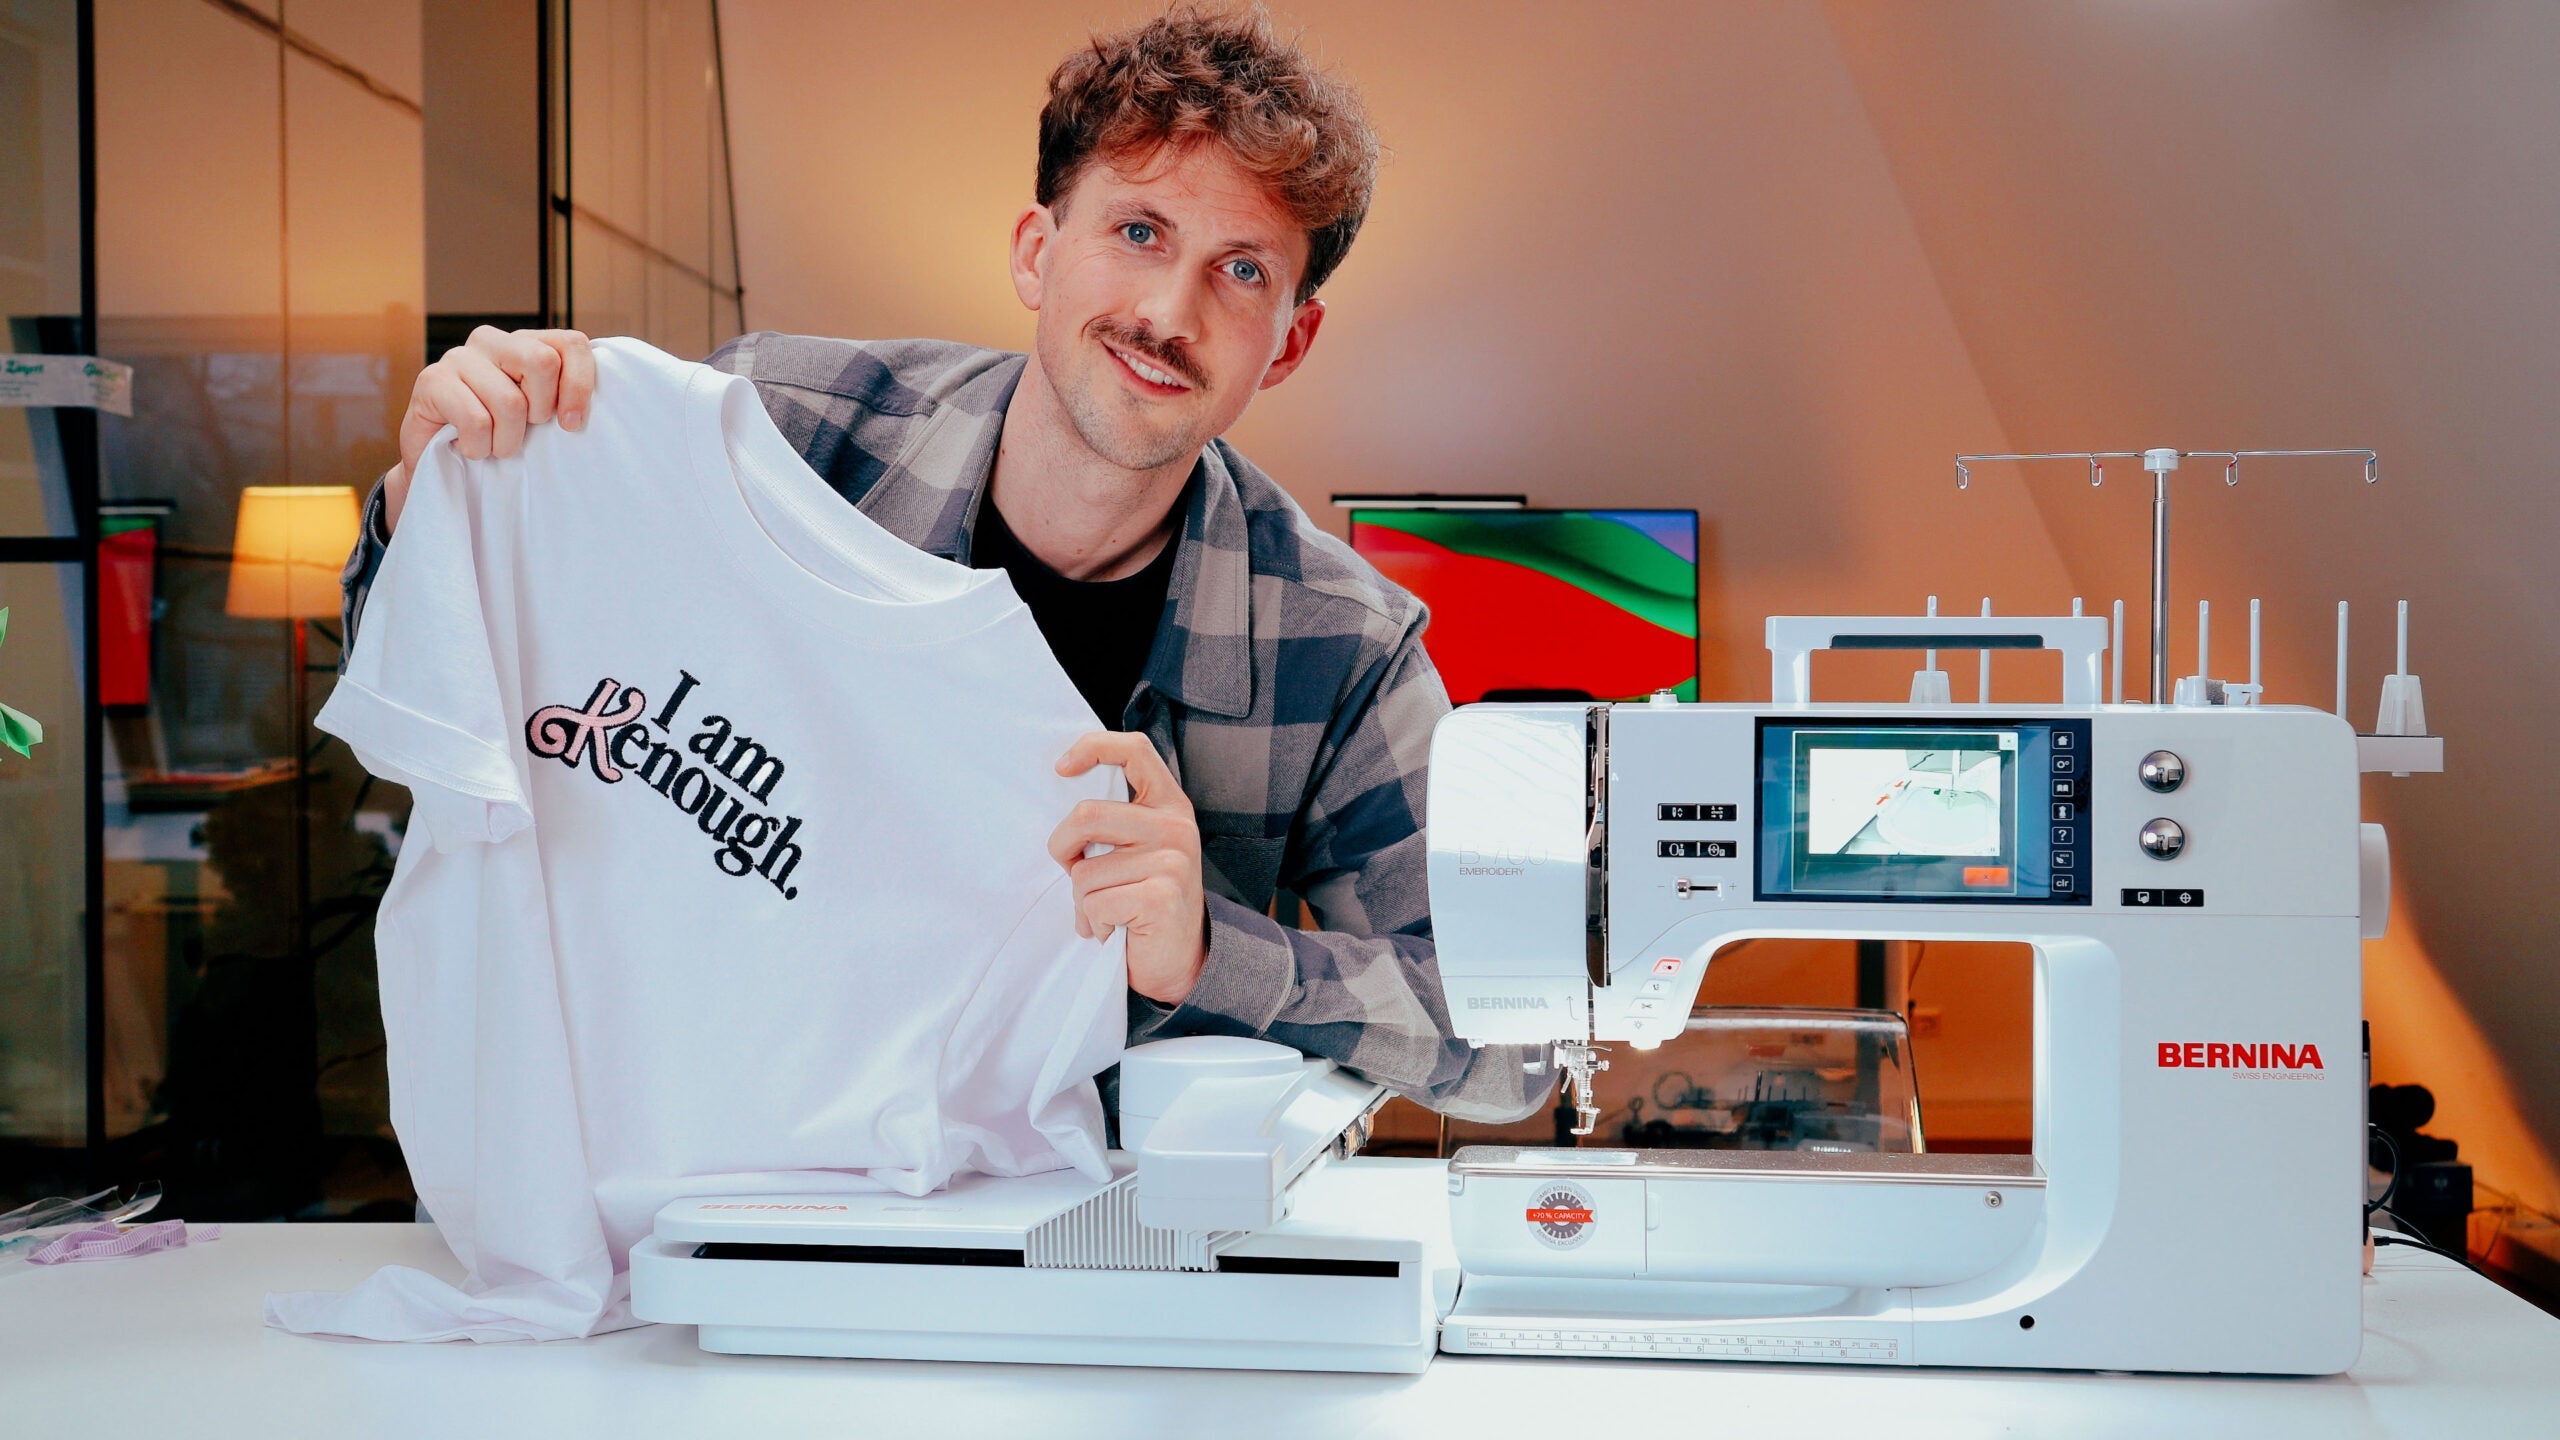
You can machine-embroider T-shirts and jersey neatly if you avoid stretching the fabric, support it permanently and choose a suitable design. A soft cut-away stabiliser is usually the safest base for stretchy knits. Test first on comparable fabric because weight, stretch and stitch density must work together.
This guide combines our earlier shirt and sweatshirt articles with our own practical video, taking you from fabric check to finishing.
Contents
The quick answer: what prevents puckering?
- Pre-wash the garment and check its quality.
- Hoop jersey flat, never stretched.
- Use soft cut-away stabiliser on the back.
- Match design size and density to the fabric.
- Fit a fresh needle suitable for machine and material.
- Test on a comparable remnant first.
Our stabiliser adviser helps you narrow down the choice by fabric and project.
T-shirt, sweatshirt or hoodie: the fabric matters
Thin, highly elastic single jersey is less forgiving than firm sweatshirt fabric or French terry. Gently test stretch in both directions. More rebound generally means that the back needs reliable support and the design should not be overly dense. Check seams, pockets and ribs too: they can obstruct the hoop or slip beneath the embroidery area.
For a first project, choose a stable shirt and a small chest design. It lets you practise placement and hooping before attempting large areas.
Which stabiliser works for jersey?
| Material | Role | Useful when |
|---|---|---|
| Soft’n Sheer Plus | soft cut-away on the back | permanent support for stretchy shirts and sweat fabric |
| Totally Stable | temporary iron-on tear-away | the fabric needs extra control during placement; test heat first |
| Solvy | water-soluble topping | texture or fine details risk sinking into the surface |
More layers are not automatically better. Cut-away stays behind the embroidery and supports it during wear and washing. Trim it carefully without cutting the garment or stitches.
Match the design, needle and thread
Small, open designs are usually easier on soft jersey than large filled areas. Dense fills can pull the fabric together and tiny details can disappear. Avoid drastically resizing a finished file on the machine, because its stitch construction may not adapt correctly.
Use a fresh embroidery or jersey needle in the size recommended by the machine and needle manufacturer. A ball point can move between knitted loops more gently, but the right choice still depends on fabric, thread and machine.
How to embroider a T-shirt step by step
- Wash and dry the garment as it will be cared for later.
- Try it on and mark centre and axes with a tested washable marker.
- Place smooth cut-away behind the area.
- Use the smallest suitable hoop; keep jersey flat but unstretched.
- Roll and secure spare fabric outside the stitch field. Run the hoop-position check.
- Confirm file size, needle and threading, then test on matching fabric.
- After stitching, remove topping as directed and trim the backing carefully.
If waves form during stitching, stop early. Our guide to embroidery distortion provides a diagnostic sequence.
Common problems and fixes
| Problem | Likely cause | Next test |
|---|---|---|
| Puckering | stretched fabric, weak support or dense design | re-hoop, use cut-away and test a smaller design |
| Misaligned outlines | fabric movement or loose hoop | check stabiliser and hoop, then test slowly |
| Holes | blunt/wrong needle or excessive density | new suitable needle and an easier design |
| Back stitched shut | second fabric layer entered the field | roll it away and verify the full hoop path |
Practical video: embroidering a logo on a T-shirt
Our Make ma! video shows stabilising and stitching on a real shirt. Use it with the checklist; your fabric may still require a different test setup.
Frequently asked questions
Must shirt and stabiliser be hooped together?
That is often the most stable method. Floating can help with inaccessible garments, but the fabric must be secured carefully and the hoop path checked.
Do I always need topping?
No. Smooth jersey may stitch well without it. Texture and fine detail are reasons to test topping.
Can I use any design?
No. Size, underlay and density must suit the fabric. Start small and resize only within the designer’s guidance.
Your jersey is properly stabilized but the stitch-out is still poor? Use the step-by-step guide to improving embroidery results to check threading, needle, stabilizer, design and tension in the right order.
Your next step
Prepare a shirt, test fabric, needle, thread and stabiliser, then stitch one small sample. The Startklar machine-embroidery set combines key stabilisers with guidance. If you still need a machine, use our beginner buying guide.
If you want to move from jersey to narrow tubular knits, our guide to embroidering socks safely explains how to match the hoop method, stabilizer and design size to your embroidery machine.
Browse magazine & FAQ
More articles
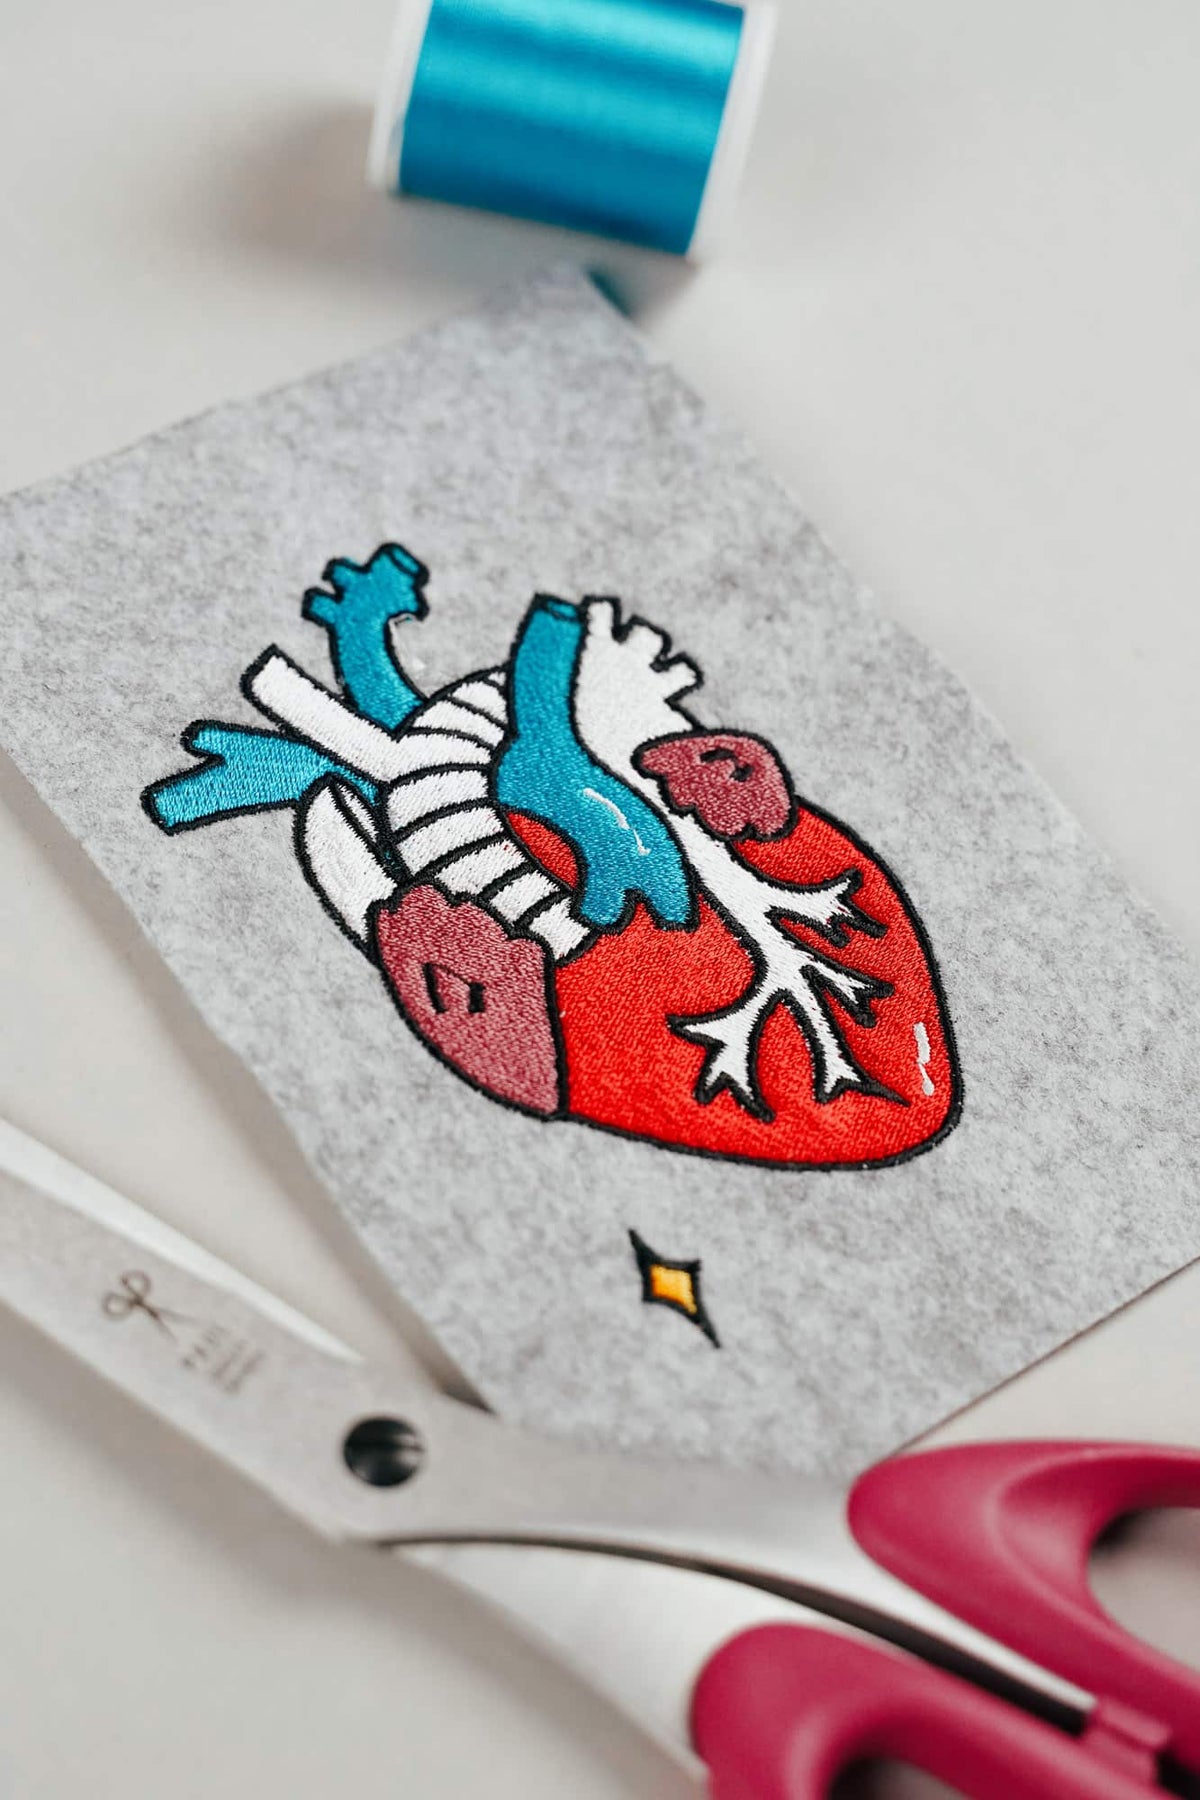
AI embroidery designs look great – but as embroidery files, they're often completely useless
AI images often look like perfect embroidery, but are frequently unsuitable as a template for a real embroidery file. We'll show you which mistakes to avoid with AI-generated motifs, how to formulate better prompts, and how to recognise well-digitised embroidery files.
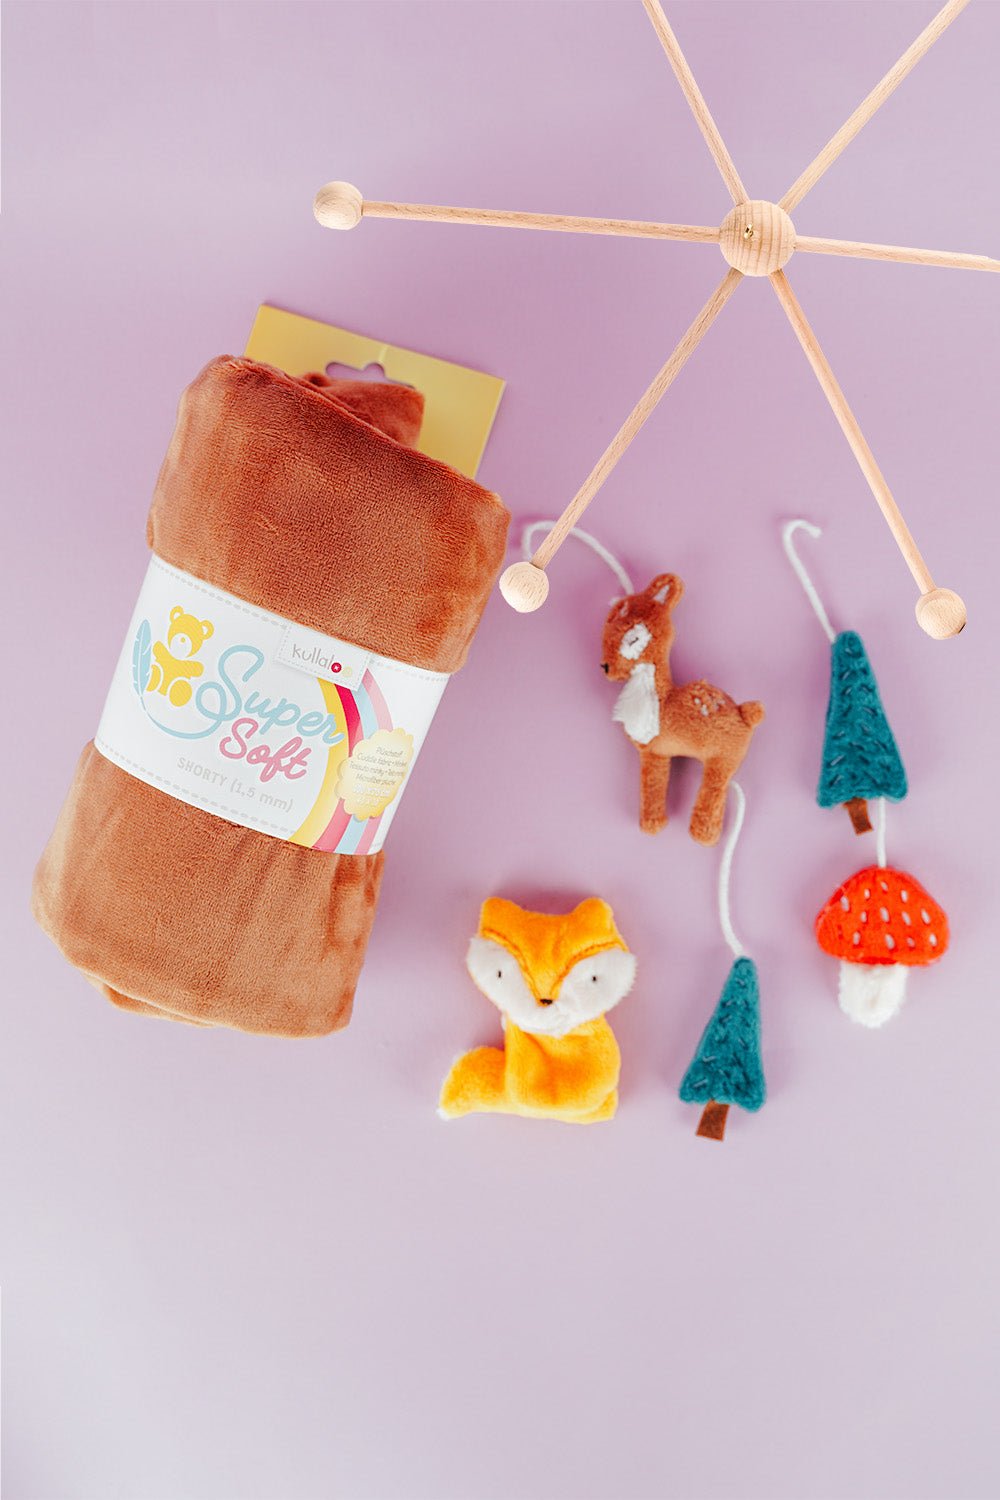
Embroider a woodland mobile: ITH ornaments step by step
Embroider fox, deer, fir tree and mushroom in a 10 × 10 cm hoop, then turn them into a woodland mobile or garland.
Read moreabout Embroider a woodland mobile: ITH ornaments step by step

Sew an alphabet cushion: personal pillows from A to Z
Sew an alphabet cushion with neat curves, even filling and a hidden ladder stitch, using a digital pattern that includes every letter from A to Z.
Read moreabout Sew an alphabet cushion: personal pillows from A to Z
Split:
Embroidery Machine for Beginners: A Practical Buying Guide
bernette b79 review: real-world strengths and limitations