

- 0 commentson Machine embroidery appliqué: a step-by-step guide
- by Mark Angilowski
Machine embroidery appliqué: a step-by-step guide
- 0 commentson Machine embroidery appliqué: a step-by-step guide
- by Mark Angilowski
Machine embroidery appliqué explained clearly: materials, placement line, tack-down stitch, close trimming and cover stitch.
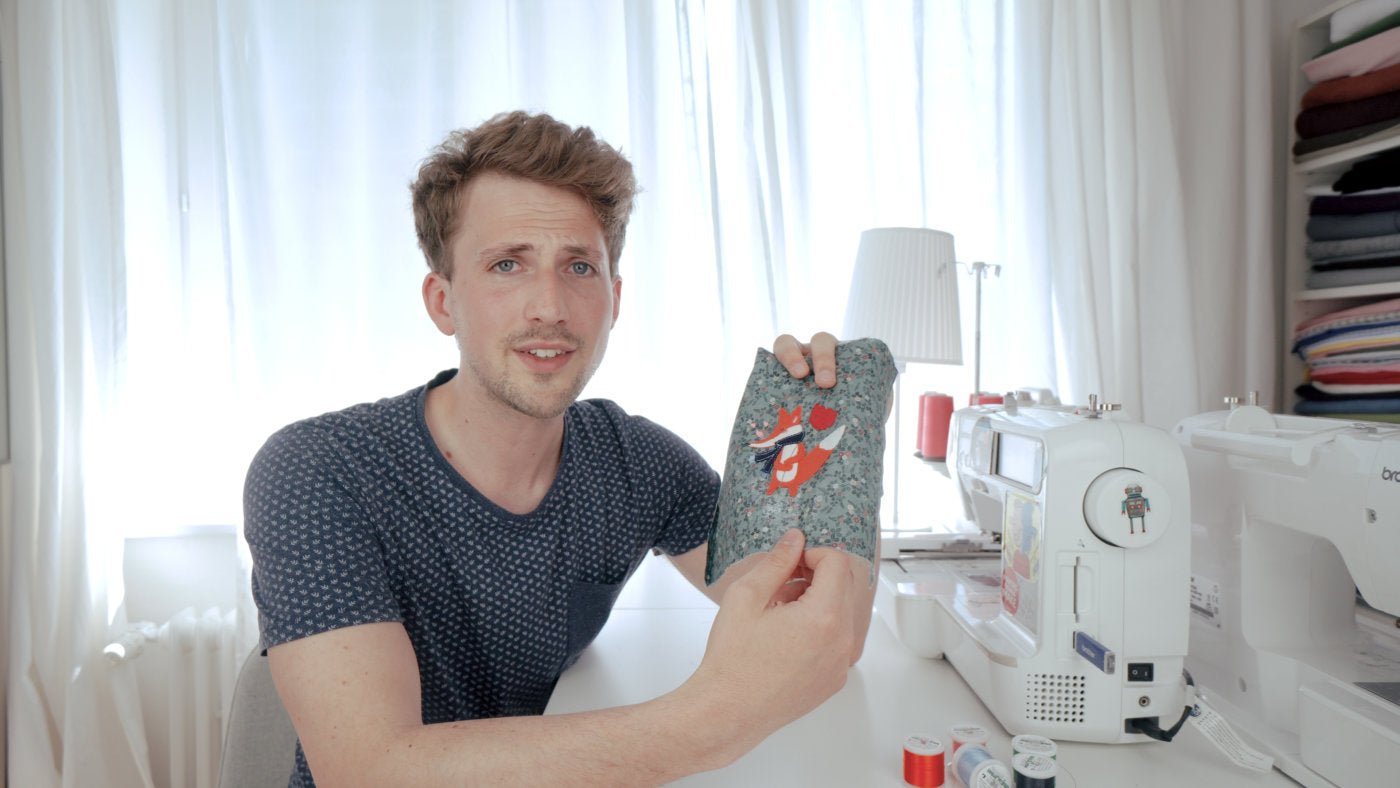
In machine embroidery appliqué, a piece of fabric replaces part of an area that would otherwise be filled with stitches. The embroidery file guides you through the essential sequence: stitch the placement line, lay down the appliqué fabric, secure it with a tack-down line, trim it closely and cover the raw edge with a satin or other cover stitch.
This guide takes you through the complete process at the embroidery machine. You will learn which materials to prepare, how to interpret colour changes and how to prevent gaps, fraying and distortion. If you want to digitise your own appliqué file, the separate software section near the end explains the next step.
| File stage | What the machine stitches | What you do |
|---|---|---|
| 1. Placement | a simple outline | lay the appliqué fabric so that it completely covers the line |
| 2. Securing | a tack-down line | remove the hoop from the embroidery unit, keep the base fabric hooped and trim the excess closely |
| 3. Covering | usually a dense satin or another cover stitch | check that no fabric edge protrudes into the stitch path, then continue |
| 4. Details | additional outlines, fills or facial details | follow the colour changes and order specified by the file |
The labels on the machine screen vary by file and model. What matters is the sequence, so review the colour layers in the preview or the supplied colour chart before you begin. An appliqué is not automatically a patch: it is normally stitched directly onto the hooped base fabric. For separate badges, use our dedicated guides to freestanding patches on water-soluble film or hook-and-loop patches.

The complete file must fit within the selected hoop. A compatible file format alone does not guarantee that its dimensions match your hoop and embroidery area. If you still need the core stabilisers, needles and bobbin thread, Startklar machine embroidery combines the essentials with a video course. The stabiliser adviser helps you refine the choice for your fabric and project.
Stabilise the base fabric first. Woven fabric can usually be hooped together with the stabiliser. Do not stretch jersey while hooping; a permanent cut-away stabiliser is often the safer foundation. On garments, make sure that sleeves, backs and linings are outside the embroidery path.
The appliqué piece must cover the placement line on every side, but it need not be excessively large. Smooth woven cotton is an accessible choice for a first project. Thin or easily frayed fabric may benefit from a compatible fusible support—always test heat and adhesion on a scrap first. Use adhesive or temporary spray only sparingly and according to its instructions so residue does not build up on the needle or machine.


This same order—place, secure, trim while the base remains hooped, then cover—is shown in the official Brother appliqué instructions (PDF). Always follow your own machine manual for its controls and safety guidance.
A design can contain several appliqué areas. The sequence then repeats for each one: placement line, matching fabric, tack down, trim and finally cover. Do not rely only on the displayed thread colour. In some files, an apparent colour change mainly creates a pause for you to position or trim fabric.

Arrange the pieces in file order and label them if necessary. This prevents swapping materials or colours during a short machine stop. Thick stacks place more demand on the needle, so test the complete layer combination before embroidering a finished garment.
| Problem | Likely cause | Next useful test |
|---|---|---|
| Base fabric shows between the insert and cover stitch | trimmed too far from the tack-down line, fabric shifted or layers do not match the file | secure the piece better and trim evenly closer to the tack-down line |
| Fibres protrude beyond the satin stitch | fabric frays heavily or was not trimmed closely enough | test a different fabric or compatible support and use sharper scissors |
| Outline and fabric are misaligned | base was unhooped, hoop moved or stabilisation was insufficient | keep the base hooped until completion and review the stabiliser |
| The embroidery puckers | base fabric was stretched, backing is too light or border is very dense | hoop a fresh sample without tension and strengthen the support |
| The base fabric was cut | blunt or straight scissors, awkward angle or rushed trimming | use sharp curved scissors and rest the hoop on a well-lit surface |
Jersey: Avoid stretching, use lasting support and start with a sample. Our guide to embroidering T-shirts and jersey explains how to coordinate fabric, stabiliser, needle and design.
Plush and pile: A water-soluble topper may prevent fine cover stitches from sinking into the surface. Check that the added thickness suits the file and your machine’s presser-foot clearance.
Faux leather and other non-self-healing materials: Every needle penetration remains visible. Choose a suitable design and test the needle, density and support first. See embroidering leather and faux leather for a more detailed material check.
For a raised 3D effect, place accurately cut embroidery foam beneath the appliqué fabric. Start with one layer and test the complete stack: excessive height can strain the cover stitch, needle and embroidery foot. Keep the foam inside the tack-down outline and trim protruding edges carefully before the cover stitch. Suitable embroidery foam is currently available in the shop.
For a snow-globe variation, use a stable base that does not fray heavily. Place only a few flat sequins in the centre, cover them with transparent film suitable for sewing and secure the film completely before closing the outer contour. Test needle, stitch length and film on scraps first. Loose glitter and small decorative pieces are not suitable for baby toys. Our specific clear film is currently sold out, so we deliberately do not link it as if it were available.
You do not need digitising software to stitch a purchased appliqué file. To create your own shapes, the software must generate a logical sequence of placement, tack-down and cover contours. Our free CREATIVATE Elite tutorial demonstrates that workflow in a complete project.
To add an internal cut-out or hole in suitable digitising software, select the appliqué object and draw a closed inner contour as the cut-out. The function name and menu position depend on the current software version, so inspect the stitch order, stops and preview afterwards. More detailed courses are available for Mac and Windows.
The Make ma! video shows the placement line, positioning and close trimming of several fabric pieces and the final cover stitch. It uses an older machine, but the underlying sequence remains valid for an appliqué file digitised in this way.
Can I stitch any regular embroidery file as appliqué?
No. It must be digitised as an appliqué with placement, tack-down and cover stitches. A normal fill-stitch file does not automatically include the required pauses.
Must I cut the insert to its exact shape before stitching?
Not for the in-the-hoop method shown here. Place a piece that fully covers the placement line and trim it only after the tack-down stitch while the project stays hooped.
How close should I trim?
Close enough for the later cover stitch to hide the raw edge, without cutting the securing stitches or base fabric. The exact tolerance depends on the file and cover-stitch width.
Which fabric is suitable for a first appliqué?
Smooth, stable woven cotton is usually easier than a highly stretchy, thick or heavily fraying fabric. Test both the base and appliqué fabric before using your final project.
Choose a small, clearly structured design from the appliqué embroidery files, read its colour chart and arrange your fabric scraps in sequence. Complete the entire process on a sample first. Once placement, trimming and the cover stitch are clean, transfer the same setup to your intended project.
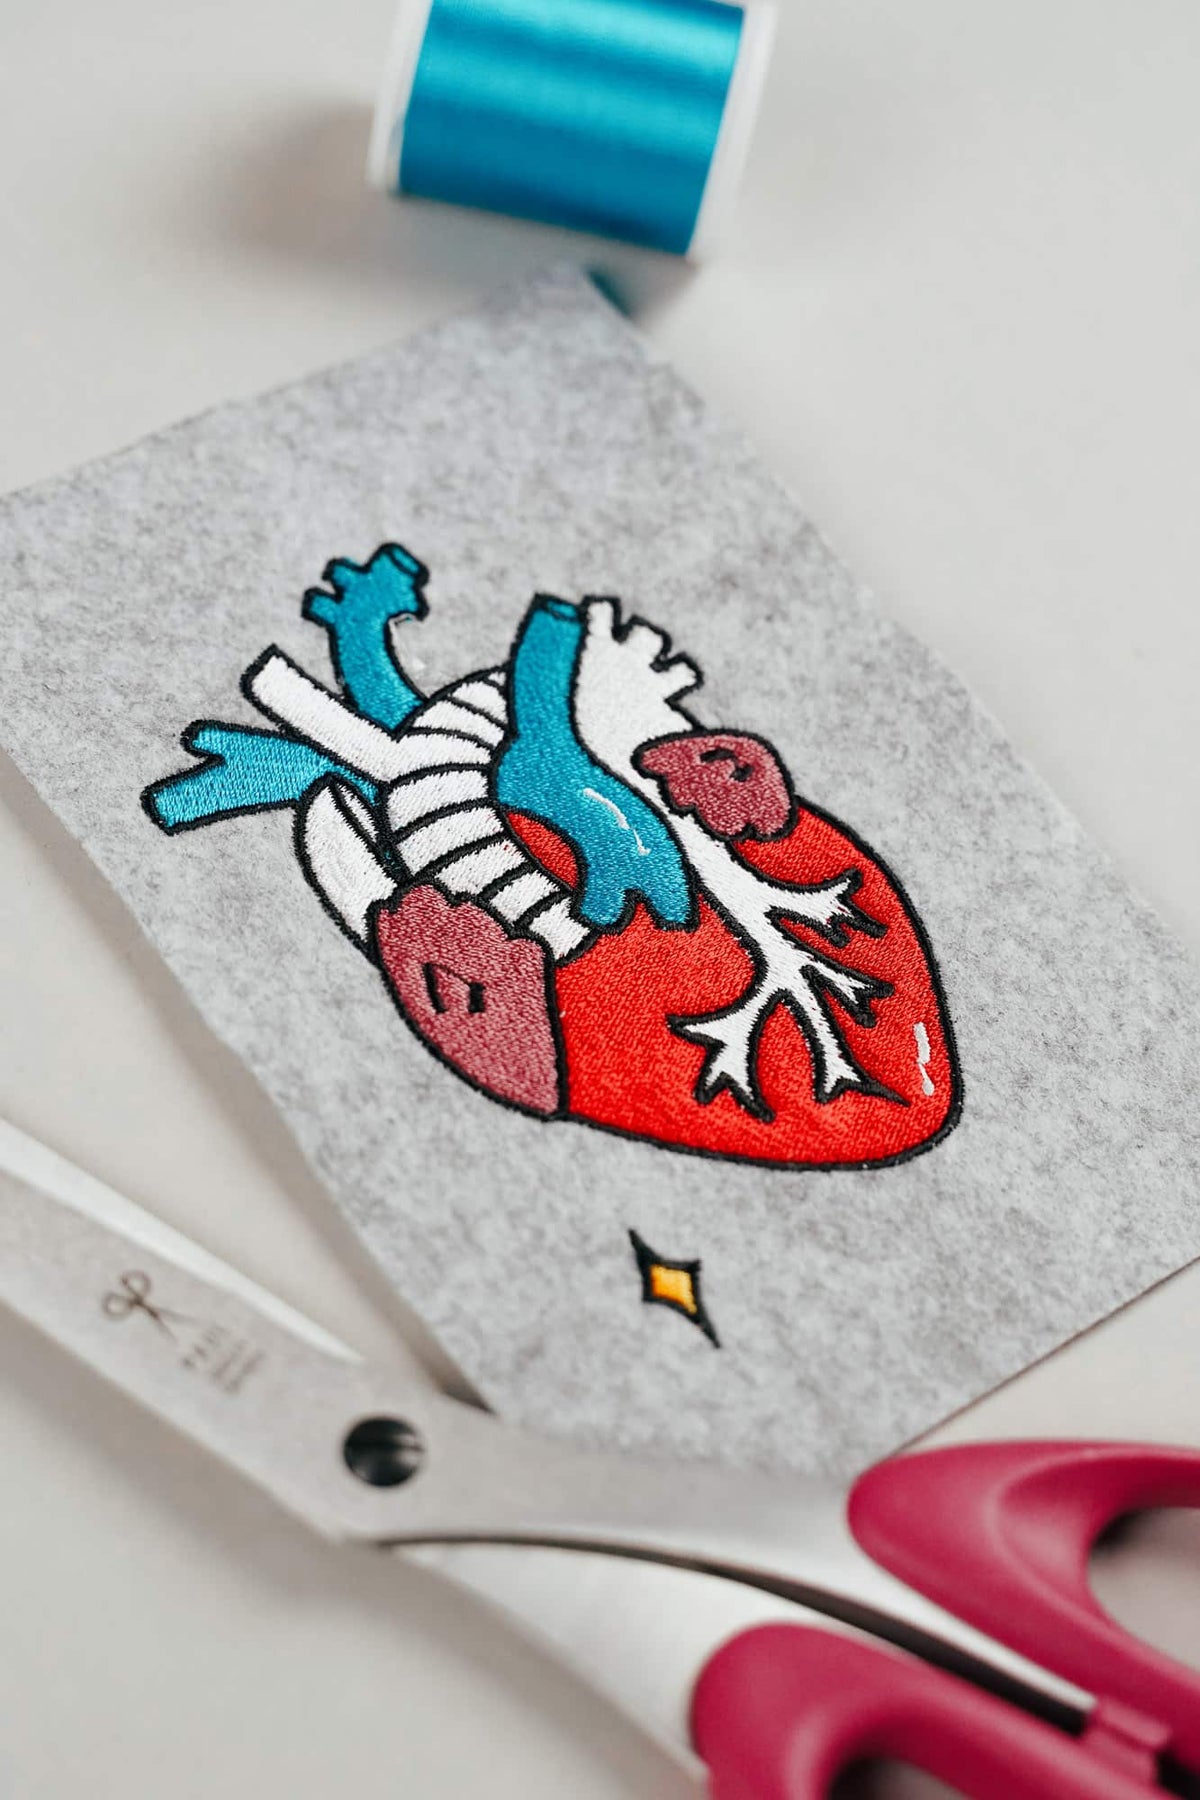
AI embroidery designs look great – but as embroidery files, they're often completely useless
AI images often look like perfect embroidery, but are frequently unsuitable as a template for a real embroidery file. We'll show you which mistakes to avoid with AI-generated motifs, how to formulate better prompts, and how to recognise well-digitised embroidery files.
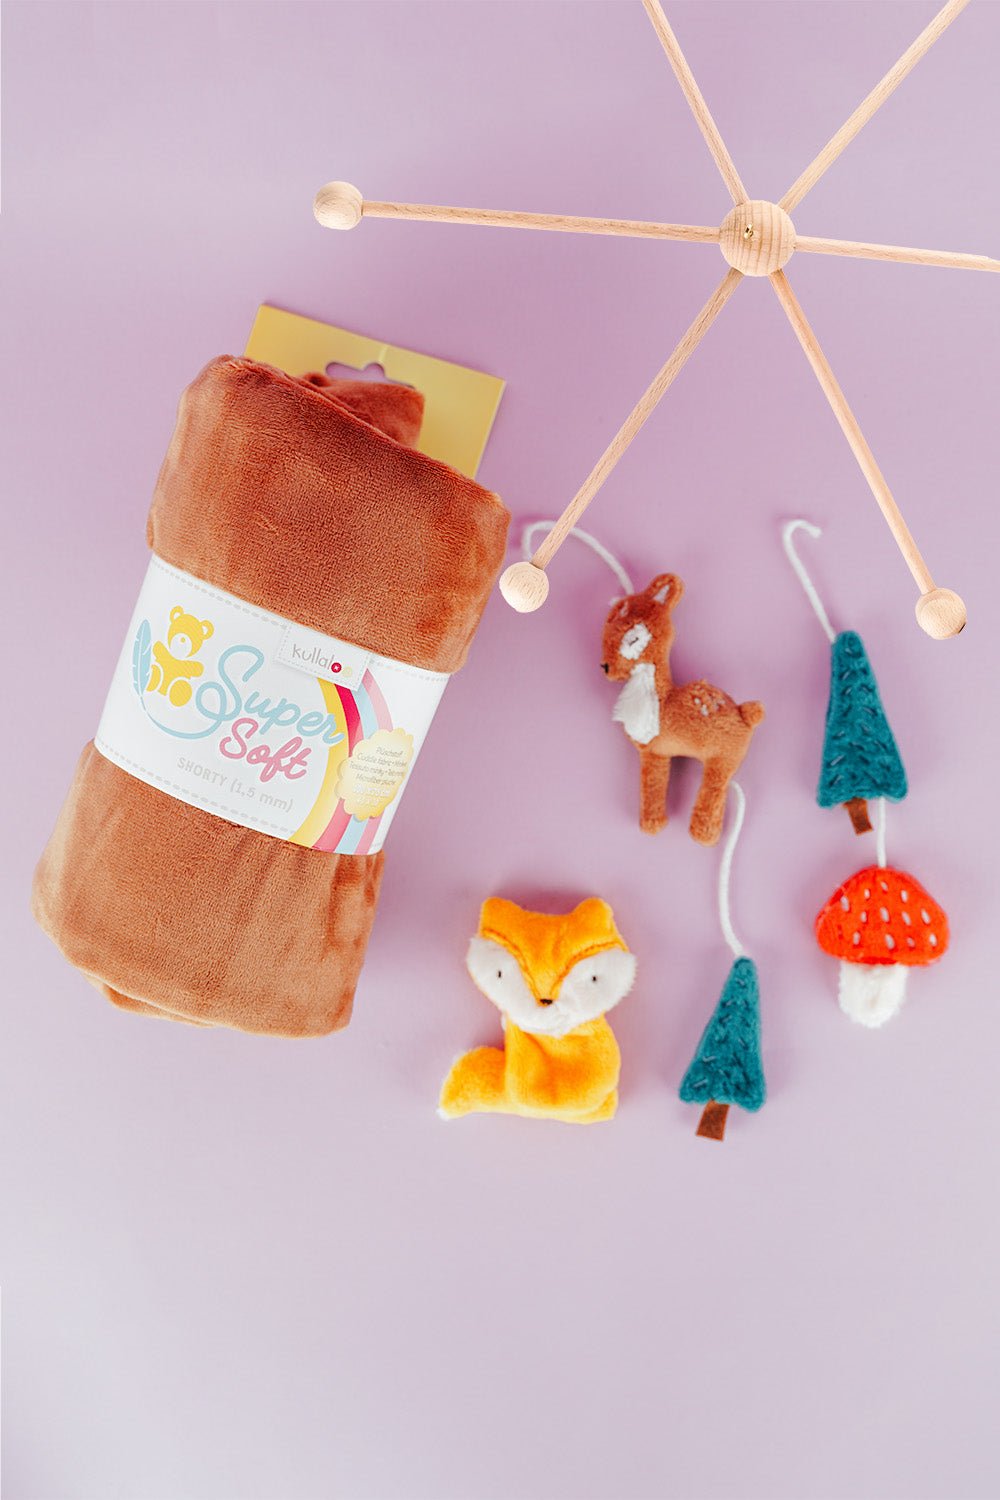
Embroider a woodland mobile: ITH ornaments step by step
Embroider fox, deer, fir tree and mushroom in a 10 × 10 cm hoop, then turn them into a woodland mobile or garland.
Read moreabout Embroider a woodland mobile: ITH ornaments step by step
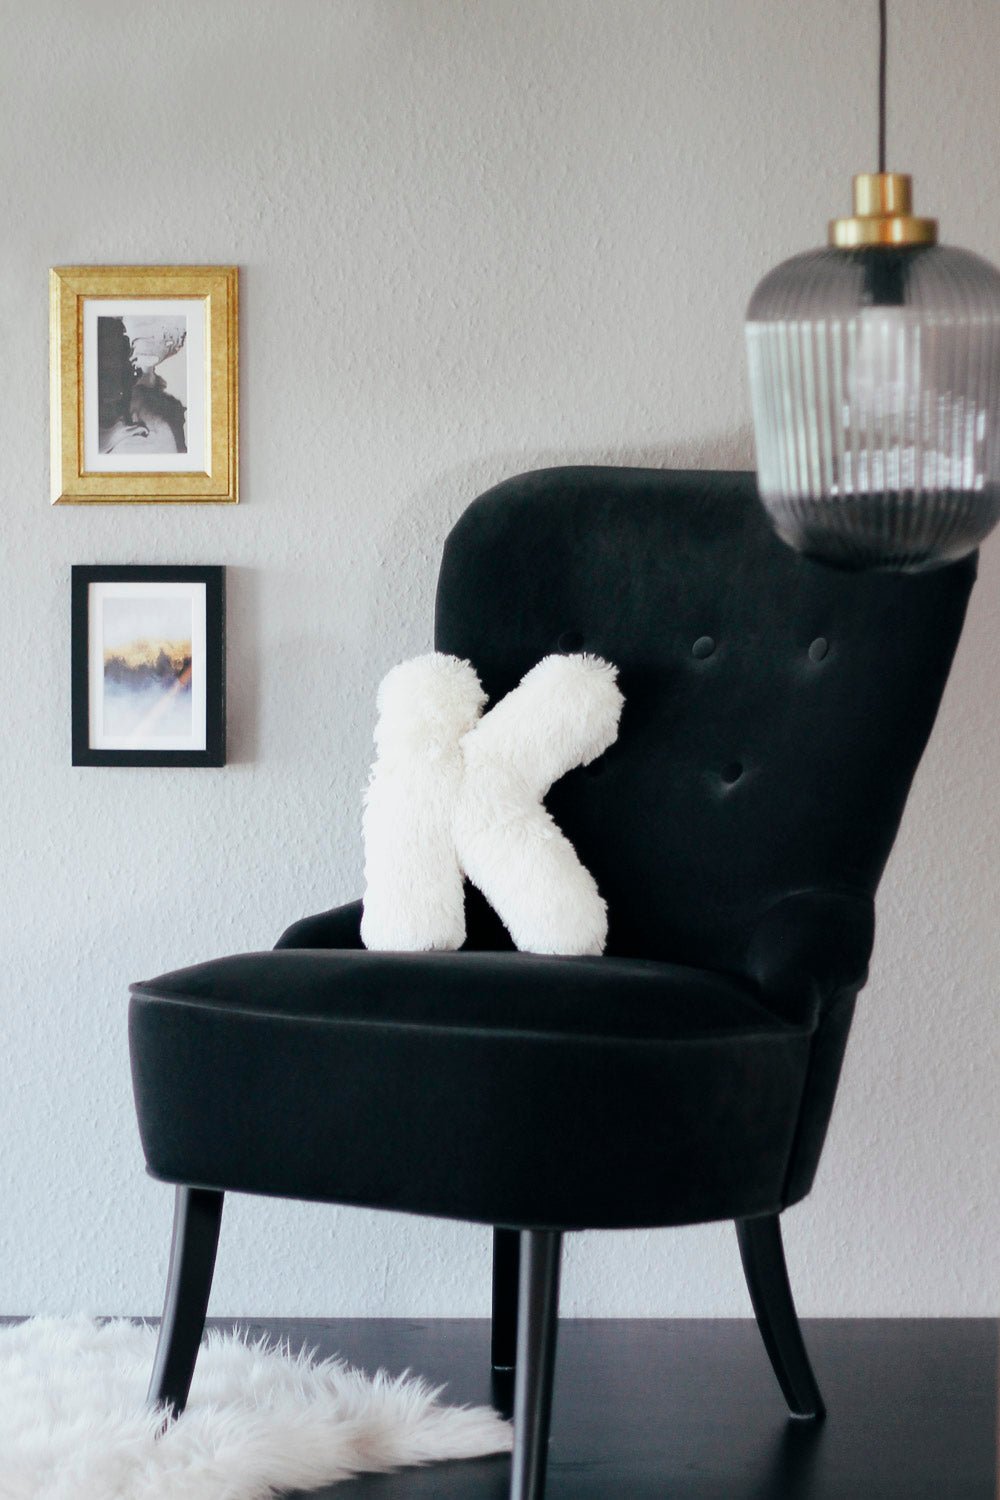
Sew an alphabet cushion: personal pillows from A to Z
Sew an alphabet cushion with neat curves, even filling and a hidden ladder stitch, using a digital pattern that includes every letter from A to Z.
Read moreabout Sew an alphabet cushion: personal pillows from A to Z
Split:
bernette b79 review: real-world strengths and limitations
How to embroider socks: hoop, stabilizer and design guide