

Embroider socks safely by matching the hoop method to your machine, stabilizing stretchy knit fabric and avoiding common mistakes.
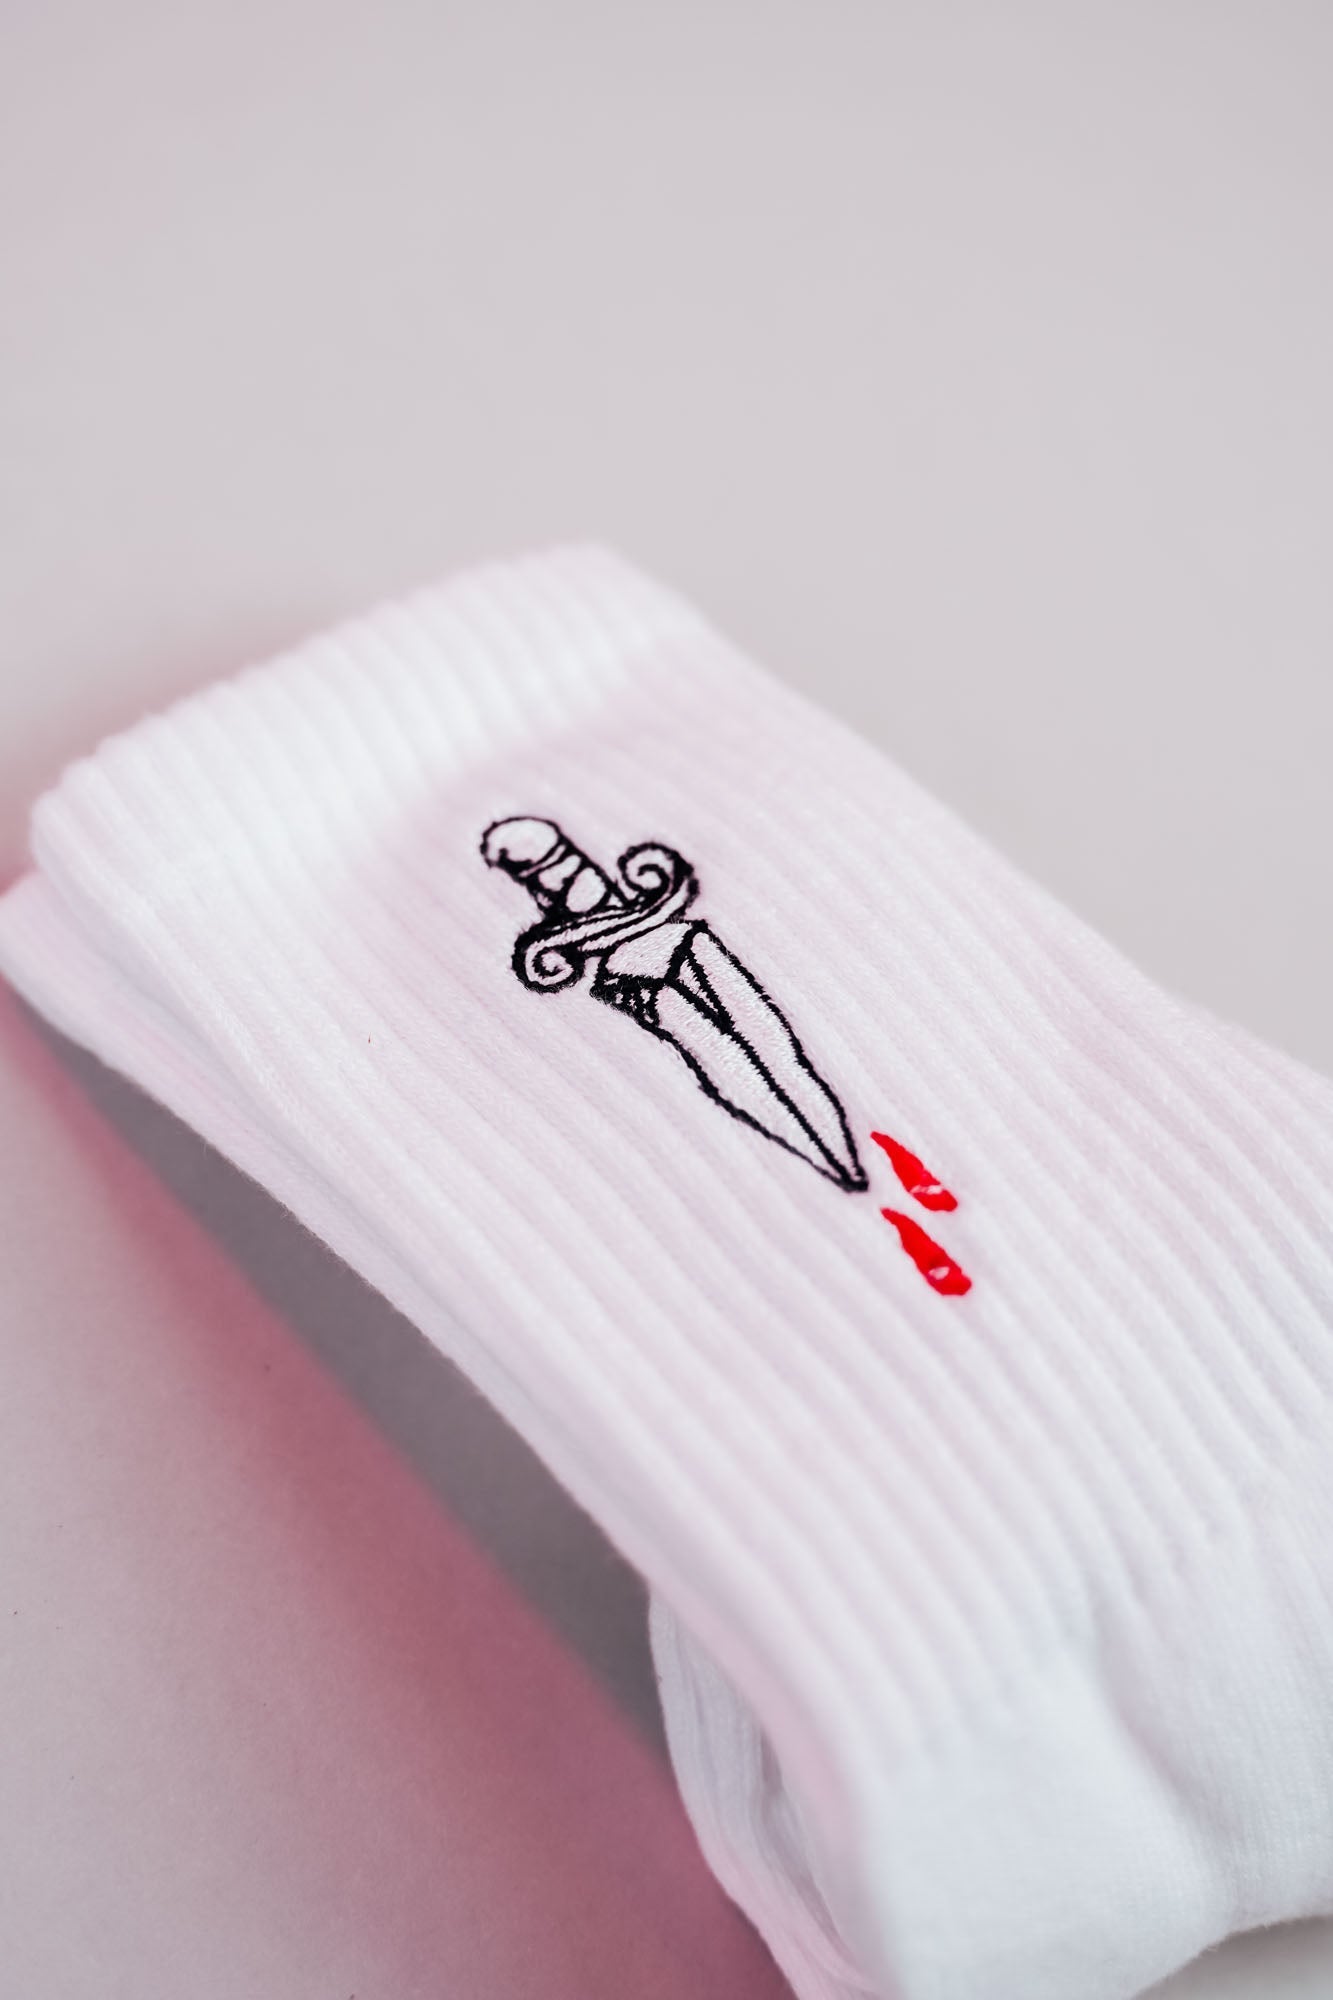
You can embroider socks by machine when the hoop, stabilizer and design match both the machine and the size of the sock. Getting the sock under the presser foot is not enough: the needle, foot, hoop and embroidery arm need collision-free clearance throughout the design.
This guide compares three practical methods, explains safe preparation and helps you place a small design neatly on stretchy knit fabric. Always check the manual and accessory approval for your exact machine model as well.
Contents
Which method suits your embroidery machine?
There is no single sock hoop that automatically fits every embroidery machine. Machine construction, available hoop area, attachment system and space below the presser foot determine the safe method. Choose by exact model first, then compare convenience and design area.
| Method | Suitable when … | Check before starting |
|---|---|---|
| Universal sock support | you use a domestic embroidery machine, adhesive stabilizer and a support that securely fits your hoop. | Hoop size, needle path, clearance and secure attachment; use is at your own risk. |
| BERNINA Sock Hoop Inserts | your BERNINA model, medium hoop and hoop software support the Standard or Mini insert. | Compatibility information, selected hoop and any required calibration. |
| HappyJapan sock frame | you have a compatible HappyJapan multi-needle machine with the intended sock-frame option. | Machine manual, frame setting, clamp and unrestricted arm movement. |
Safety rule: Trace the hoop or design boundary before embroidering whenever your machine provides that function. If in doubt, turn the handwheel slowly by hand. Do not start if the needle or foot could touch the support, clamp, sock or a clip.
Prepare the sock, stabilizer, needle and thread
Prewash new socks if the finished item will be washed regularly. Mark the desired position while the sock is being worn: common placements are at the side of the shaft, over the ankle or higher near the cuff. Remember that the fabric stretches on the foot, so the finished embroidery can appear wider.
- Insert a new embroidery needle suitable for the knit and thread. A blunt needle can damage loops or cause skipped stitches.
- Choose a small, moderately digitized design with short stitch paths; avoid large, hard areas of dense fill.
- Keep the sock smooth without stretching it excessively. Otherwise it contracts and puckers after removal.
- For a floated sock, use a self-adhesive stabilizer such as Filmoplast: only the stabilizer is hooped and the sock adheres on top.
- A soft embroidery backing can cover scratchy stitches on the inside for sensitive skin.
If stretchy fabrics often pucker, our guide to preventing distorted embroidery helps identify tension, density and stabilization problems. You can also use the stabilizer adviser to narrow down a suitable stabilizer.
Method 1: Embroider with a universal sock support
The Make ma! sock support began as a community project for domestic embroidery machines. It holds one section of the sock flat over adhesive stabilizer while the remaining tube stays outside the stitch field. It can work with suitable machines and larger hoops, but it is not a blanket manufacturer approval.
Check dimensions, attachment and the entire movement area first. The universal sock support product page shows current availability and use information. If it is unavailable, you can download the current V1.1 3D-print file for private use. Selling or commercially using the file or printed supports is not permitted.
Download sock support V1.1 as a ZIP file (STL file, private use only). Print it only if you can assess material, dimensions and stability yourself. A 3D-printed part does not replace a compatibility check or machine-manufacturer approval.

Method 2: Use BERNINA Sock Hoop Inserts
For supported BERNINA embroidery machines, BERNINA Sock Hoop Inserts are available in Standard and Mini sizes. BERNINA specifies use with the medium embroidery hoop, and current hoop software can display the appropriate embroidery fields. This is a model-specific system and cannot be transferred to other brands.
Select the insert actually installed in the machine or software, mount the sock according to the manufacturer instructions and calibrate when your model requires it. Trace the design boundary afterwards. Especially with small socks, excess fabric must not enter beneath the hoop or obstruct the embroidery arm.
Method 3: HappyJapan frame for multi-needle machines
On compatible HappyJapan machines, the sock-frame clamp is a dedicated option for socks, wristbands and other small tubular items. Instead of floating the sock in a domestic hoop, it is mounted on the intended accessory and the corresponding frame mode is selected.
Exact installation, alignment and settings depend on the machine model and firmware. Follow the HappyJapan manual and accessory instructions. Before each run, confirm that the clamp is fully engaged and the embroidery arm can move freely.
Choose the right design size, density and placement
A good sock design is compact, clearly digitized and recognizable at small size. Light running-stitch motifs, narrow satin details or small appliqués are usually more comfortable than heavy fill. Do not arbitrarily shrink a dense file on the machine: its stitch count often remains almost unchanged, making the result even harder.
| Problem | Likely reason | Better choice |
|---|---|---|
| Sock puckers | too much stretch, dense design or insufficient stabilization | test a lighter design with suitable adhesive stabilizer |
| Design looks twisted | placement was marked flat instead of on the foot | put the sock on, mark centre and top, then align it |
| Knit loops are damaged | blunt or unsuitable needle | use a new suitable needle and test on a spare sock |
| Frame collides | method or design field exceeds machine clearance | stop immediately and check compatibility and traced boundary again |
Keep the cuff, heel and toe seam out of the stitched area where possible. Our guide to embroidering webbing offers more insight into securely floating narrow items.
How to embroider socks step by step
- Choose the method: compare your machine model, hoop attachment and sock size with the support or original accessory.
- Prepare a test sock: mark the position while worn, remove the sock and check the markings.
- Stabilize: hoop the stabilizer smoothly or mount the accessory as instructed. Attach the sock without folds or excessive stretch.
- Secure loose fabric: keep the open tube away from the design, embroidery arm, rail and needle path.
- Load the design: check size, orientation and stitch count. The displayed hoop must match the actual accessory.
- Trace boundaries: use the machine’s trace function or check needle positions. Rehoop if any collision is possible.
- Start slowly: watch the first stitches and be ready to stop. Never reach into a moving hoop.
- Finish: release the sock carefully, remove stabilizer as intended and inspect the inside for rough thread ends.
The Make ma! livestream shows how the support was developed and used. Treat it as a practical supplement: current product information, the machine manual and a collision check take priority.
Avoid the most important sock-embroidery mistakes
The most serious mistake is starting before checking the full movement range. Even when the preview lies inside the hoop, the presser foot, needle bar or clamp can strike raised parts. Loose sock fabric must not fold under the stitch field, and excessive tension while mounting nearly always creates waves after release.
Begin with a comparable test sock and a small design. If you are setting up your embroidery space, our overview of ten useful embroidery-machine products offers further ideas, while sound technique and a controlled test run remain essential.

Frequently asked questions about embroidering socks
Can every sock be embroidered?
No. Very small, very thick or heavily textured socks may not be mounted safely. Material, sock size, design and accessory must work together.
Do I always need a special sock hoop?
You need a secure attachment compatible with your machine. This can be a checked support over adhesive stabilizer or manufacturer-specific equipment. An improvised setup without clearance testing is not safe.
Which stabilizer should I use?
With the floating method, self-adhesive tear-away stabilizer holds the sock without hooping it directly. Dedicated manufacturer frames may specify a different setup.
Where should the design sit?
Mark it while the sock is worn. A side placement above the ankle is often visible and less stressed than the heel or sole.
May I sell the STL file?
No. The V1.1 file and supports printed from it are provided for private use only; resale and commercial use are excluded.
Sources and manufacturer information
Browse magazine & FAQ
More articles
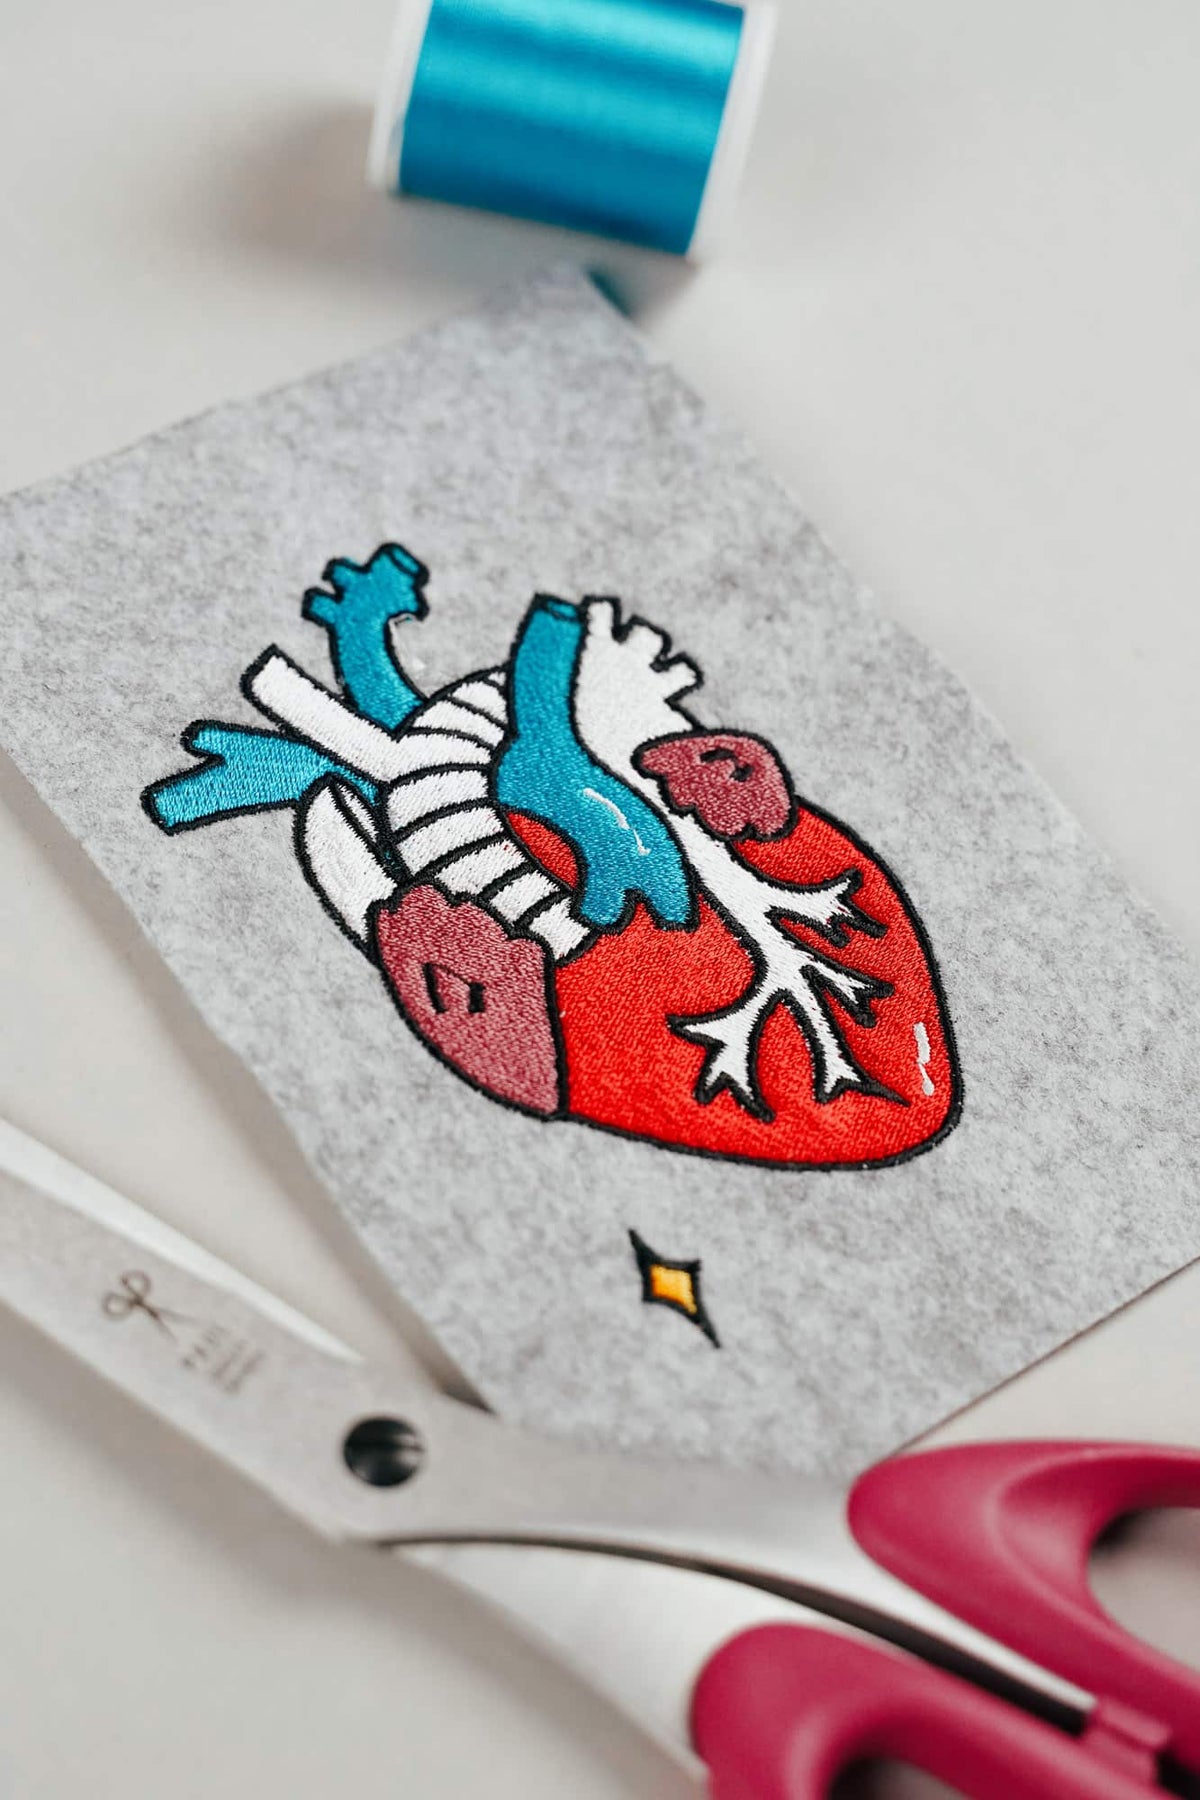
AI embroidery designs look great – but as embroidery files, they're often completely useless
AI images often look like perfect embroidery, but are frequently unsuitable as a template for a real embroidery file. We'll show you which mistakes to avoid with AI-generated motifs, how to formulate better prompts, and how to recognise well-digitised embroidery files.
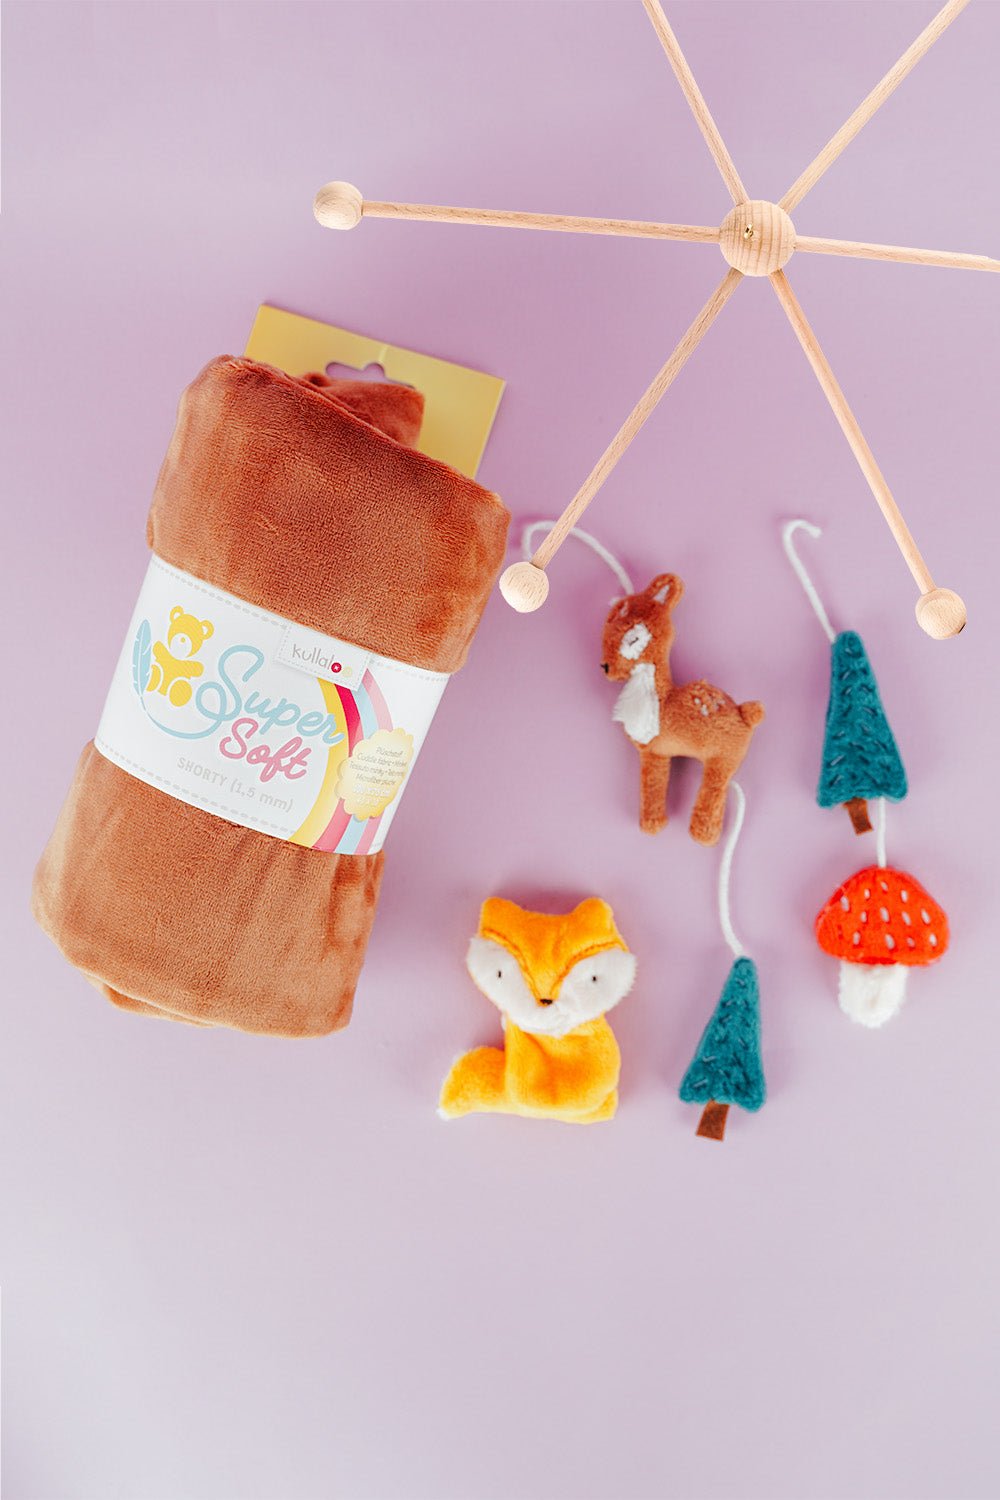
Embroider a woodland mobile: ITH ornaments step by step
Embroider fox, deer, fir tree and mushroom in a 10 × 10 cm hoop, then turn them into a woodland mobile or garland.
Read moreabout Embroider a woodland mobile: ITH ornaments step by step
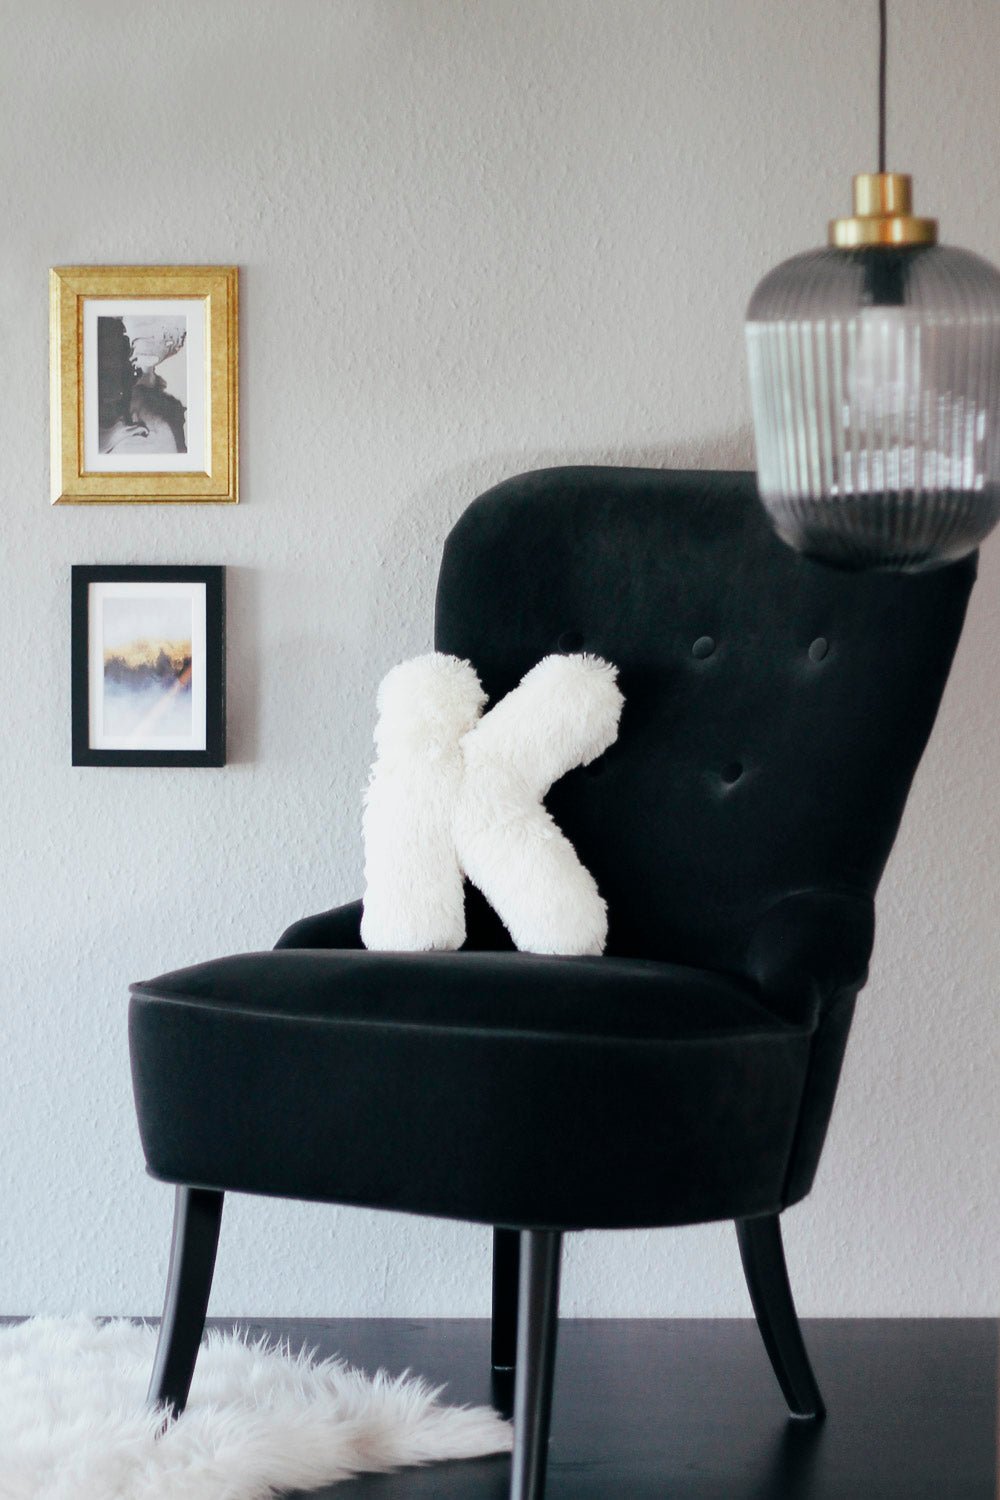
Sew an alphabet cushion: personal pillows from A to Z
Sew an alphabet cushion with neat curves, even filling and a hidden ladder stitch, using a digital pattern that includes every letter from A to Z.
Read moreabout Sew an alphabet cushion: personal pillows from A to Z
Split:
Machine embroidery appliqué: a step-by-step guide
Improve embroidery results: troubleshoot step by step